Tips On How to Use an Air Fryer to Perfection

Blog Standard

Tips on How to Use an air Fryer

Air fryers are becoming increasingly popular in modern kitchens as they provide a healthier alternative to traditional frying methods. Air fryers use hot air to cook food, resulting in crispy, golden-brown dishes without excessive oil and fat. However, using an air fryer can be tricky, and it takes some practice to get the best results. In this article, we will provide some tips on how to use an air fryer to perfection, so you can enjoy delicious, healthy meals without the hassle. We will cover everything from preparation to cooking times and temperatures, as well as some recipe ideas to get you started. With these tips, you can take full advantage of your air fryer and create tasty, crispy dishes that are sure to impress.

Read More: Dishwasher Cleaning Tips: Goodbye to Dirty Dishwasher

Tip #1: Always Preheat your Air Fryer

Preheating your air fryer before adding food is key to ensure even cooking and the best results. Preheat the air fryer to the recommended temperature for your recipe, usually around 350-400 F. Once the air fryer reaches the target temperature, add in your food. Preheating helps the air fryer recover temperature quickly after adding cold or frozen food.

Tip #2: Do not Overcrowd the Basket

Only fill the air fryer basket up to 2/3 capacity for the best results. Overcrowding the basket prevents air circulation, resulting in uneven cooking. For the best results, cook food in batches and do not stack food on top of each other. Shake the basket once during cooking to ensure even browning.

Tip #3: Use a Mist Bottle for Oil Application

Instead of coating food in oil, which adds extra calories, spray food lightly with oil using a mist bottle or spray bottle. Spray 1-2 short bursts to lightly coat the food. Then spray the inside of the air fryer basket to prevent sticking. This cuts down on excess oil but still produces crispy results.

Tip #4: Be Vigilant in Checking Your Food for Doneness

The cooking time can vary in air fryers, so check on your food frequently. Open the air fryer basket and check to see if the food is browned and crispy as desired. Meat may need to be cut open to check that it is cooked through. It’s best to undercook slightly, then continue cooking in short time increments until the food is done to prevent overcooking.

Tip #5: Swap out Deep-Fried Favorites for Air-Fried Versions

Many fried foods can be made in the air fryer with a fraction of the oil. Swap out foods like fried chicken, french fries, mozzarella sticks, and onion rings for air-fried versions. You’ll get the same crispy-coated texture without the extra grease.

Tip #6: Use Low-Fat Cooking Sprays Instead of Heavy Oils

For even lighter results, use cooking sprays designed for high-heat cooking methods in place of oils. Spray the air fryer basket before adding food and spray food directly. These sprays contain oil but in an aerosol form so only a small amount is needed.

Tip #7: Opt for Leaner Proteins Such as Chicken and Fish

The air fryer does an excellent job of cooking lean proteins that can often dry out using other methods. Chicken, fish, and shrimp come out juicy and tender in the air fryer. Coat with oil or spray and cook at 400 F, reducing heat to 350 F if needed. Check for doneness and internal temperature.

Tip #8: Track your Cooking Times to Reduce the Risk of Overcooking

Air fryers can cook food very quickly, so diligently track cooking times to avoid overcooking. Check on food frequently. Note cooking times each time you use the air fryer to get a sense of typical cooking durations for different types of food. This helps reduce trial and error in the future.

Tip #9: Experiment with Different Batters and Coatings for Fried Foods

For extra crispy fried foods with lighter results, experiment with coatings and batters besides plain flour. Some options include cornstarch, panko bread crumbs, crushed crackers or pretzels, mashed potato flakes, and crushed tortilla chips. Dip or coat, then spray with oil and cook as directed.

Tip #10: Create Unique Flavor Profiles by Using Marinades and Seasoning Blends

Marinate meats and vegetables before cooking in the air fryer or season generously with spice blends for extra flavor. The intense heat of the air fryer helps seasonings and marinades penetrate food deeply. Try BBQ rubs, lemon pepper, chili powder, or Cajun seasonings. Or marinate in soy sauce, citrus juice, or vinegar.

Tip #11: Use the Air Fryer to Quickly Roast Nuts and Seeds for Added Texture

The air fryer can quickly roast nuts and seeds to add crunch and texture. Coat nuts in oil and a bit of spice such as chili powder, cinnamon sugar, or ranch seasoning. Cook at 350 F, shaking the basket frequently, until nuts are toasted, about 5-8 minutes. Watch closely since nuts can burn quickly.

Tip #12: Bake Small Desserts and Treats in the Air Fryer for Quick Indulgences

The air fryer works great for small-batch baking of desserts and treats. Make donuts, cookies, brownies, cinnamon sugar churros, or fruit crumbles. Grease the air fryer basket and sides, then cook at around 325 F until the center is set. Keep a close eye since desserts and pastries can overcook quickly in the intense air fryer heat.

Conclusion

An air fryer is a versatile and convenient kitchen appliance that can help you create healthy and delicious meals with ease. By following these 14 tips, you can take full advantage of your air fryer and achieve perfect results every time. From choosing the right temperature and cooking time to experimenting with different ingredients and recipes, there are many ways to get creative with your air fryer. With a little practice and patience, you can master this versatile kitchen appliance and enjoy crispy, golden-brown dishes without the guilt of excess oil and fat. So, whether you’re a beginner or a seasoned pro, these tips will help you take your air frying game to the next level and create delicious and healthy meals that everyone will love.

Dishwasher Cleaning Tips: Goodbye to Dirty Dishwasher

Tips on How to Use an air Fryer

Dishwasher Cleaning Tips: Goodbye to Dirty Dishwasher

Dishwasher Cleaning Tips

A dishwasher is a convenient and time-saving appliance that makes our lives easier. It’s a great tool for cleaning dishes and utensils, but it’s also essential to keep it clean. A dirty dishwasher not only affects the performance of the appliance but can also lead to health and safety concerns. That’s why it’s important to learn how to clean your dishwasher properly.

A dirty dishwasher can cause several problems, such as foul odors, poor cleaning performance, and even damage to the dishwasher itself. Over time, food debris, grease, and soap scum can build up inside the dishwasher, clogging the spray arms, filter, and drain. This buildup can lead to blockages, leaks, and even breakages. In addition, the dirty dishwasher can also harbor harmful bacteria, putting your health at risk.

In this article, we’ll provide you with some practical tips and advice on how to clean your dishwasher and maintain it in optimal condition. We’ll cover everything from cleaning the interior and exterior of the dishwasher to maintaining a clean dishwasher. So, let’s get started!

Read More:Prevent Kitchen Fire: Eliminate the Risk

Cleaning the Interior of the Dishwasher

The interior of your dishwasher is where all the magic happens. It’s where the dishes get washed and the dirt and grime build up over time. To keep your dishwasher running smoothly and effectively, it’s essential to clean the interior regularly. Here are some tips on how to clean the interior of your dishwasher:

➛Step 1: Removing Debris From the Bottom of the Dishwasher

The bottom of the dishwasher is where most of the debris accumulates. To remove any food particles and other debris, remove the bottom rack and use a damp cloth or sponge to wipe away any residue. You can also use a toothbrush to get into the nooks and crannies.

➛Step 2:Cleaning the Dishwasher Spray Arms

The spray arms are vital to the cleaning process, and if they become clogged, the dishwasher won’t clean dishes effectively. To clean the spray arms, remove them from the dishwasher and rinse them under hot water. Then, use a toothpick or other small tool to dislodge any debris that may be blocking the spray holes.

➛Step 3:Cleaning the Dishwasher Filter

The dishwasher filter is responsible for trapping food particles and other debris, preventing them from clogging the dishwasher’s drain. To clean the filter, remove it from the dishwasher and rinse it under hot water. Use a soft-bristled brush to remove any remaining debris. If your dishwasher has a self-cleaning filter, follow the manufacturer’s instructions to clean it.

➛Step 4: Running a Cleaning Cycle With a Dishwasher Cleaner

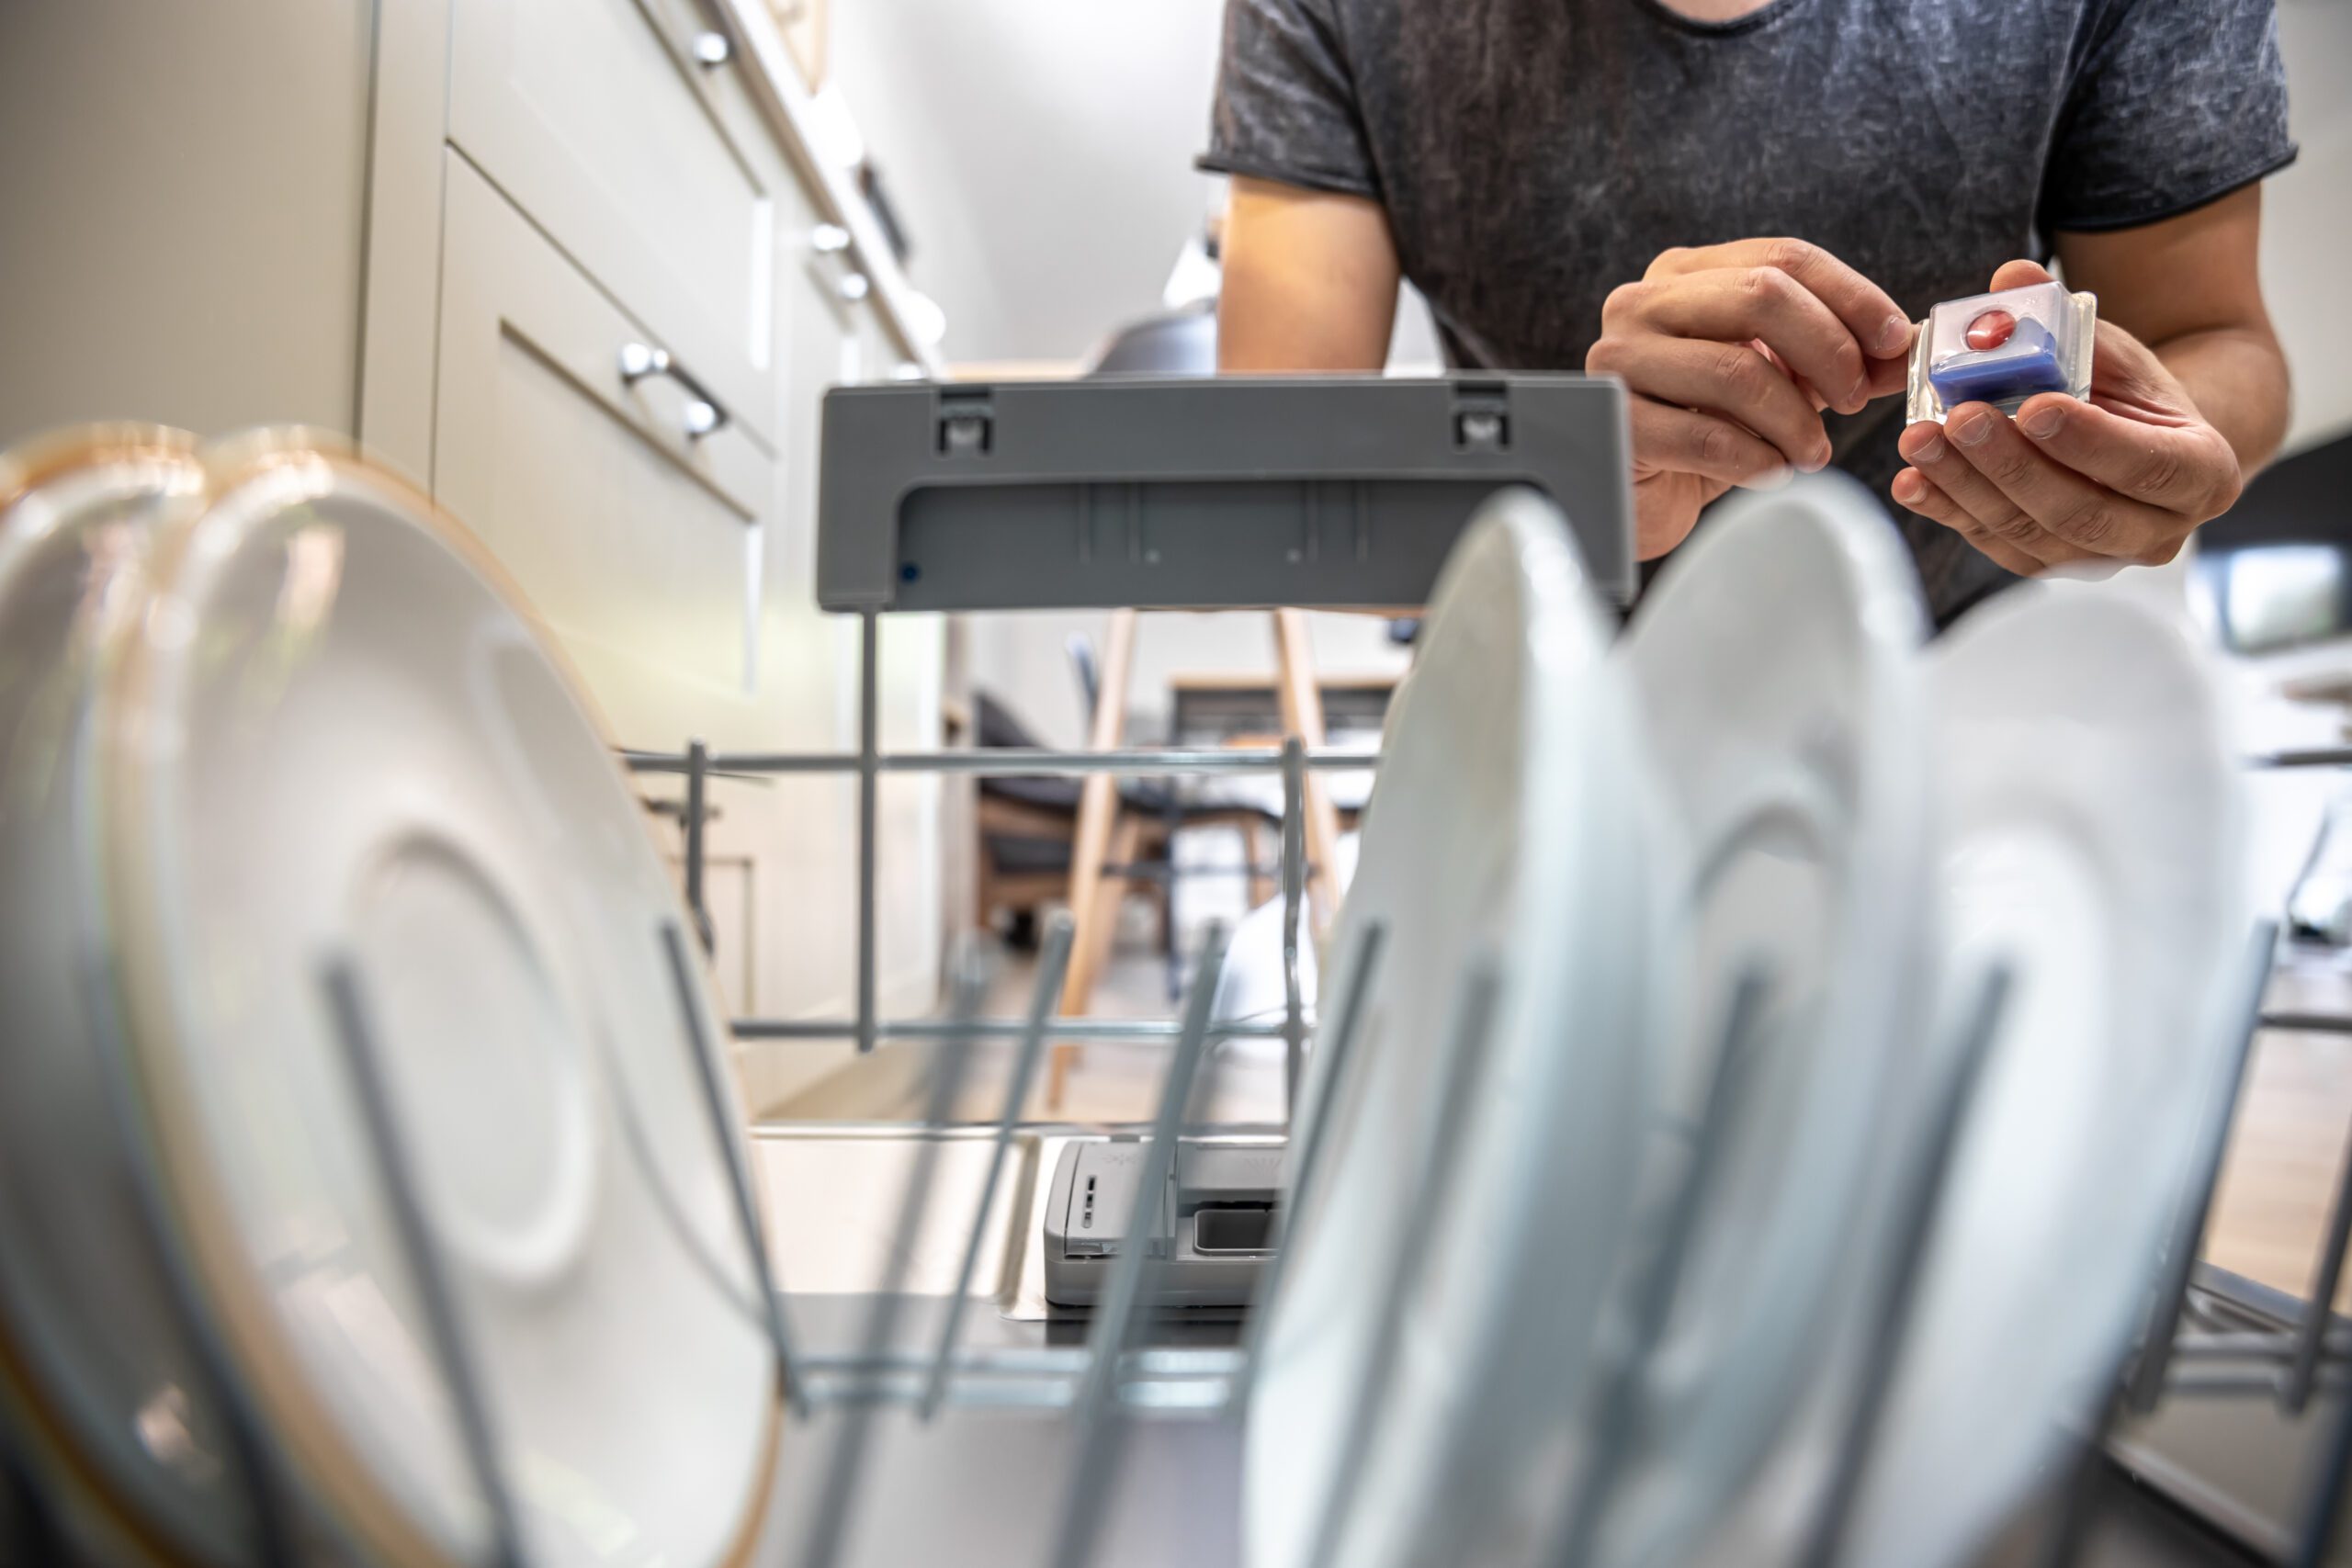
Running a cleaning cycle with a dishwasher cleaner is an effective way to remove any buildup or residue that may not be visible. Follow the instructions on the dishwasher cleaner to run a cleaning cycle, and make sure to remove any dishes or utensils from the dishwasher before starting the cycle.

By following these tips, you can help keep the interior of your dishwasher clean and running smoothly. Don’t forget to clean the interior of your dishwasher regularly to ensure optimal performance.

Accessories for Cleaning the Interior of the Dishwasher

Cleaning the Exterior of the Dishwasher

While it’s essential to keep the interior of your dishwasher clean, it’s also important to maintain the exterior. The dishwasher door, handle, control panel, and exterior can all accumulate dirt, grease, and fingerprints over time. Here are some tips on how to clean the exterior of your dishwasher:

➛Step 1: Cleaning the Dishwasher Door and Handle

The dishwasher door and handle are the most frequently touched parts of the appliance. To clean them, use a damp cloth or sponge and a mild detergent. For tough stains or grease buildup, use a vinegar and water solution or a specialized stainless steel cleaner. Make sure to dry the door and handle thoroughly to prevent water spots.

➛Step 2: Cleaning the Dishwasher Control Panel and Buttons

The dishwasher control panel and buttons can also accumulate dirt and grime. To clean them, use a soft cloth or sponge and a mild detergent. Avoid using abrasive cleaners or scrub brushes that can scratch the surface. If you’re unsure about what type of cleaner to use, consult the manufacturer’s instructions.

➛Step 3: Cleaning the Dishwasher Exterior with a Stainless Steel Cleaner

If your dishwasher has a stainless steel exterior, you can use a specialized stainless steel cleaner to remove fingerprints, smudges, and other marks. Apply the cleaner to a soft cloth and wipe the surface in the direction of the grain. Avoid using abrasive cleaners or scrub brushes that can scratch the surface.

Accessories for Cleaning the Exterior of the Dishwasher

Use Vinegar to Clean Dishwasher

Yes, vinegar can be used to clean a dishwasher effectively. Here are the steps to follow for a thorough cleaning:

  1. Empty the dishwasher
  2. Pour 1 cup of white vinegar into a dishwasher-safe container and place it on the top rack of the dishwasher
  3. Run the dishwasher on the hottest cycle possible, using vinegar in place of detergent
  4. Wipe down the interior of the dishwasher with a damp cloth
  5. Run another cycle on hot water to rinse away any remaining vinegar
  6. Optional: Sprinkle baking soda on the bottom of the dishwasher before running the second cycle for extra cleaning power
  7. Clean your dishwasher once a month to keep it running efficiently and to prevent odors

 Maintaining a Clean Dishwasher

Keeping your dishwasher clean isn’t just about cleaning it regularly; it’s also about maintaining good habits to prevent buildup and keep it running smoothly. Here are some tips on how to maintain a clean dishwasher:

✅✅✅✅➜Running Hot Water Before Starting the Dishwasher

Before running the dishwasher, make sure to run hot water from the tap for a few seconds to clear any debris from the pipes. This will ensure that the dishwasher has clean water to work with and will help prevent food particles from sticking to the dishes.

➜Scrape and Rinse Dishes Before Loading Them

To prevent food particles from clogging the dishwasher’s drain or spray arms, make sure to scrape and rinse dishes before loading them into the dishwasher. This will also help prevent food particles from sticking to the dishes during the wash cycle.

➜Running a Cleaning Cycle Regularly

In addition to regular cleaning, it’s a good idea to run a cleaning cycle with a dishwasher cleaner every few months. This will help remove any buildup or residue that may have accumulated over time and keep the dishwasher running smoothly.

➜ Keeping the Dishwasher Dry When Not in Use

After running a cycle, make sure to open the dishwasher door and let it air dry. This will prevent moisture from building up inside the dishwasher and reduce the risk of mold or mildew. If you’re not going to use the dishwasher for an extended period, make sure to empty it and leave the door open to allow for air circulation.

Conclusion

Q: What is the best thing to clean the inside of a dishwasher?

A: The best thing to clean the inside of a dishwasher is a dishwasher cleaner specifically designed for this purpose. These cleaners are formulated to remove grease, mineral deposits, and other residues that can build up over time.

Q: How do you clean your dishwasher so it cleans better?

A: To clean your dishwasher and improve its cleaning performance, you can follow these steps:
1. Remove any food debris or large particles from the dishwasher’s filter and spray arms.
2. Place a dishwasher cleaner or a cup of white vinegar on the top rack of the empty dishwasher.
3. Run a hot water cycle with the dishwasher cleaner or vinegar to remove any buildup and odors.
4. Wipe down the interior of the dishwasher with a damp cloth or sponge.
5. Regularly clean the filter and spray arms to prevent clogs and ensure optimal cleaning.

Q: How do I clean my dishwasher with vinegar and baking soda?

A: To clean your dishwasher with vinegar and baking soda, follow these steps:
1. Remove any food debris or large particles from the dishwasher’s filter and spray arms.
2. Place a cup of white vinegar in a dishwasher-safe container on the top rack.
3. Sprinkle one cup of baking soda on the bottom of the dishwasher.
4. Run a hot water cycle to allow the vinegar and baking soda to clean and deodorize the dishwasher.
5. Wipe down the interior of the dishwasher with a damp cloth or sponge.

Q: What is a natural cleaner for dishwashers?

A: Vinegar is a natural cleaner that can be used to clean dishwashers. Its acidic properties help remove mineral deposits, grease, and odors. You can also use baking soda, which acts as a gentle abrasive and deodorizer.

Q: Is it OK to clean a dishwasher with baking soda?

A: Yes, it is safe to clean a dishwasher with baking soda. Baking soda is a mild abrasive that can help remove stains, odors, and residue from the dishwasher’s interior. It is a natural and non-toxic cleaning agent.

Q: Can I put vinegar in my dishwasher?

A: Yes, you can put vinegar in your dishwasher. Vinegar is an effective natural cleaner that can help remove mineral deposits, grease, and odors from the dishwasher. Place a cup of white vinegar on the top rack of an empty dishwasher and run a hot water cycle to clean and deodorize it.

Q: Does vinegar clean a dishwasher?

A: Yes, vinegar can effectively clean a dishwasher. Its acidic properties help dissolve mineral deposits, remove grease, and eliminate odors. Running a hot water cycle with vinegar can help clean and deodorize the dishwasher.

Q: What kills bacteria in a dishwasher?

A: The high temperatures reached during a dishwasher’s hot water cycle are usually sufficient to kill most bacteria. However, if you want to further sanitize your dishwasher, you can use dishwasher-safe disinfectants or sanitizing agents specifically designed for this purpose. These products can help eliminate bacteria and other harmful microorganisms.

Conclusion

Keeping your dishwasher clean is essential for maintaining its performance and preventing any health and safety concerns. By following the tips we’ve outlined in this article, you can keep your dishwasher looking and running like new.

To recap, when cleaning the interior of your dishwasher, make sure to remove debris from the bottom, clean the spray arms and filter, and run a cleaning cycle regularly. For the exterior, clean the door, handle, control panel, and exterior with a mild detergent or specialized cleaner. To maintain a clean dishwasher, run hot water before starting the dishwasher, scrape and rinse dishes before loading them, run a cleaning cycle regularly, and keep the dishwasher dry when not in use.

By following these tips, you can enjoy a clean and efficient dishwasher that will make your life easier. So, take care of your dishwasher, and it will take care of you!

Prevent Kitchen Fire: Eliminate the Risk

Prevent Kitchen Fire: Eliminate the Risk

Prevent Kitchen Fire

The kitchen is the heart of any home, where delicious meals are prepared and fond memories are made. But did you know that the kitchen is also one of the most common places for fires to start? Kitchen fires can be devastating, causing injuries, property damage, and even fatalities. That’s why it’s crucial to take steps to prevent kitchen fires and be prepared in case one does occur. In this article, we’ll explore the common causes and consequences of kitchen fires, as well as provide practical tips for keeping your kitchen safe and preventing fires. So whether you’re a seasoned chef or a novice cook, read on to learn how to eliminate the risk of kitchen fires and keep your family and home safe.

Read More: Best Way to Clean Oven Racks: Expert Tips and Techniques

Common Causes of Kitchen Fires

The kitchen is a hub of activity, but it’s also a place where accidents can happen. One of the most common accidents in the kitchen is a fire, which can start in a matter of seconds and quickly get out of control. There are many factors that can contribute to kitchen fires, and being aware of them can help you take steps to prevent them. Here are some of the most common causes of kitchen fires:

1. Cooking with high heat: Using high heat for cooking can cause oils and fats to ignite, leading to a fire.

2. Unattended cooking: Leaving food on the stove or in the oven unattended can lead to a fire, especially if the food is left for too long.

3. Grease buildup: Grease and oil can build up on stovetops, ovens, and other cooking surfaces, creating a fire hazard.

4. Electrical appliances: Faulty or damaged electrical appliances, such as toasters, microwaves, and coffee makers, can spark a fire.

5. Combustible materials near the stove: Materials like paper towels, oven mitts, and wooden utensils can easily catch fire if they are too close to the stove.

By being aware of these common causes of kitchen fires, you can take steps to prevent them and keep your kitchen safe.

Tips for Preventing Kitchen Fires

Stay in the Kitchen While Cooking

Staying in the kitchen while cooking is critical. Leaving cooking food or appliances unattended can allow small grease fires or overheating to accelerate into uncontrollable blazes in seconds. Remaining vigilant and present at all times while cooking is key to early fire detection and response.

✅Use a Timer to Keep Track of Cooking Times

Using a timer to actively monitor cooking times is an easy precaution that helps avoid overcooked or burnt food that could ignite and start a fire. Kitchen timers allow cooks to track multiple dishes at once and maintain close supervision over the cooking process even when stepping away briefly. Timers are an essential tool for fire prevention in the kitchen.

✅Keep Flammable Items Away From the Stove

Stowing all flammable items including dish towels, cleaning products, food packaging, and pot holders well away from the stove, oven and any open flames is important. Keeping flammables at a safe distance from heat sources removes fuel and helps ensure fires cannot start or spread easily, even if grease or food particles ignite. Eliminating flammables from the cooking area is a simple way to improve kitchen fire safety.

Clean Grease Buildup Regularly

Regular cleaning of grease and splatters from the stovetop, oven, range hood and surrounding surfaces reduces grease fire hazards significantly. Built-up grease deposits are the leading cause of kitchen fires, so frequent cleaning and degreasing of appliances and the surrounding area helps remove this major fire risk. Staying on top of grease buildup removal is one of the best ways to avoid kitchen fires.

✅Check Electrical Appliances for Damage or Frayed Cords

Inspecting small electrical appliances and their cords regularly and repairing or replacing any with damage prevents electrical fires. Frayed or cracked cords and damages to appliances themselves can spark electrical fires, so checking items like toasters, blenders, mixers and kettles often and fixing or replacing them when needed is important for kitchen safety.

✅Install A Smoke Detector In The Kitchen

Properly installed and functioning smoke detectors in the kitchen can alert to smoke or fire in the earliest stages, allowing rapid response before the blaze grows out of control. However, smoke detectors must be tested regularly to ensure they are operational and batteries must be changed according to the manufacturer’s recommendations for maximum effectiveness. Working smoke detectors double as an early warning system and a way to limit damage from kitchen fires.

What to Do in Case of a Kitchen Fire?

Despite your best efforts to prevent kitchen fires, accidents can still happen. Knowing what to do in case of a fire can help you stay calm and take the appropriate actions to protect yourself and your home. Here are some steps to follow in case of a kitchen fire:

➤Never try to put out a grease fire with water:  If a grease fire occurs, never try to put it out with water. Water can cause the flames to spread and make the fire worse. Instead, turn off the heat source if it’s safe to do so, and smother the flames with a lid or baking soda.

➤Smother a small fire with a lid or baking soda: If you have a small fire in the kitchen, use a lid or baking soda to smother the flames. Cover the pan or pot with a lid to cut off the oxygen supply and smother the flames. If you don’t have a lid, you can use baking soda to extinguish the fire.

➤Use a fire extinguisher for larger fires: If the fire is too large to smother with a lid or baking soda, use a fire extinguisher. Make sure to keep a fire extinguisher in an easily accessible location in the kitchen and know how to use it before a fire occurs.

➤If the fire is out of control, evacuate the house and call 911: If the fire is out of control or spreading quickly, evacuate the house immediately and call 911. Make sure to close the doors behind you to help contain the fire and prevent it from spreading further.

FAQs

Q. What is the best fire protection for kitchens?

The best fire protection for kitchens is a combination of fire suppression systems, such as automatic sprinklers or fire extinguishing systems specifically designed for kitchen fires, along with proper fire safety practices.

Q. What is the best way to prevent a fire?

The best way to prevent a fire is to practice good fire safety habits, such as keeping flammable materials away from heat sources, regularly inspecting and maintaining electrical equipment, using caution when cooking, and having working smoke detectors installed throughout your home or establishment.

Q. How do you treat a kitchen fire?

If a kitchen fire occurs, it is important to remember the acronym “PASS”:

– Pull the pin on the fire extinguisher.
– Aim the nozzle at the base of the fire.
– Squeeze the handle to release the extinguishing agent.
– Sweep the nozzle from side to side while aiming at the base of the fire until it is extinguished. If the fire is too large to handle, evacuate the area immediately and call emergency services.

Q. What is the most common cause of kitchen fires?

The most common cause of kitchen fires is unattended cooking. Leaving cooking appliances, such as stoves or ovens, unattended can lead to overheating, oil or grease fires, or other accidents that can quickly escalate into a fire.

Q. What is the most common fire protection?

The most common fire protection measures include fire alarms, fire extinguishers, and fire sprinkler systems. These are widely used in residential, commercial, and industrial settings to detect and suppress fires.

Q. Which extinguisher is used for kitchen fire?

For kitchen fires involving cooking oils or fats, a Class K fire extinguisher is recommended. Class K extinguishers are specifically designed to handle high-temperature fires and are effective in suppressing kitchen fires.

7. What are the 5 rules for preventing fire?

Here are five important rules for preventing fires:

– Never leave cooking unattended.
– Keep flammable materials away from heat sources.
– Avoid overloading electrical outlets and use caution with electrical appliances.
– Install and maintain smoke detectors throughout your home or establishment.
– Have a fire escape plan and practice it regularly.

8. What are the 10 fire safety tips?

Here are ten fire safety tips to keep in mind:

  1. Install smoke detectors on every level of your home or establishment.
  2. Test smoke detectors regularly and replace batteries as needed.
  3. Keep flammable materials away from heat sources.
  4. Practice safe cooking habits and never leave cooking unattended.
  5. Avoid overloading electrical outlets and use caution with electrical appliances.
  6. Have a fire escape plan and practice it with your family or colleagues.
  7. Keep a fire extinguisher in an easily accessible location.
  8. Regularly inspect and maintain electrical equipment.
  9. Avoid smoking indoors and properly dispose of cigarette butts.
  10. Educate yourself and others on fire safety measures and procedures.

9. What are the 4 main principles of fire prevention?

The four main principles of fire prevention are:

Education: Learn about fire safety measures and educate others.
Detection: Install and maintain smoke detectors to detect fires early.
Suppression: Have fire extinguishers or fire suppression systems in place to suppress fires.
Evacuation: Have a fire escape plan and practice it regularly to ensure a safe evacuation in case of a fire.

Conclusion

Preventing kitchen fires is crucial for keeping your family and home safe. By being aware of the common causes of kitchen fires and taking steps to prevent them, you can significantly reduce the risk of a fire occurring in your kitchen. Additionally, it’s important to be prepared in case of a fire by knowing what to do and having the necessary tools on hand, such as a fire extinguisher and smoke detector. Remember to always stay vigilant in the kitchen, stay in the kitchen while cooking, keep flammable items away from the stove, clean up grease buildup regularly, check electrical appliances for damage, and install a smoke detector in the kitchen. With these tips and precautions, you can enjoy cooking in your kitchen while keeping your family and home safe.

Best Way to Clean Oven Racks: Expert Tips and Techniques

Best Way to Clean Oven Racks: Expert Tips and Techniques

Best Way to Clean Oven Racks

Oven racks are an essential part of cooking and baking, but they can become grimy and dirty with regular use. The importance of cleaning oven racks cannot be overstated, as it not only keeps your oven in good working condition, but also prevents the transfer of bacteria and other contaminants to your food. In this article, we will discuss why it’s crucial to clean oven racks the right way and provide expert tips and techniques to help you get the job done efficiently and effectively.

Read More: Best Way to Clean Microwave: Hello to Spotless Microwave

Deep Cleaning Oven Racks

Deep cleaning your oven racks can be a daunting task, but it is necessary to maintain their functionality and extend their lifespan. Here’s a step-by-step guide to deep cleaning your oven racks:

Step1: Gathering the Cleaning Supplies

Before you begin, gather the necessary cleaning supplies, such as rubber gloves, dish soap, a scrub brush or sponge, and a large tub or sink for soaking.

Step 2: Removing the Oven Racks

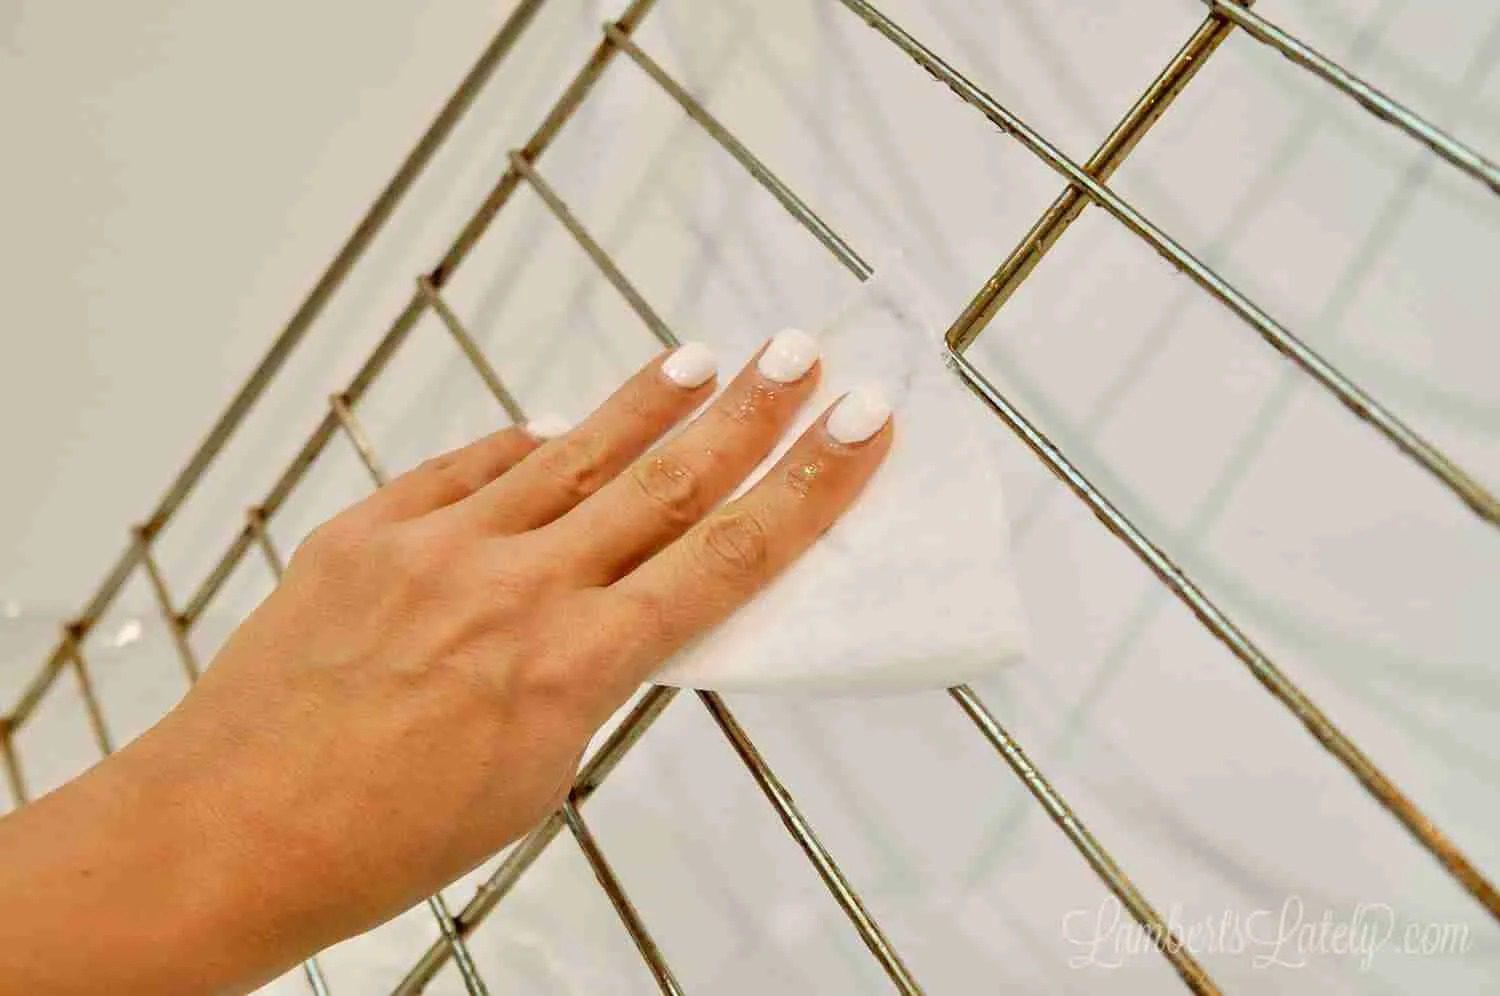
Turn off your oven and ensure it has cooled completely. Carefully remove the oven racks and place them on a protected surface, such as a towel or newspaper.

Step 3: Soaking the Oven Racks

Fill your tub or sink with warm water and add a generous amount of dish soap. Submerge the oven racks in the cleaning solution and let them soak for at least two hours or overnight for best results.

Step 4:Scrubbing and Rinsing the Oven Racks

After soaking, use a scrub brush or sponge to scrub away any remaining grime and food particles. Rinse the oven racks thoroughly with clean water to remove any soap residue.

Step 5:Drying and Reinserting 

Allow the oven racks to air dry or use a clean towel to pat them dry before reinserting them into your oven.

Deep Cleaning Supplies

Natural Cleaners for Oven Racks

If you prefer using natural cleaning products, there are several options available that can effectively clean your oven racks. Here are some popular natural cleaning solutions and a step-by-step guide on how to use them:

1. Vinegar and Baking Soda Solution

Create a paste by mixing equal parts white vinegar and baking soda. Apply the paste to your oven racks and let it sit for at least 30 minutes. Use a scrub brush or sponge to scrub away the grime, then rinse with water and dry.

2. Lemon and Salt Solution

Mix the juice of one lemon with enough salt to create a paste. Apply the paste to your oven racks and let it sit for at least 30 minutes. Scrub with a brush or sponge, rinse with water, and dry.

3. Hydrogen Peroxide Solution

Combine equal parts hydrogen peroxide and water in a spray bottle. Spray the solution onto your oven racks and let it sit for at least 30 minutes. Scrub with a brush or sponge, rinse with water, and dry.

Effective Grease Removal from Oven Racks

Grease buildup is a common problem on oven racks, but there are several solutions to effectively remove it:

  • Create a paste by mixing equal parts baking soda and vinegar. Apply the paste to your oven racks and let it sit for at least 30 minutes. Scrub with a brush or sponge, rinse with water, and dry.
  • Fill a tub or sink with warm water and add a generous amount of dish soap. Soak your oven racks for at least two hours or overnight. Scrub with a brush or sponge, rinse with water, and dry.

To prevent future grease buildup, consider lining your oven racks with aluminum foil or using a non-stick cooking spray before cooking.

DIY Cleaning Solutions

 Creating your own cleaning solutions can be cost-effective and eco-friendly. Here are some DIY cleaning solutions for oven racks:

Tip 1: Salt and Vinegar Solution

Mix equal parts salt and white vinegar to create a paste. Apply the paste to your oven racks, let it sit for at least 30 minutes, scrub with a brush or sponge, rinse with water, and dry.

Tip 2: Dish Soap and Baking Soda Solution

Combine equal parts dish soap and baking soda to create a paste. Apply the paste to your oven racks, let it sit for at least 30 minutes, scrub with a brush or sponge, rinse with water, and dry.

Tip 3: Ammonia and Water Solution

Mix equal parts ammonia and water in a spray bottle. Spray the solution onto your oven racks and let it sit for at least 30 minutes. Scrub with a brush or sponge, rinse with water, and dry.

FAQs

Q: How do I get my oven racks clean and shiny again?

A: To clean and restore the shine of your oven racks, you can follow these steps: Remove the oven racks from the oven. Fill a bathtub or a large sink with warm water and add a few drops of dish soap. Place the oven racks in the soapy water and let them soak for at least 1-2 hours. Use a scrub brush or sponge to remove any remaining grime or residue. Rinse the racks thoroughly with clean water and dry them with a towel. If there are still stubborn stains, you can make a paste of baking soda and water, apply it to the racks, and let it sit for 15-20 minutes before scrubbing and rinsing again.

Q: What is the best thing to clean oven racks with?

A: One of the most effective cleaners for oven racks is a mixture of dish soap and warm water. You can fill a sink or bathtub with warm water, add a few drops of dish soap, and let the racks soak for a couple of hours. After soaking, use a scrub brush or sponge to remove any remaining grime. For stubborn stains, you can make a paste of baking soda and water and apply it to the racks before scrubbing.

Q: Does vinegar clean oven racks?

A: Yes, vinegar can be used to clean oven racks. You can create a cleaning solution by mixing equal parts vinegar and water. Place the oven racks in a large plastic bag or a bathtub, pour the vinegar solution over them, and let them soak for a few hours. After soaking, scrub the racks with a brush or sponge to remove any remaining grime. Rinse them thoroughly with water and dry them before placing them back in the oven.

Q: What is the best way to clean oven glass?

A: To clean oven glass, you can follow these steps: Allow the oven to cool completely. Make a paste by mixing baking soda and water. Apply the paste to the glass, focusing on any stubborn stains or grease. Let the paste sit on the glass for 15-20 minutes. Use a damp cloth or sponge to scrub the glass gently. Wipe away the paste with a clean, damp cloth. For any remaining residue, you can spray vinegar on the glass and wipe it clean. Dry the glass with a clean cloth.

Q: Can toothpaste clean oven racks?

A: While toothpaste can be effective for cleaning certain surfaces, it is not recommended for cleaning oven racks. Toothpaste is not designed to handle the tough grease and grime that accumulates on oven racks. It’s best to use a dedicated oven cleaner, dish soap, or a mixture of baking soda and water to clean your oven racks effectively.

Q: How do I clean my oven with baking soda and vinegar?

A: To clean your oven with baking soda and vinegar, you can follow these steps: Remove the oven racks and set them aside. Make a paste by mixing baking soda and water until it forms a spreadable consistency. Apply the baking soda paste to the interior surfaces of the oven, avoiding the heating elements. Let the paste sit overnight or for at least 12 hours. After the waiting period, use a damp cloth or sponge to wipe away the dried baking soda paste. Spray vinegar onto the surfaces and wipe them clean with a cloth or sponge. Rinse the cloth or sponge and wipe the surfaces again to remove any remaining residue. Dry the interior of the oven with a clean cloth before placing the oven racks back inside.

Q: How do I deep clean my oven?

A: Deep cleaning your oven involves removing stubborn grease and grime from the interior surfaces. Here’s a step-by-step guide:
1. Remove the oven racks and set them aside.
2. Create a paste by mixing baking soda and water until it forms a spreadable consistency.
3. Apply the baking soda paste to the interior surfaces of the oven, avoiding the heating elements.
4. Let the paste sit overnight or for at least 12 hours.
5. After the waiting period, use a damp cloth or sponge to wipe away the dried baking soda paste.
6. For any remaining residue, you can spray vinegar onto the surfaces and wipe them clean with a cloth or sponge.
7. Rinse the cloth or sponge and wipe the surfaces again to remove any remaining residue.
8. Dry the interior of the oven with a clean cloth before placing the oven racks back inside.

Q: Can you clean oven racks with tin foil?

A: While tin foil can be used to line the bottom of your oven to catch spills, it is not recommended to clean oven racks with tin foil. The foil may not effectively remove grease and grime, and it can potentially damage the racks or create a fire hazard if it comes into contact with the heating elements. It’s best to use other cleaning methods, such as soaking the racks in soapy water or using a dedicated oven cleaner.

Q: How do you clean oven racks without a bath?

A: If you don’t have access to a bathtub or large sink for soaking the oven racks, you can still clean them effectively. Here’s an alternative method: Lay old towels or newspapers on the floor to protect it from any drips or spills. Place the oven racks on top of the towels or newspapers. Spray the racks with a commercial oven cleaner or a mixture of dish soap and warm water. Let the cleaner sit on the racks for a few minutes to loosen the grime. Use a scrub brush or sponge to scrub the racks, paying extra attention to any stubborn stains. Rinse the racks with water from a spray bottle or a damp cloth. Dry the racks thoroughly before placing them back in the oven.

Q: What is the best and safest way to clean an oven?

A: The best and safest way to clean an oven is by using a combination of baking soda, water, vinegar, and dish soap. Here’s a step-by-step guide: Remove the oven racks and set them aside. Create a paste by mixing baking soda and water until it forms a spreadable consistency. Apply the baking soda paste to the interior surfaces of the oven, avoiding the heating elements. Let the paste sit overnight or for at least 12 hours. After the waiting period, use a damp cloth or sponge to wipe away the dried baking soda paste. Spray vinegar onto the surfaces and wipe them clean with a cloth or sponge. Rinse the cloth or sponge and wipe the surfaces again to remove any remaining residue. For stubborn stains, you can use a mixture of dish soap and warm water to scrub the surfaces. Dry the interior of the oven with a clean cloth before placing the oven racks back inside.

Q: Can you self-clean oven racks?

A: It depends on the manufacturer and model of your oven. Some ovens have a self-cleaning feature that can clean both the interior and the racks. However, not all oven racks are designed to withstand the high temperatures of the self-cleaning cycle. It’s best to consult your oven’s manual or contact the manufacturer to determine if it is safe to clean the racks using the self-cleaning feature. If it is not recommended, you can use other cleaning methods mentioned earlier to clean the oven racks separately.

Conclusion

Cleaning your oven racks regularly is crucial to maintaining a clean and safe cooking environment. The best way to clean your oven racks will depend on your personal preferences and the cleaning supplies you have available. Whether you choose deep cleaning, natural cleaners, or DIY solutions, these expert tips and techniques will help you effectively and efficiently clean your oven racks. Remember to always use caution when handling chemicals and to allow your oven racks to dry thoroughly before reinserting them into your oven. By following these guidelines, you can keep your oven racks in optimal condition and ensure a safe and enjoyable cooking experience.