How Many Table Spoons Are in A Cup?

Blog Standard

How Many Table Spoons Are in A Cup<br />

Cooking and baking can be confusing sometimes, especially when recipes use different measurements like cups and tablespoons. Ever wonder how many tablespoons you need to make a cup? And does it matter what you’re measuring? Don’t worry! This article will help you understand these measurements so you can cook and bake anything without getting mixed up.

Read More: The Best Over the Range Microwaves for Modern Kitchens

What Is a Tablespoon?

A tablespoon is a unit of volume equal to 3 teaspoons or 1/2 fluid ounce. One tablespoon is equivalent to 14.7868 milliliters, but for nutrition labeling, it is rounded to 15 milliliters.

The tablespoon is a US customary unit of volume. Tablespoons can be abbreviated as tbsp, T, Tbls, or Tb. For example, 1 tablespoon can be written as 1 tbsp, 1 T, 1 Tbls, or 1 Tb.

The tablespoon is a commonly used measurement, particularly in cooking and baking recipes, to measure larger volumes compared to the smaller teaspoon.

What Is a Cup?

A cup is a unit of volume equal to 16 tablespoons or 8 fluid ounces. One standard US customary cup is equal to 236.588 milliliters, but for nutrition labeling, it is defined as 240 milliliters.

The metric cup is different, equal to 250 milliliters, while in Japan a cup is 200 milliliters. The cup is a US customary unit of volume.

Cups can be abbreviated as c or C. For example, 1 cup can be written as 1 c or 1 C. The cup is a commonly used measurement unit, especially in cooking and baking recipes, to measure larger volumes compared to smaller units like tablespoons and teaspoons.

It’s important to note the difference between a US customary cup, a metric cup, and a teacup, as they represent different volumes.

Cup to Tablespoon Conversion Table

Cups Tablespoons
1 c 16 tbsp
2 c 32 tbsp
3 c 48 tbsp
4 c 64 tbsp
5 c 80 tbsp
6 c 96 tbsp
7 c 112 tbsp
8 c 128 tbsp
9 c 144 tbsp
10 c 160 tbsp
11 c 176 tbsp
12 c 192 tbsp
13 c 208 tbsp
14 c 224 tbsp
15 c 240 tbsp
16 c 256 tbsp
17 c 272 tbsp
18 c 288 tbsp
19 c 304 tbsp
20 c 320 tbsp
21 c 336 tbsp
22 c 352 tbsp
23 c 368 tbsp
24 c 384 tbsp
25 c 400 tbsp
26 c 416 tbsp
27 c 432 tbsp
28 c 448 tbsp
29 c 464 tbsp
30 c 480 tbsp
31 c 496 tbsp
32 c 512 tbsp
33 c 528 tbsp
34 c 544 tbsp
35 c 560 tbsp
36 c 576 tbsp
37 c 592 tbsp
38 c 608 tbsp
39 c 624 tbsp
40 c 640 tbsp

Different Cup And Tablespoon Sizes

Converting between cups and tablespoons can be tricky because there are so many sizes out there. That’s why we made a converter to help you out. If you want to learn more about the different sizes of cups and tablespoons worldwide, check out our article. We’ve also included a simple table for quick reference. Plus, you can convert cups to pints too!

Recipe Country ML US Tablespoons (14.79ml) Metric Tablespoons (15ml) UK Imperial Tablespoons (17.76ml)
US Customary Cup (recipes) 236.59 16 15.77 13.32
US Legal Cup (nutrition) 240 16.23 16 13.51
UK Metric Cup 250 16.91 16.67 14.08
UK Imperial Cup (old recipes) 284.13 19.22 18.94 16
Australian Cup 250 16.91 16.67 14.08
Canadian Cup 250 16.91 16.67 14.08
South African Cup 250 16.91 16.67 14.08

Teaspoons to Tablespoons Conversions

Here’s a handy guide for converting teaspoons to tablespoons:

  •  1 tablespoon equals 3 teaspoons.
  • ¾ teaspoon equals ¼ tablespoon
  • 1 ½ teaspoons equal ½ tablespoon
  • 3 teaspoons equal 1 tablespoon, which also equals ½ fluid ounce
  • 6 teaspoons equal 2 tablespoons, which is the same as ⅛ cup or 1 fluid ounce
  • 12 teaspoons equal 4 tablespoons, or ¼ cup, or 2 fluid ounces
  • 16 teaspoons equal 5 ⅓ tablespoons, or ⅓ cup, or 2 ⅓ fluid ounces
  • 24 teaspoons equal 8 tablespoons, or ½ cup, or 4 fluid ounces
  • 36 teaspoons equals 12 tablespoons, or ¾ cup, or 6 fluid ounces
  • 48 teaspoons equals 16 tablespoons, or 1 cup, or 8 fluid ounces
  • 96 teaspoons equals 32 tablespoons, or 2 cups, or 16 fluid ounces, which is also 1 pint
  • 192 teaspoons equals 64 tablespoons, or 4 cups, or 32 fluid ounces, which is also 1 quart
  • 768 teaspoons equals 256 tablespoons, or 16 cups, or 128 fluid ounces, which is also 1 gallon

Understanding Basic Measurement Units

Understanding basic measurement units is important for cooking and baking:

  • Teaspoons (tsp) are the smallest and are used for small amounts like spices and extracts.
  • Tablespoons (tbsp) are three times bigger than teaspoons and are good for things like butter and oil.
  • Cups (c) are larger and are used for ingredients like flour and milk.
  • Fluid ounces (fl oz) are for liquids such as water and juice.
  • Milliliters (ml) and liters (L) are used in the metric system, common outside the US.
  • Knowing the difference between US customary and metric systems is key for international recipes.
  • Volume measurements are about space, while weight measurements are about mass. Some recipes prefer weight (like grams or ounces) for accuracy

    Mathematical Formula For Simple Measuring Conversion

    👉 Converting Between Cups and Tablespoons:

    1. To Convert Tablespoons to Cups:
    2. Divide the number of tablespoons by 16.

    For example, if you have 32 tablespoons, you’d do 32 ÷ 16 = 2 cups.

    👉To Convert Cups to Tablespoons:

    1. Multiply the number of cups by 16.

    For instance, if you have 2 cups, you’d do 2 × 16 = 32 tablespoons.

    👉Other Common Conversions:

    1. Teaspoons to Tablespoons: 1 tablespoon equals 3 teaspoons.
    2. Tablespoons to Fluid Ounces: 1 fluid ounce equals 2 tablespoons.
    3. Cups to Pints, Quarts, and Gallons: 2 cups make 1 pint, 4 cups make 1 quart, and 16 cups make 1 gallon.
    4. Fluid Ounces to Cups: 8 fluid ounces equal 1 cup.

    For conversions between US customary and metric systems, you can remember that 1 cup equals approximately 240 ml. If you need more conversions, online converters can help out quickly and easily.

    How to Select the Right Measurement Tool in the Kitchen?

    Here, I will say, that if you do not like feeling like converting every time before recipes then you should consider some alternative ways like digital measuring spoons. Here’s a simple guide to picking the right tools for your kitchen:

    ➜ Measuring Spoons:

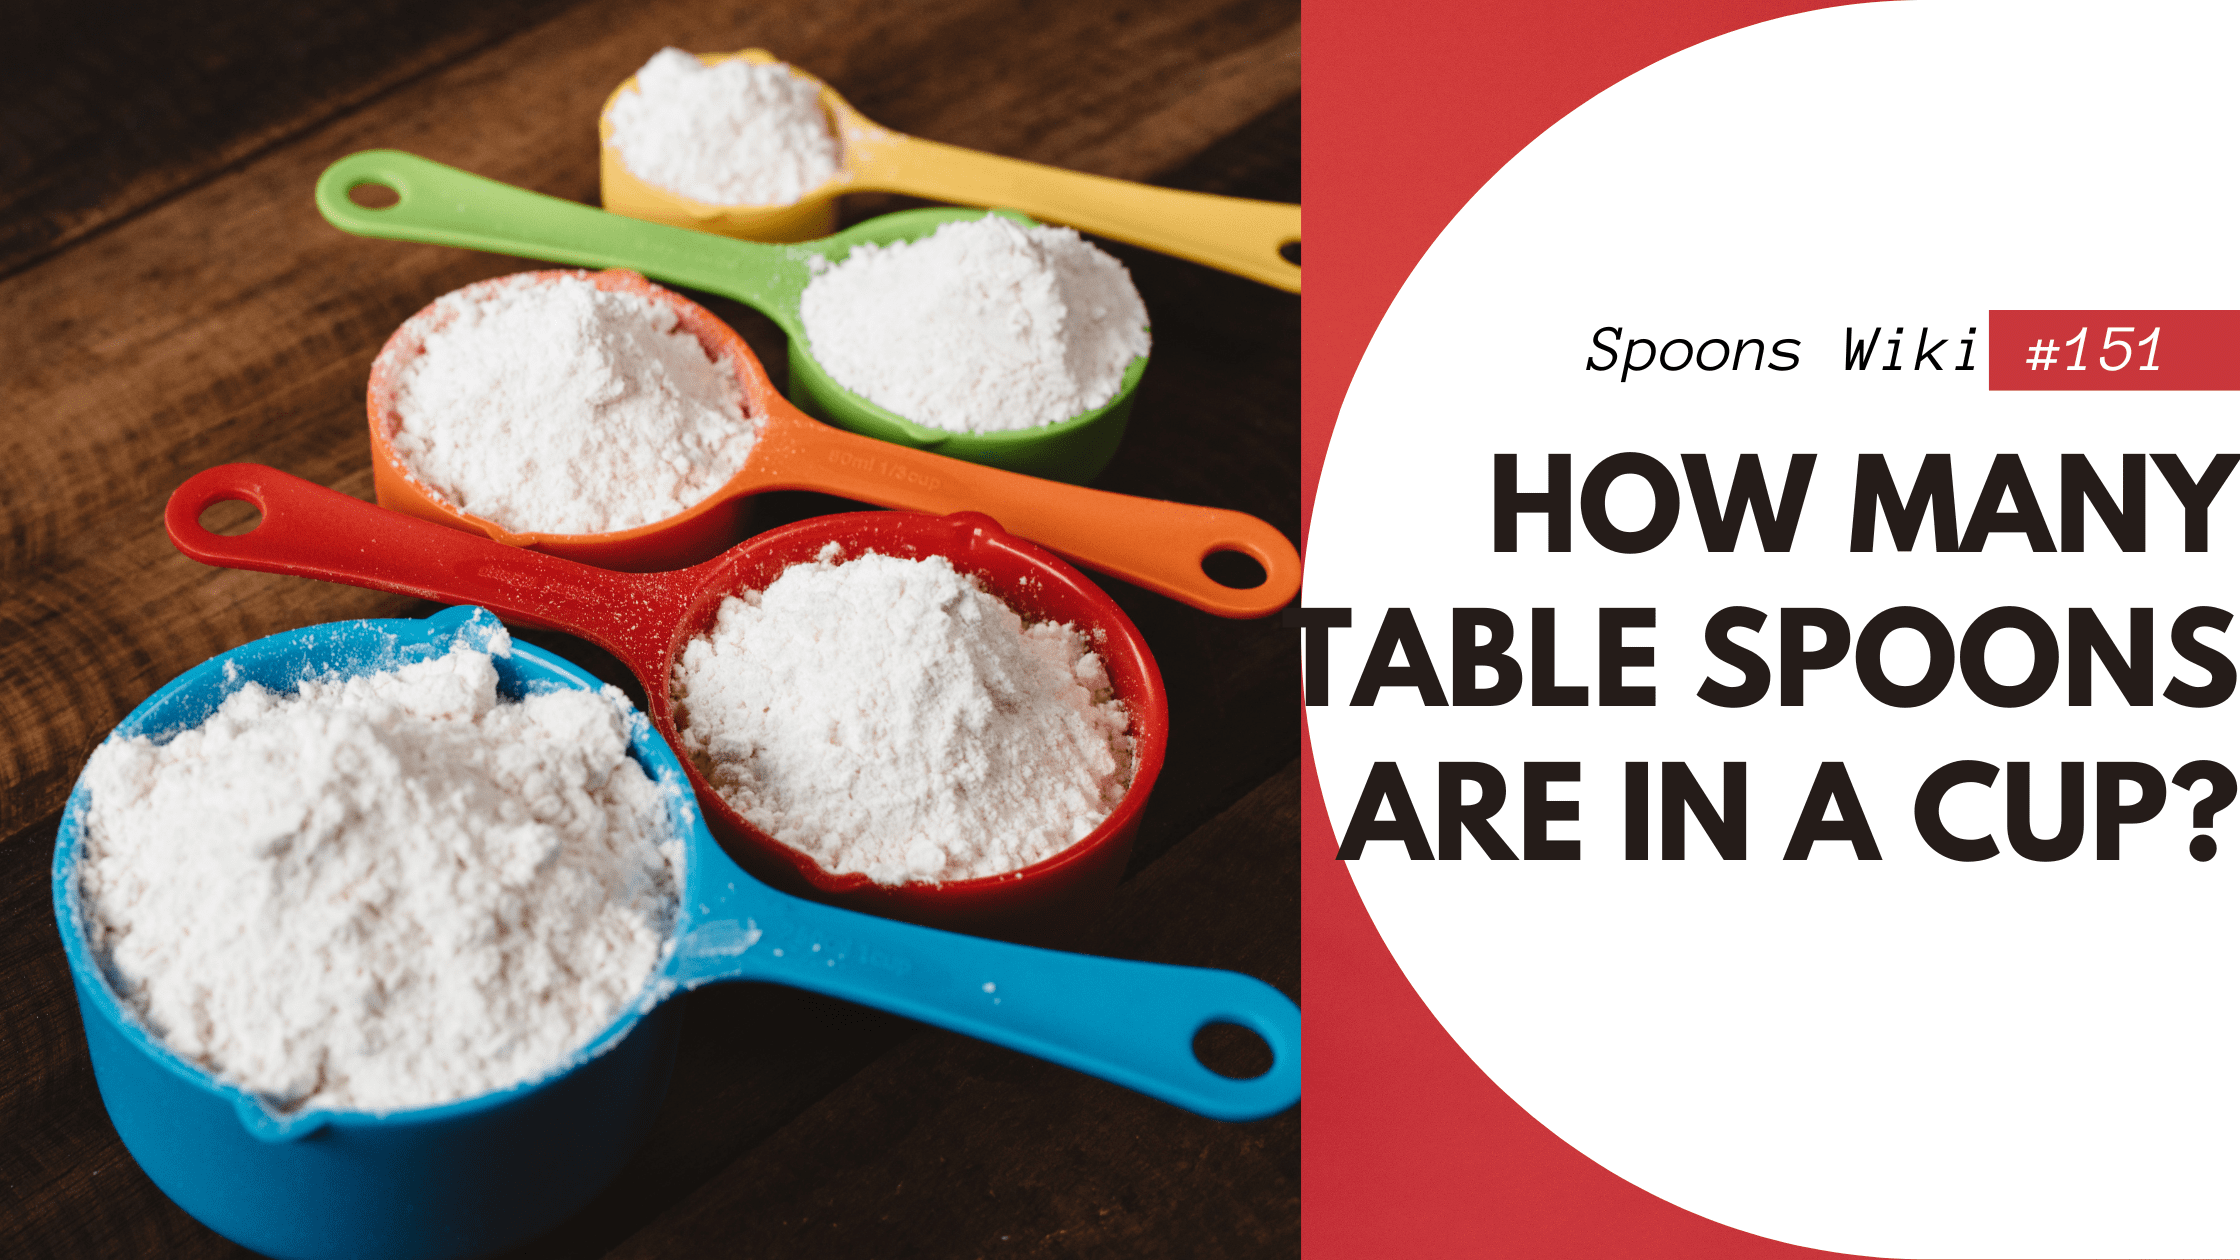
    These are small spoons used for measuring tiny amounts. You’d use them for things like spices, baking powder, or small amounts of liquid ingredients. They usually come in sets with different sizes like teaspoons and tablespoons. These types of measuring spoons are easy to use hen especially you are making a new recepie with controlled ingredients. Look at these below measuring spooos, this set of measuring spoons comes with 5 teaspoons as well as two tablespoons and a leveler. So, simply by using such tools, you can precisely measure your cooking ingredients. 
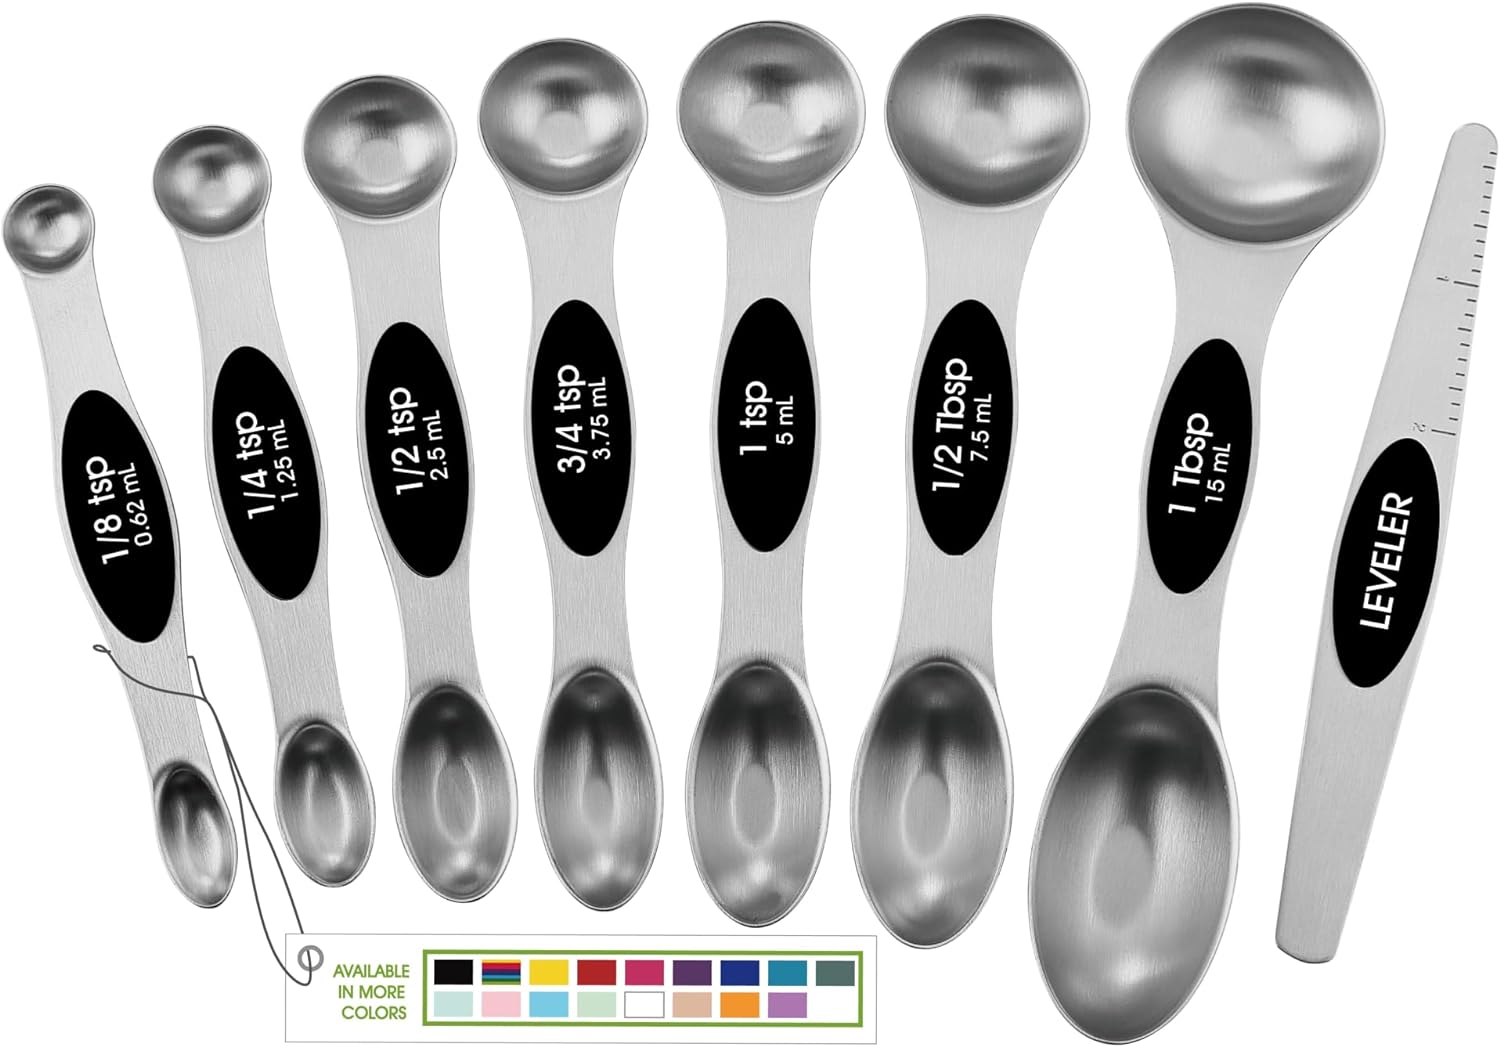
    Measuring Spoons

    ➜ Measuring Cups:

    These are like small containers with handles. They’re for measuring bigger amounts of dry stuff like flour, sugar, or oats. Measuring cups come in different sizes, so you can measure the exact amount you need. They’re pretty easy to use, you just scoop and level off the top.
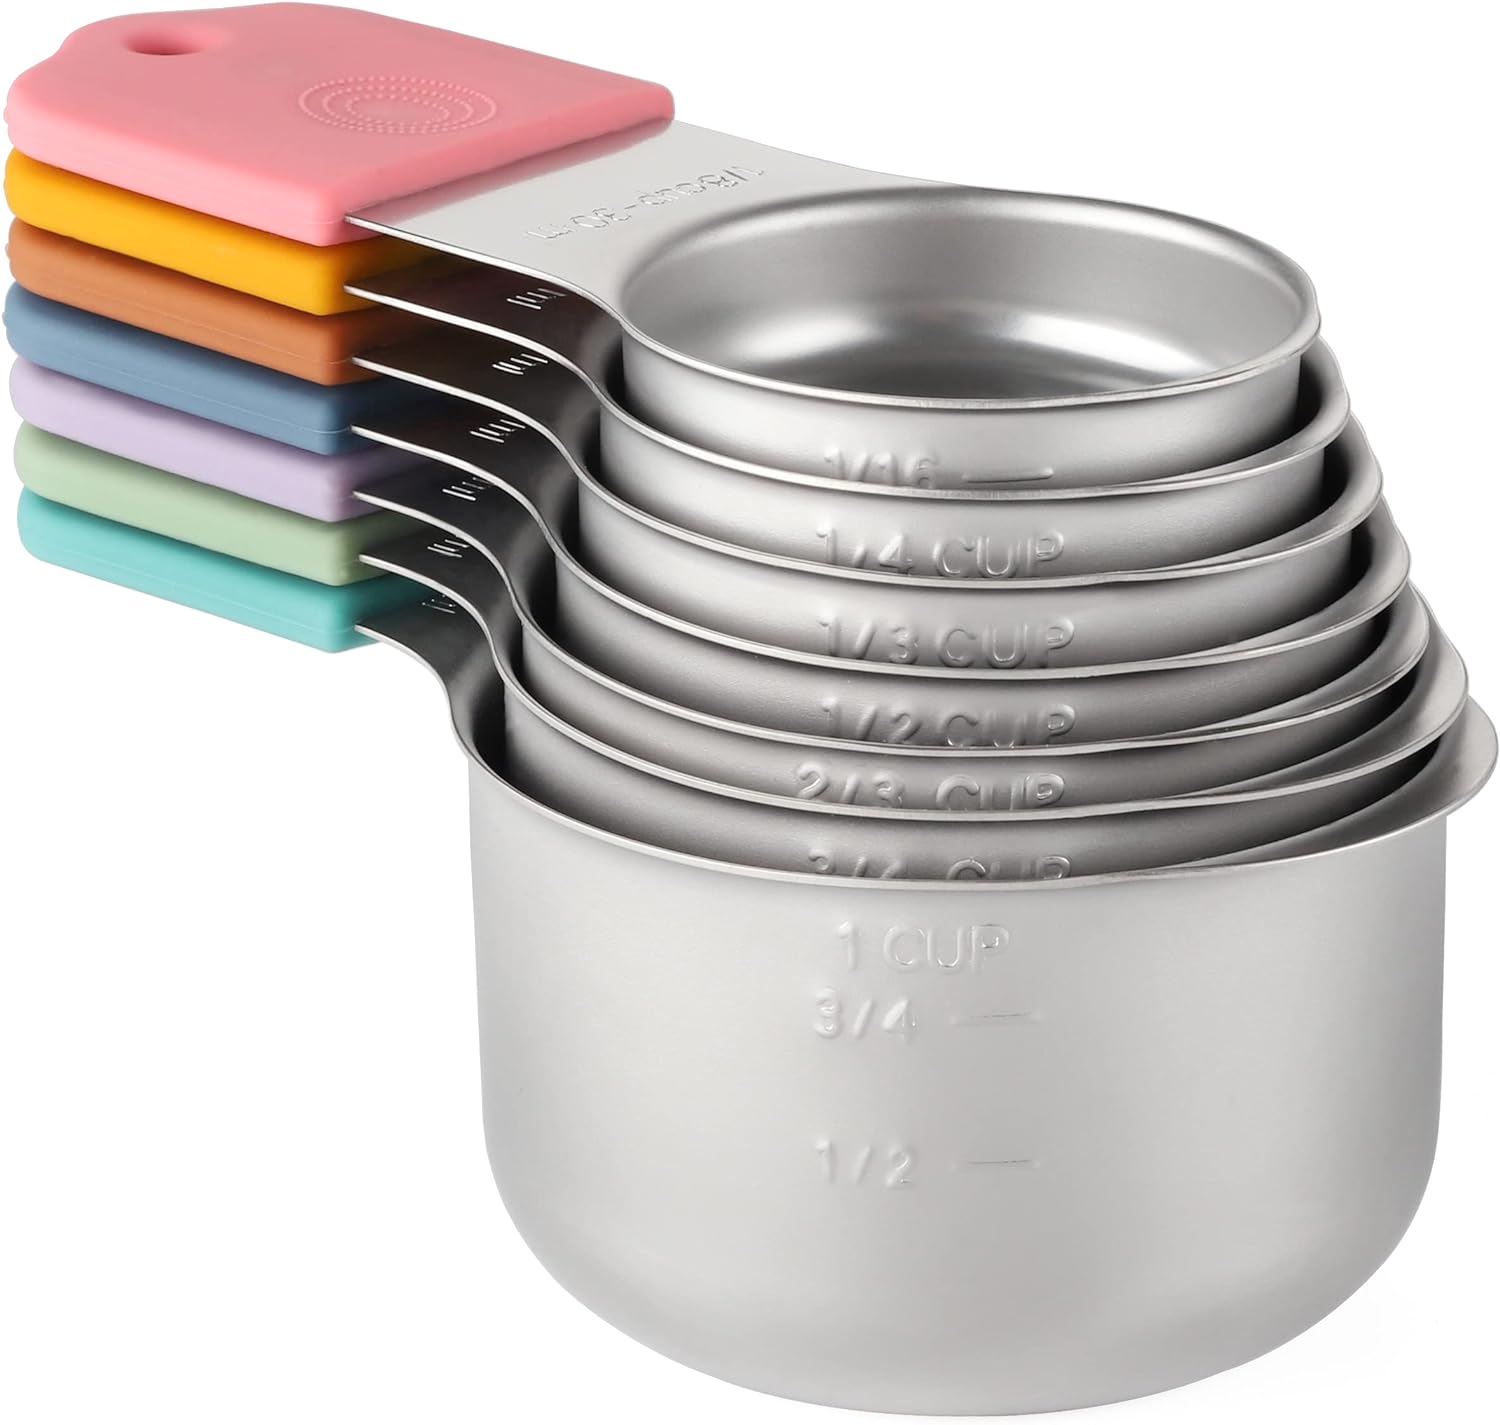
    Measuring Cups Set

    ➜Liquid Measuring Cups:

    These are special cups designed for measuring liquids like water, milk, or juice. They have a spout and a handle, which makes it easy to pour without spilling. They usually have measurements marked on the side, so you can see exactly how much you’ve poured.
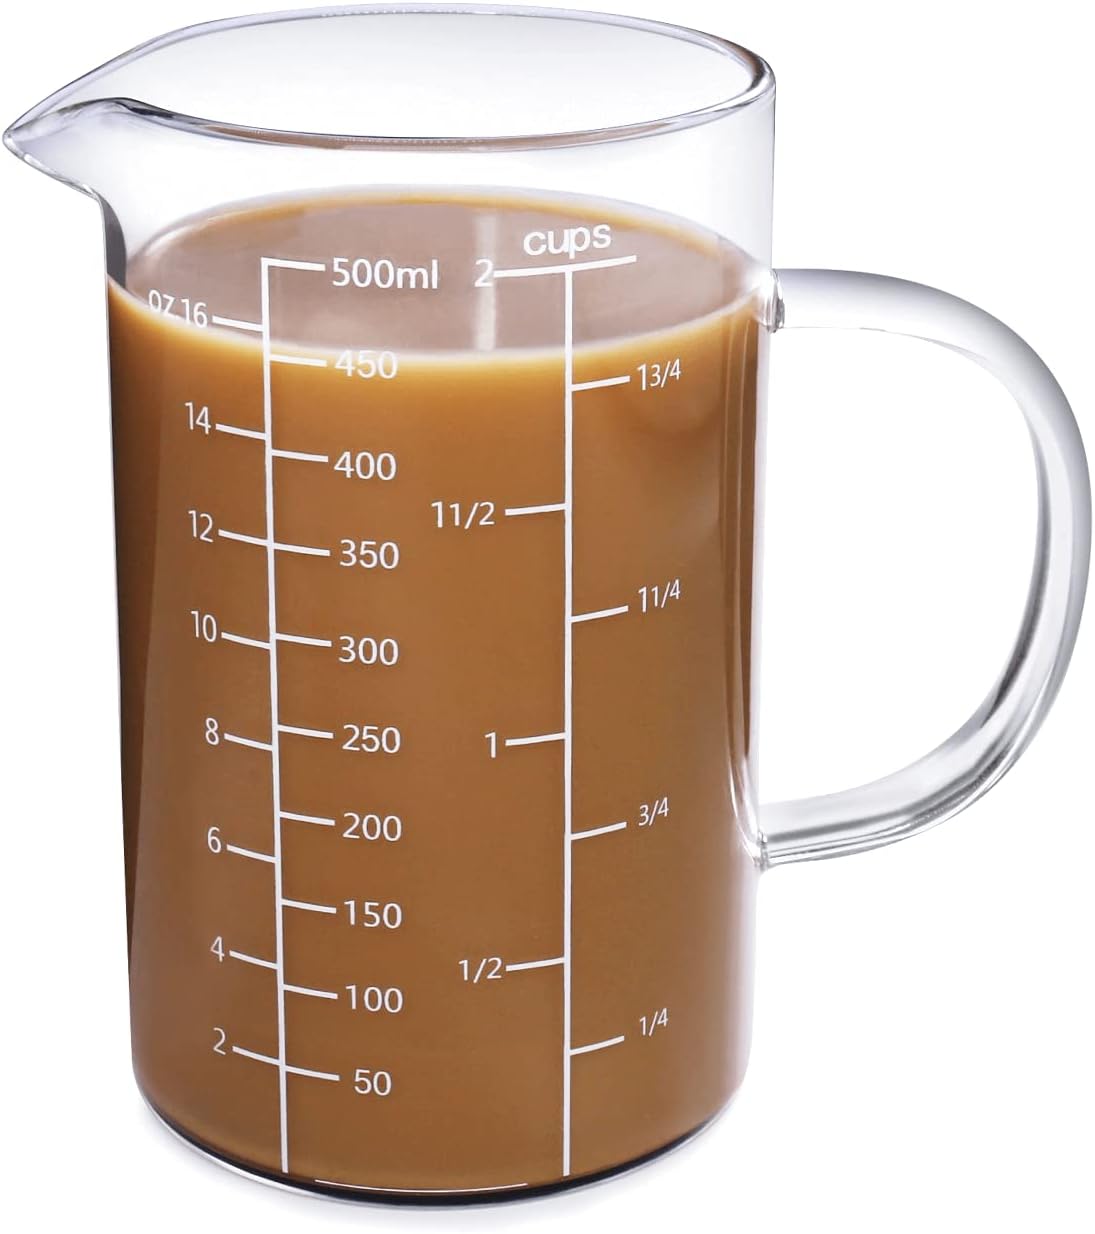
    liquid measuring cups

    ➜Digital Kitchen Scale:

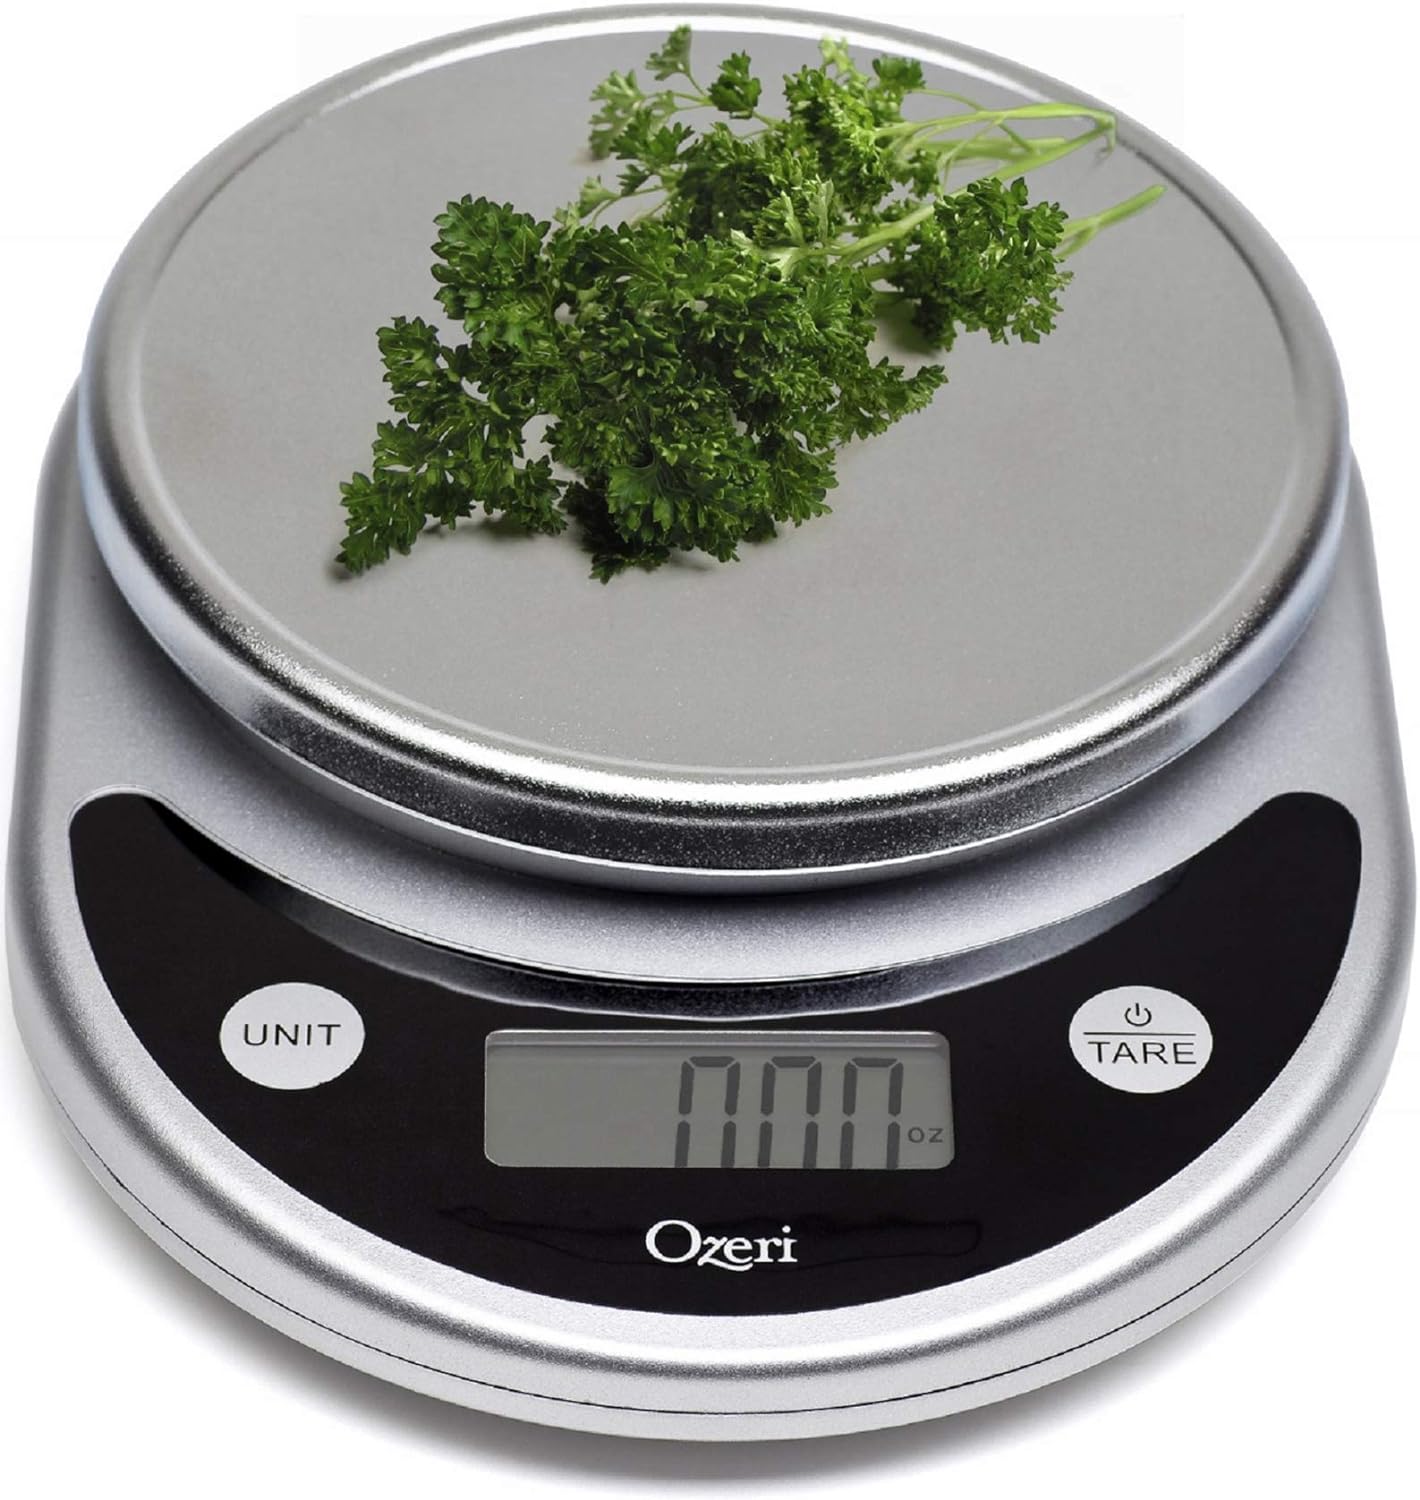
    This is a gadget that helps you measure ingredients by weight. It’s like a small flat machine with a digital screen. You put your bowl or container on top, then add your ingredients until you reach the right weight. It’s really precise and great for recipes that need exact measurements.

    Digital Multifunction Kitchen and Food Scale

    Frequently Asked Questions (FAQs)

    How many tablespoons in a cup of butter?

    A cup of butter has 16 tablespoons. Butter is often sold in sticks, with 1/2 cup (8 tablespoons) or 1 cup (16 tablespoons) options, making it easy to measure.

    How many tablespoons in a cup of sugar?

    There are 16 tablespoons in a cup of sugar. This applies to cane sugar, powdered sugar, or coconut sugar.

    How many tablespoons in a cup of flour?

    A cup of flour also has 16 tablespoons, regardless of the type of flour.

    How many tablespoons in a cup of coffee?

    A standard measuring cup holds 16 tablespoons, but coffee cups vary in size, typically holding between 12 to 24 tablespoons.

    How many tablespoons in a cup?

    There are 16 tablespoons in a cup, which applies to any ingredient measured by volume.

    How many tablespoons in a cup and a half?

    In a cup and a half (1.5 cups), there are 24 tablespoons.

    How many tablespoons in a cup of brown sugar?

    Like white sugar, brown sugar also has 16 tablespoons in a cup. Pack the brown sugar tightly into the measuring cup for accuracy.

    How many tablespoons in a half cup?

    A half cup (1/2 cup) contains 8 tablespoons.

    How many tablespoons in a quarter cup?

    There are 4 tablespoons in a quarter cup.

    What’s the conversion from tablespoons to cups?

    To convert tablespoons to cups, divide the number of tablespoons by 16. For example, 32 tablespoons equal 2 cups.

    How do I convert cups to tablespoons?

    To convert cups to tablespoons, multiply the number of cups by 16. For instance, 1.5 cups equals 24 tablespoons.

    Can I use a regular spoon as a tablespoon?

    While a regular spoon may be similar in size, it’s best to use an actual tablespoon measurement for accurate results in cooking and baking.

    How to Convert Cups to Tablespoons?

    Converting cups to tablespoons is easy. Here’s how:

    Conversion Ratio: Multiply the volume in cups by the conversion ratio: 16 tablespoons per cup.
    Formula: You can use this formula: tablespoons = cups × 16.


    Conclusion

    Knowing how to switch between tablespoons and cups is super important for cooking and baking. When you understand these measurements and use the right tools, you can make sure your food always tastes great and turns out just how you want it.

    Now that you’ve learned the basics, it’s time to have fun trying out different recipes! Whether you’re making dinner or baking something sweet, your new skills will help you make delicious dishes every time you cook. So, get ready to explore and have fun in the kitchen!

    How to Store Apples: 5 Genius Ways

    How to Store Apple

    How to Store Apples: 5 Genius Ways

    How to Store Apple

    If you love the fresh, crisp taste of apples but find yours often go bad before you can finish them, you’ll want to learn the proper way to store apples. Storing apples correctly is key to enjoying this healthy and versatile fruit for much longer. Too many people throw away apples prematurely, not knowing the best storage methods. As an apple lover, I was determined to find a solution to the short shelf life problem. Through trial and error, I discovered a game-changing way to keep apples fresh that flies in the face of conventional wisdom. In this blog, I will share the top apple storage tips and tricks I’ve learned to help you stop wasting your money on rotten apples and enjoy crisp, fresh apples for weeks on end. Learn how to store apples the right way and always have delicious, healthy apples on hand.

    ⇨ How to Choose the Best Apples for Storage?

    It’s important to pick apples that will last the longest. With these below tips, you’ll pick apples that stay fresh for enjoying later!

    👉 Tip 1: First, sort through the apples and use any that are bruised or spoiled right away.

    👉 Tip 2: Damaged apples can make the others go bad faster. Separate any bruised apples from the ones you want to store for later.

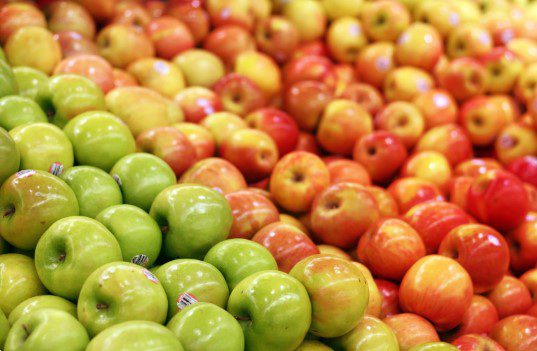
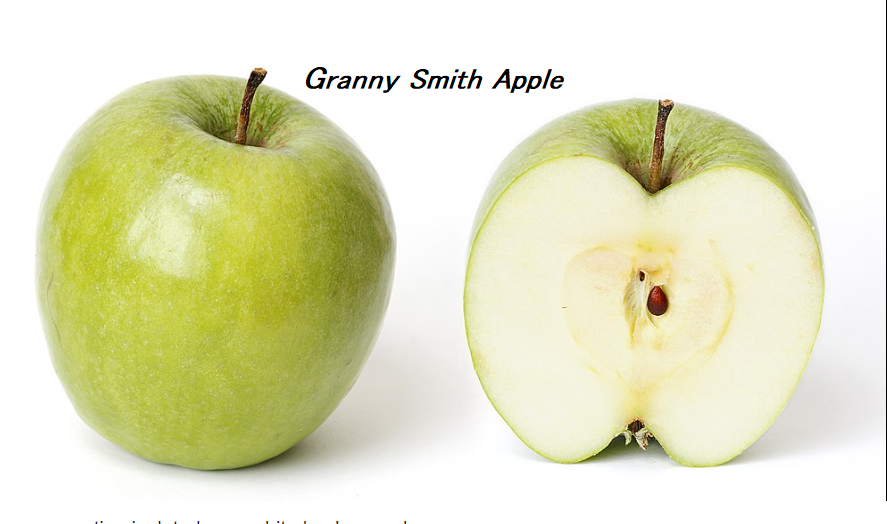
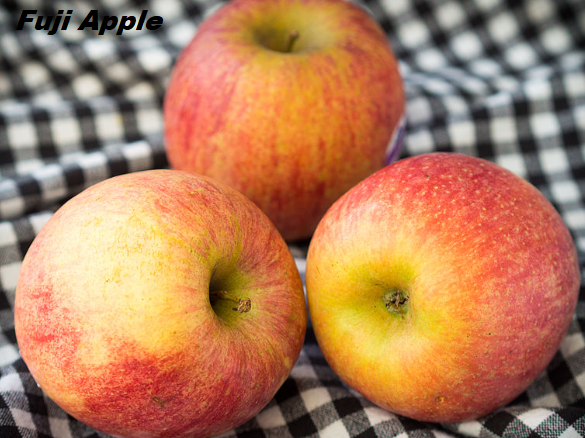
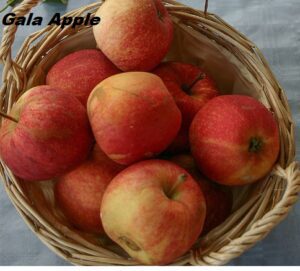
    👉 Tip 3: Go for crispy, tart types of apples like Granny Smith, Fuji, and Gala. These thicker-skinned apples tend to last 6 months or longer in storage.

    👉 Tip 4: Sweeter apples like Golden Delicious won’t keep as well. Apples still on the tree or from an orchard/farm stay fresher than store-bought.

    👉 Tip 5: Look for apples with stems still attached too. Without the stem, more germs can get inside and cause rotting.

    👉 Tip 6: Generally, smaller apples and those with thicker skins keep longest. Tart apples like Granny Smith stay good for 4 months instead of just 2 like some others. Avoid too-sweet, thin-skinned types.

    Granny Smith Apple
    Fuji Apple
    Gala Apple

    ⇨ How to Store Apples for Short-Term?

    Apples are a delicious and healthy fruit, but they can spoil quickly if not stored properly. Here are some tips for storing apples short:

    ① Room Temperature Storage

    Whole apples can be kept on the counter, away from direct sunlight, for up to a week.

    ② Refrigerator Storage

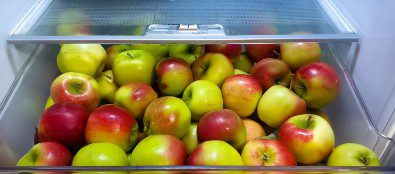
    Whole apples can last up to six weeks in the refrigerator crisper drawer. To keep them fresh, wrap the apples in a damp paper towel or place them in a plastic bag with holes. Store apples away from other produce because the ethylene gas that apples give off will make other fruits and vegetables ripen more quickly.

    ③ Freezer Storage

    While freezing apples is not ideal for short-term storage, it can be done to preserve them for later use. Peel and core the apples, then toss them with lemon juice to prevent browning. Freeze them on a baking sheet before transferring them into a freezer-safe bag.

    ④ Lemon Juice for Sliced Apples

    Cut apples will be kept in the refrigerator for three to five days. You can toss the apple slices in lemon juice to avoid browning.

    ⑤ Storing Apples in Bags

    Placing a few apples in a clear freezer bag (biodegradable options are available online) or paper bags can help keep them fresh in the fridge for up to a week.

    ⑥ Apple Racks

    Investing in an apple rack can help store larger apples over winter. Wrap each apple in a single sheet of newspaper and place them in single layers on a tray. Store the apples in a cold and humid spot such as an unheated basement, cellar, unheated garage, or even a cool room with the radiator turned off. Check them regularly to ensure there are no rotten apples among them.

    ⑦ Keep Apples Separated

    Keep apples separate from one another and consider wrapping them individually in towels. This helps prevent ethylene gas, which many ripe fruits emit, from causing nearby pieces of produce to prematurely ripen or rot. Pull out any that are rotting or not good as soon as you spot them.

    By following these tips, you can keep your apples fresh and delicious for weeks to come.

    ⇨ How to Store Apples for Long Term?

    Storing apples for a few months requires specific considerations to maintain their freshness and quality. Here are the best practices for long-term apple storage:

    ① Choose a Cool and Dark Place:

    Apples thrive in dark, cool environments similar to a root cellar. If you don’t have a root cellar, consider using an unheated basement, garage, or a cool nook in your home. Ensure the area is well-ventilated to prevent moisture buildup.

    ② Wrap Each Apple:

    To extend the shelf life of whole apples, wrap each one individually in paper. Newspaper, paper bags, paper towels, or butcher paper are all suitable options. This added layer of protection helps prevent the spread of spoilage if any apples begin to decay.

    ③ Store in a Single Layer:

    Place the wrapped apples in a box or drawer, ensuring they are arranged in a single layer and not touching each other. This prevents bruising and allows for proper air circulation.

    ④ Monitor Regularly:

    Check on the stored apples once a week. Remove any that show signs of decay to prevent spoilage from spreading.

    ⑤ Freezing Apples:

    Apples can also be frozen for long-term storage, lasting up to six months in the freezer. To prevent browning, toss the cut apples in lemon juice and dry them before freezing. You can flash freeze the apples overnight and then transfer them to freezer bags for convenient storage.

    ⑥ Ideal Root Cellar Conditions:

    If you’re storing apples for up to a year, aim to create a root cellar-like environment. The ideal conditions include:
    ↱ Temperature: 32 to 40 degrees Fahrenheit (similar to a refrigerator)
    ↱ Humidity: High levels between 80 and 95% to prevent moisture loss
    ↱ Ventilation: Adequate air circulation to deter mold growth
    ↱ Darkness: Minimize light exposure to preserve freshness

    How Long Do Apples Last in the Fridge?

    Apples can last up to one month and even up to six weeks when properly stored in the fridge. However, the quality, texture, and taste may not be the same as a fresh apple after a month, though it should still be edible.

    To maximize the shelf life of apples, keep them whole until just before you eat or use them in a recipe. Cutting into an apple exposes the flesh to oxygen, which causes it to slowly turn brown. You can slow down this process by adding a little acid (such as lemon juice or vinegar) or water to the apple.

    Additional Tips 💁‍♀️:

    👉 Select perfect, bruise-free apples for long-term storage.
    👉 Avoid overcrowding the storage area to ensure proper air circulation.
    👉 Use a hygrometer to monitor humidity levels if storing in a makeshift root cellar.
    👉 Consider using moisture-absorbing materials like silica gel packets to control excess moisture.

    By following these guidelines, you can successfully store apples for several months and enjoy their crisp and delicious flavor throughout the year.

    ⇨ Frequently Asked Questions 

    ⁉️ How long can apples be stored?

    Apples can be stored for up to six months if stored properly in cool and dark conditions.

    ⁉️ Should I refrigerate or leave apples at room temperature?

    It depends on your preference. Refrigerating apples can prolong their freshness, while storing them at room temperature allows them to ripen naturally.

    ⁉️ How long do apples last in the fridge?

    Apples can last from 2 weeks to several months in the fridge, depending on the variety.

    ⁉️ Can I store apples with other fruits and vegetables?

    It is not advisable to store apples next to other fruits and vegetables because apples release ethylene gas, which can ripen other produce more quickly. Apples are also porous and can absorb flavors around them.

    ⁉️ How should I store whole apples in the kitchen?

    For maximum freshness, keep a bowl of whole apples out of direct sunlight. If you have more than a bowlful, store them in your refrigerator’s bottom-shelf crisper drawer.

    ⁉️ How should I store apples for long-term storage?

    If you want to store apples for the long term, create a root cellar-like environment in your home. This includes maintaining a temperature range of 32 to 40 degrees F, high humidity levels, adequate ventilation, and darkness.

    ⁉️ Can I freeze apples?

    Yes, you can freeze apples. However, freezing can make them lose their crispness. Frozen apples are ideal for making pies, tarts, applesauce, and apple butter.

    ⁉️ How should I store cut apples?

    To store cut apples, choose varieties that don’t brown quickly, such as Cosmic Crisp. Toss other varieties in a little lemon juice to prevent browning. Store the slices in an airtight container in the refrigerator.

    ⁉️ How do I prepare apples for freezing?

    Slice the apples first and spread them out on a baking sheet. Flash-freeze them for a few hours, then transfer the frozen slices to a plastic bag and store them in the freezer.

    ⁉️ Can I use frozen apples without thawing?

    Yes, you can use frozen apples directly in recipes without thawing. Simply place the frozen slices into a pie crust or other dishes and bake accordingly.

    How to Store Fruits Professionaly: Apple to Peaches

    How to Store Fruits

    How to Store Fruits Professionaly: Apple to Peaches

    How to Store Fruits

    Fruits are an essential part of our diet, providing us with essential nutrients and vitamins. However, they are perishable, and proper storage is crucial to ensure they remain fresh and nutritious for as long as possible. In this blog, we will discuss the proper way to store fruits, from apples to peaches, to maximize their shelf life and maintain their quality. We will also discuss the consequences of not storing fruits properly, and the benefits of storing them correctly. So, if you want to learn the best way to store your fruits, read on!

    1. How to Store Apples

    ① If You Want to Keep your Apples Fresh for a Few Weeks, Try these Tips:

    Store whole apples at room temperature, away from direct sunlight. They will stay fresh for up to a week.

    To keep apples fresh for up to six weeks, store them in the crisper drawer of your refrigerator. Wrap them in a damp paper towel or place them in a plastic bag with holes. Keep them away from other fruits and vegetables because the ethylene gas they emit can cause them to ripen too quickly.

    If you want to keep apple slices fresh, toss them in lemon juice and store them in the refrigerator for up to five days. This will prevent them from browning.

    ② If You Want to Store Apples for a Few Months, You Have a Few Options:

    Keep your apples in a dark, cool place. If you don’t have a root cellar, you can use your unheated basement or garage. Just make sure it’s cold and well-ventilated.

    Wrap whole apples in paper and store them in a box. If your home is dry, mist the wrapped apples regularly. Check on them once a week and remove any with signs of decay. You can use these apples fresh or cook with them.

    Freeze your apples. Toss cut apples in lemon juice to prevent browning, then dry them. Flash-freeze them overnight, then transfer them to a freezer bag for long-term storage. Frozen apples are best for recipes that require cooked apples, such as apple pie or apple sauce. Keep in mind that freezing will cause the apples to lose their crispness and texture.


    1. How to Store Apples

    ① If you want to keep your apples fresh for a few weeks, try these tips:

    ↱ Store whole apples at room temperature, away from direct sunlight. They will stay fresh for up to a week.

    ↱ To keep apples fresh for up to six weeks, store them in the crisper drawer of your refrigerator. Wrap them in a damp paper towel or place them in a plastic bag with holes. Keep them away from other fruits and vegetables because the ethylene gas they emit can cause them to ripen too quickly.


    ↱ If you want to keep apple slices fresh, toss them in lemon juice and store them in the refrigerator for up to five days. This will prevent them from browning.

    ② If you want to store apples for a few months, you have a few options:

    ↱ Keep your apples in a dark, cool place. If you don’t have a root cellar, you can use your unheated basement or garage. Just make sure it’s cold and well-ventilated.

    ↱ Wrap whole apples in paper and store them in a box. If your home is dry, mist the wrapped apples regularly. Check on them once a week and remove any with signs of decay. You can use these apples fresh or cook with them.

    ↱ Freeze your apples. Toss cut apples in lemon juice to prevent browning, then dry them. Flash-freeze them overnight, then transfer them to a freezer bag for long-term storage. Frozen apples are best for recipes that require cooked apples, such as apple pie or apple sauce. Keep in mind that freezing will cause the apples to lose their crispness and texture.


    Best Bar Spoons 🍸 For Your Bartending Needs

    Best Bar Spoons 🍸 For Your Bartending Needs

    Best Bar Spoons

    When it comes to crafting delicious cocktails, having the right tools is essential. One tool that is often overlooked but plays a crucial role in the art of mixology is the bar spoon. A bar spoon is not just any ordinary spoon – it is specifically designed to meet the needs of bartenders and cocktail enthusiasts. In this article, we will explore the world of bar spoons and discover the best options available in the market. Whether you are a professional bartender or a home mixologist, having the best bar spoon will elevate your cocktail game to new heights.

    ➯ What Makes a Bar Spoon the Best?

    Before we dive into the details of the best bar spoons available, let’s first understand what sets a bar spoon apart from a regular spoon. A bar spoon is typically longer than a standard spoon, allowing for easy stirring in taller glassware. It often features a twisted handle, which serves both functional and aesthetic purposes. The twisted handle helps to create a smoother stirring motion and adds a touch of elegance to your bartending endeavors.

    ➯ How to Properly Stir Your Drink

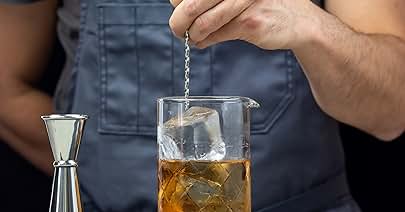
    While some bars may use a regular long-handled spoon, the Japanese bar spoon with its spiral handle is favored for its smooth and effortless stirring motion. Finding a comfortable finger placement is subjective, but the key lies in the design of the lower part of the bar tool.

    1. DIFENLUN 12 Inches Stainless Steel Bar Spoon

    You can elevate your cocktail skills with the DIFENLUN 12 Inches Mixing Spoon Stainless Steel. Constructed from top-notch stainless steel, these extended handle spoons are designed to boost your expertise in bartending. The stylish silver hue adds an elegant touch to your bar arrangement, while the spiral design facilitates effortless mixing and flawless garnishing.

    Measuring 12 inches in length and 1.18 inches in width, these spoons strike a perfect balance between style and functionality. Whether you specialize in professional bartending or enjoy crafting cocktails at home, the DIFENLUN Mixing Spoon is an indispensable tool for consistently crafting impeccable concoctions.

    2. Briout Bar Spoon Cocktail Mixing Stirrers for Drink

    Enhance your cocktail experience with the Briout Bar Spoon Cocktail Mixing Stirrers for Drink. Designed with elegance in mind, these stirring spoons effortlessly blend your favored beverages. Constructed from premium stainless steel and boasting a sleek silver finish, they are both durable and stylish.

    The 12-inch long handle ensures comfortable and precise stirring, catering to the needs of both professional bartenders and cocktail enthusiasts. With product dimensions of 12″L x 1.18″W, this must-have accessory not only adds finesse to your home bar or professional setup but also guarantees mixing perfection

    3.Ortarco 12 Inch Stainless Steel Bar Spoon 

    Introducing the Ortarco 12 Inch Stainless Steel Bar Spoon for Cocktail Mixing with Spiral Handle in Silver 2 Pack – a must-have tool for today’s mixologists. Crafted with utmost care using high-quality stainless steel, this sleek and fashionable bar spoon is guaranteed to leave a lasting impression.

    The elegant spiral handle adds a touch of sophistication, effortlessly elevating your cocktail-making experience. Whether you’re a professional bartender or a passionate home enthusiast, this bar spoon is a game-changer. With its ideal 12-inch length, stirring and mixing have never been easier. Upgrade your barware collection today with the Ortarco 12 Inch Stainless Steel Bar Spoon and take your cocktail game to the next level. Dimensions: 12″L x 1.1″W.

    4. Purefold 15.7/12 Inches Bar Cocktail Spoons Set

    Discover the perfect addition to your cocktail-making arsenal with the Purefold 15.7/12 Inches Bar Cocktail Spoons Set. Crafted from high-quality stainless steel in a sleek silver color, these classic-style spoons exude elegance and durability. Whether you’re a professional bartender or an enthusiastic mixologist, these spoons are designed to enhance your cocktail stirring experience. With a spiral pattern, they effortlessly blend your ingredients while adding a touch of sophistication to your drink presentations. Elevate your craftmanship and create delicious concoctions with this set of two stainless steel cocktail stirring spoons from Purefold.

    5. Zulay Premium 12 Inch Stainless Steel Cocktail Spoon

    Get ready to take your cocktail experience to the next level with the Zulay Premium 12 Inch Stainless Steel Cocktail Spoon. Crafted with care and precision, this bar spoon features a sleek silver color that complements any bar setting or home decor. Made from premium stainless steel, it guarantees long-lasting durability and rust resistance, ensuring that it will be a reliable tool for years to come. The attractive spiral design not only adds a touch of style but also allows for seamless layering of drinks and effortless mixing.

    With its generous length of 12 inches and slim width of 1.2 inches, this cocktail mixing spoon easily fits into cocktail shakers, tall cups, and pitchers, making it a versatile tool for all your beverage needs. Whether you’re hosting a party or simply enjoying a cocktail at home, the Zulay Premium 12 Inch Stainless Steel Cocktail Spoon is the perfect accessory to elevate your bartending skills and impress your guests with professional-quality drinks.

    How to Choose the Right Bar Spoon for You?

    When selecting the best bar spoon for your needs, there are a few factors to consider:

    Length and Shape

    Bar spoons come in various lengths and shapes. The length of the spoon is important because it determines how well you can reach the bottom of different glasses and mixing containers. Additionally, the shape of the spoon can affect the overall balance and control when stirring. Longer spoons are great for tall glasses, while shorter spoons are better for smaller mixing containers.

    Material

    Bar spoons are commonly made from stainless steel, which is known for its durability and resistance to tarnishing. Look for spoons made from high-quality stainless steel to ensure longevity and ease of maintenance. Additionally, some spoons may have a copper or gold plating for added aesthetics.

    Twisted Shaft

    The twisted shaft of a bar spoon is not just for decoration; it serves a functional purpose. The twisted design allows for better control and grip when stirring, ensuring efficient mixing of ingredients. Look for spoons with a tightly twisted shaft for maximum performance.

    Weight

    The weight of a bar spoon can also affect its usability. A heavy spoon may be more difficult to handle, especially for bartenders who need to stir multiple cocktails in quick succession. Conversely, a lightweight spoon may lack the necessary balance and control. It is crucial to find a spoon that strikes the right balance between weight and maneuverability.

    Frequently Asked Questions About Best Bar Spoons

    Q. What should I look for in a bar spoon?

    Many modern barspoons are designed to cater to professional bartenders and the way they stir. These have twists which are more tightly coiled and have smaller grooves. This provides a firmer grip and better control so the spoon can be whipped around the glass more quickly.

    Q. What is a Japanese bar spoon?

    Japanese bar spoons are bartender favorites. They are longer and skinnier and have a weighted teardrop at one end, which makes them easier to wield. The end can also be used to crack ice or muddle drinks.

    Q. How much is 1 bar spoon?

    A bar spoon holds about 5 millilitres of liquid (the same as a conventional teaspoon). Its long handle is similar to an iced tea spoon, but is usually decorative and elegant – some variations mimic large swizzle sticks, with a disc at one end.

    Q. How many types of bar spoons are there?

    There are many styles, shapes and lengths of bar spoon available online. These can be broken down into 3 main categories, Japanese, European, and American.

    Q. Is a bar spoon necessary?

    The bar spoon is one of the most underrated yet most necessary tools found behind the bar. Bar spoons allow bartenders to mix drinks and integrate ingredients together in a method different to that of shaking. There are a few types of bar spoons available, yet the basic functionality of them is the same.

    Q. How long should my bar spoon be?

    Most bar spoons are between 30 and 40 centimeters (12–15 inches), but they can get as long as 50 centimeters. How do you know what length is right for you? You want to be able to stir freely without your hand grazing the top of your glass, so consider the size of your hand and mixing vessel.

    Conclusion

    Choosing the best bar spoon is essential for creating well-mixed cocktails with ease. Consider factors such as length, shape, material, twisted shaft, and weight when selecting a bar spoon. Our top picks for the best bar spoons include the DIFENLUN 12 inches stainless stee;  Bar Spoon for its versatility and ergonomic design, the Briout Bar Spoon for its elegant appearance, and the Ortarco classic stainless steel Bar Spoon Set for its affordability and reliability. With the right bar spoon in hand, you’ll be on your way to crafting delicious cocktails like a pro. Cheers!