Did you know that fragrances can induce positive moods and boost your emotional responses? How to make your home office smell better naturally isn’t just about masking unpleasant odors; it’s about creating an environment that enhances your focus and productivity.
A stuffy or smelly workspace can quickly drain your motivation and energy. When trying to concentrate on important tasks, lingering odors from yesterday’s lunch or musty carpets become unwelcome distractions. Fortunately, numerous ways to naturally make your home office smell better without using chemical-laden air fresheners exist.
Essential oils offer a particularly effective solution for naturally making your home office smell better. Specific scents like peppermint, lemon, and clary sage are known for their focus-enhancing properties. Additionally, incorporating plants improves air quality and releases natural fragrances that mask unpleasant odors.
In this article, we’ll explore the best scents for office environments and share practical, natural solutions that work, from air-purifying plants to DIY fresheners and the best air freshener for small office spaces. Let’s transform your home workspace into a fragrant sanctuary that supports your well-being and productivity.
Why Your Home Office Might Smell Bad
Understanding why your home office smells unpleasant is the first step toward creating a fresher workspace. It is important to identify their sources before rushing to cover up bad odors with artificial fragrances. Let’s explore the most common culprits affecting your home office’s smell.
1. Poor ventilation and stale air
Inadequate airflow is often the primary reason behind lingering odors in your home office. Without proper ventilation, air becomes stagnant, trapping unpleasant smells that cannot escape. Furthermore, pollutants accumulate quickly in confined spaces, making the air feel heavy and uninviting.
HVAC systems that aren’t regularly maintained can contribute significantly to air quality issues. These systems collect dust, mold, and bacteria over time, circulating throughout your workspace. Poor ventilation doesn’t just affect the smell; it can lead to fatigue, dizziness, and even upper respiratory issues.
The musty odor in poorly ventilated spaces isn’t just unpleasant; it can indicate more serious problems like excess moisture or mold growth. Consequently, improving airflow should be your priority when figuring out how to improve your home office’s smell.
2. Hidden sources like carpets and upholstery
The porous materials in your office are silent odor collectors. Carpets, office chairs, and fabric panels absorb everything from food spills to foot traffic residue, creating perfect environments for bacterial growth and unpleasant smells, as noted by Autonomous.ai.
Office upholstery is especially problematic since the fibers soak up odors and make them more stubborn than on other surfaces. High-traffic areas in your home office can quickly collect foul odors, with everyday smells trapped in the fabric.
Even vacuuming may not completely solve the problem. During cleaning, trapped odors get sucked up by vacuums and blown back out as exhaust. This recycling of smells makes carpets and upholstery particularly challenging sources of persistent office odors.
3. Food, trash, and moisture buildup
Eating at your desk is a key reason for lingering odors. Food particles often get trapped in keyboard crevices or desk drawers, and these smells can become persistent without separating your lunch space from your workstation. Trash cans add to the problem, especially when not emptied or cleaned regularly.
Humidity is another hidden culprit. Mold and mildew thrive in damp environments, producing musty smells and health risks. When indoor humidity exceeds 60%, it creates ideal conditions for odor-causing mold, especially in dark, hard-to-reach areas.
How to Make Your Home Office Smell Better Naturally
Natural methods for improving your home office smell are effective and safer than chemical alternatives. Creating a pleasant aroma in your workspace can transform your productivity and overall well-being. Here are proven natural techniques to make your home office smell refreshingly good.
1. Open windows to refresh the air
Opening your windows is the simplest yet most powerful way to improve how your home office smells. Fresh air circulation immediately eliminates lingering odors and refreshes your workspace. Moreover, this practice helps remove accumulated pollutants, creating a more inviting atmosphere.
For optimal results, open windows for at least 5-10 minutes every hour, especially when there’s a noticeable temperature difference between indoors and outdoors. In offices with mechanical ventilation, set the system to “forced mode” when possible. Even cracking a window slightly can make a substantial difference in air quality.
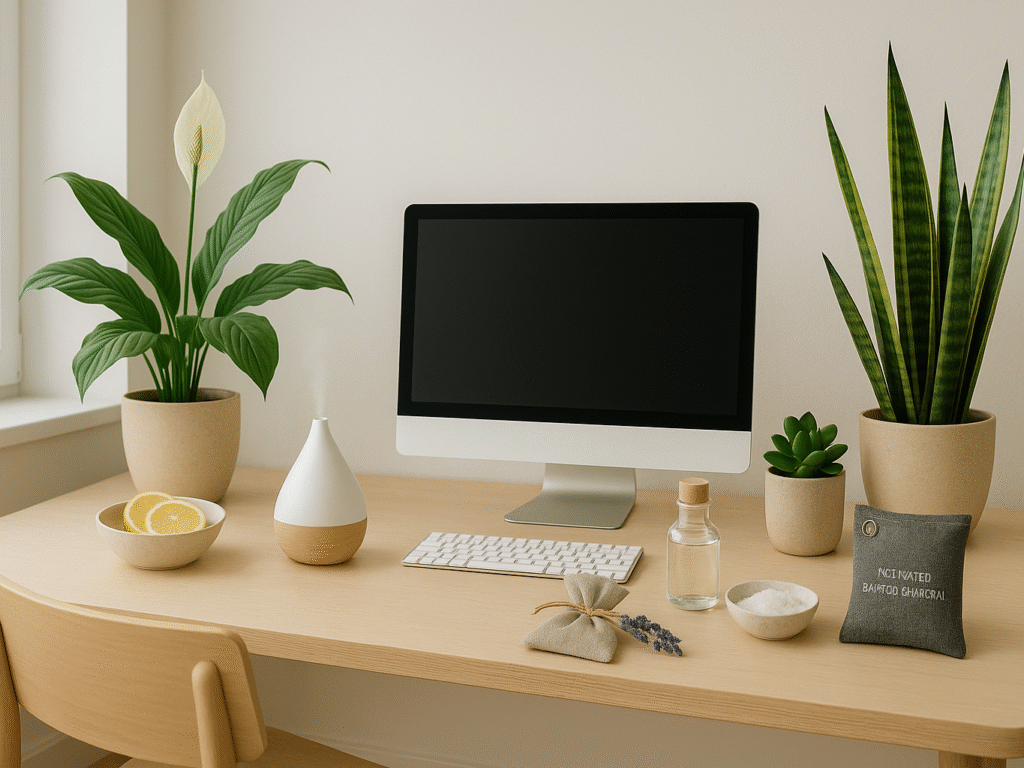
2. Use houseplants like the peace lily or snake plant.
Incorporating houseplants into your office space serves a dual purpose; they enhance décor while actively purifying the air. Snake plants are particularly effective, according to NASA’s clean air study. They’re nearly indestructible, adapting to various light conditions and withstanding neglect.
Peace lilies excel at removing alcohols, acetone, trichloroethylene, benzene, and formaldehyde. They thrive in indirect, medium-to-low light, making them perfect for office environments. Meanwhile, snake plants passively absorb formaldehyde and release oxygen at night rather than during the day, keeping your air fresh even after work hours.
Place at least two good-sized plants per 100 square feet for maximum effectiveness. Remember that peace lilies are toxic to pets, so choose carefully if you share your workspace with furry companions.
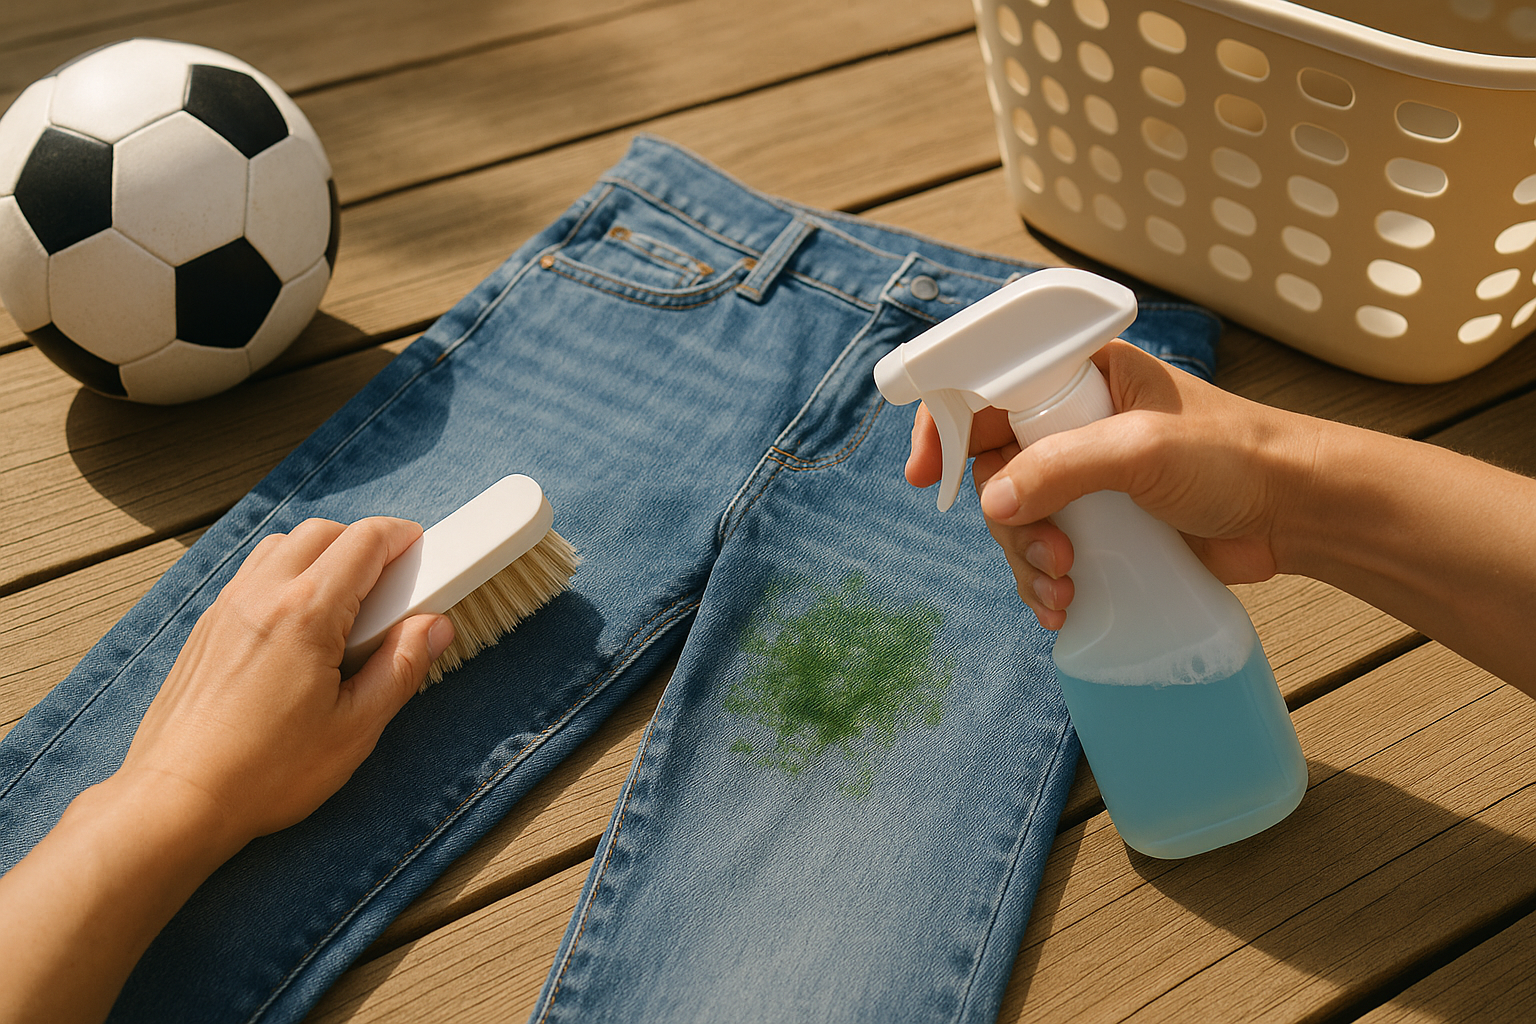
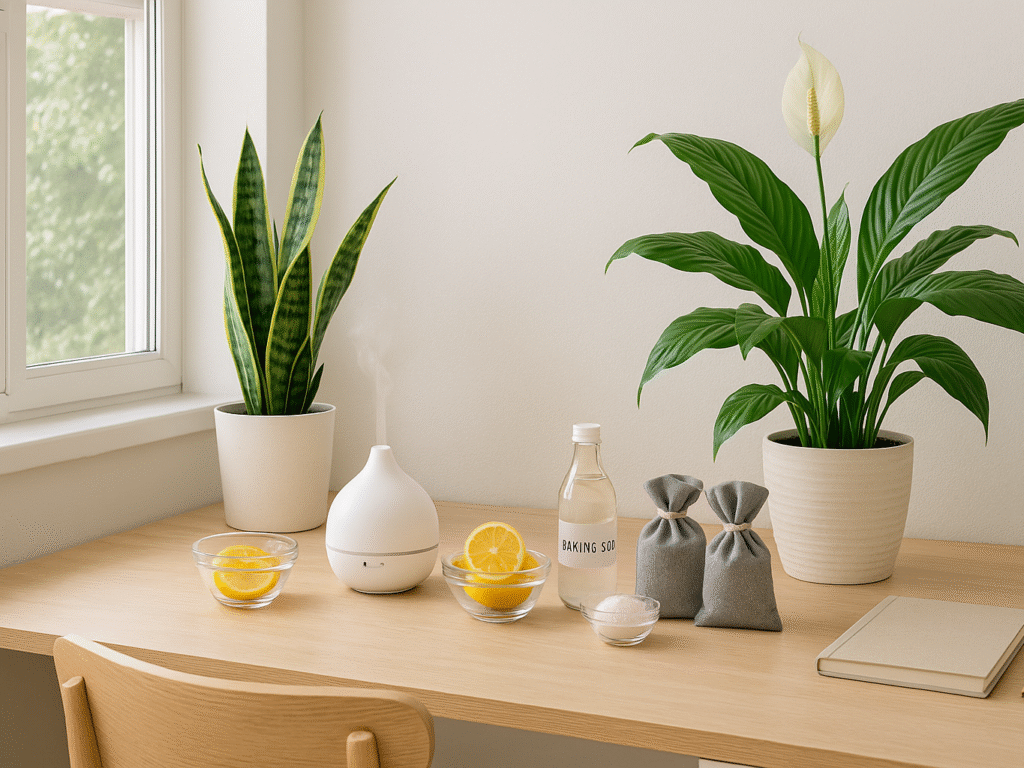
3. DIY air fresheners with lemon, vinegar, or baking soda
Creating your natural air fresheners gives you control over ingredients while effectively eliminating odors:
- Citrus and herb spritz: Mix water with lemon slices and fresh mint or rosemary in a spray bottle for an instant refreshing aroma.
- Vinegar solutions: Place a small dish of white vinegar on your desk to neutralize smoke, cooking odors, and musty smells. For enhanced effectiveness, simmer it for an hour.
- Baking soda deodorizers: Known for its odor-absorbing properties, baking soda can be placed in small dishes around your office to soak up smells. For carpets, mix it with a few drops of essential oil, sprinkle, wait 15 minutes, then vacuum.
- Simmering pot: Infuse your space with delightful aromas by simmering lemons and fragrant herbs like cloves, mint, and cinnamon.
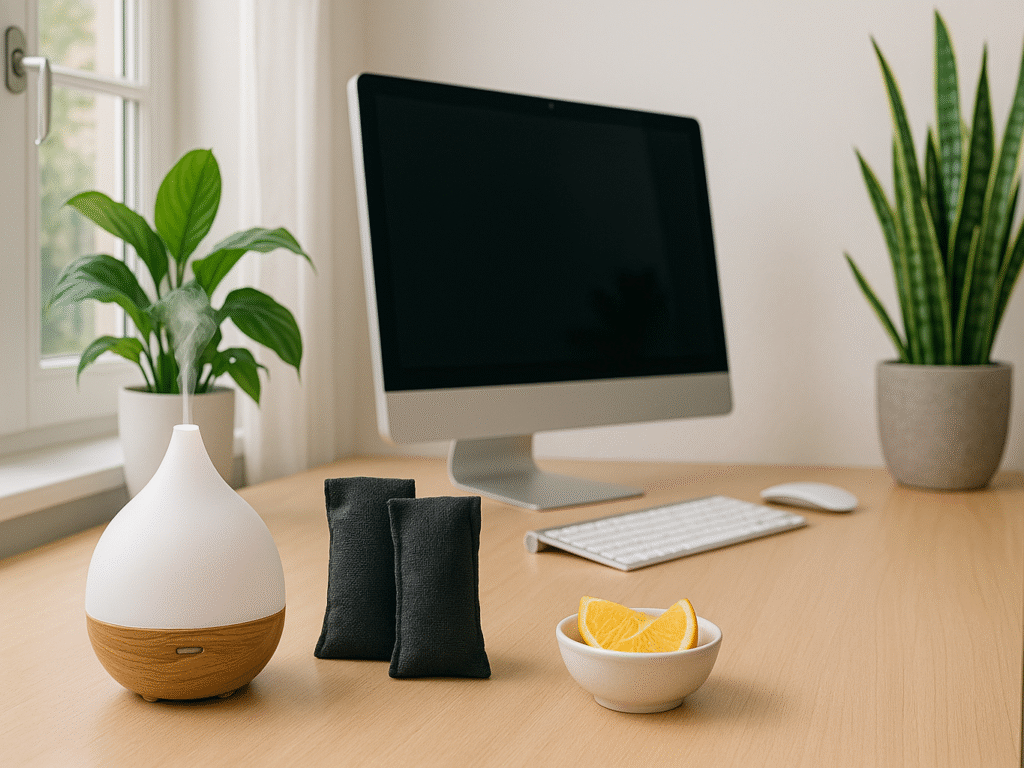
4. Try activated charcoal bags for odor absorption.
According to Delta Adsorbents, activated charcoal offers remarkable odor-neutralizing capabilities without adding any scent. Its porous surface effectively absorbs organic compounds that cause unwanted odors. Unlike many air fresheners, activated charcoal eliminates smells rather than masking them.
A 200-gram carbon bag will cover approximately a 90-square-foot space, perfect for small offices. Place the bags near odor sources for maximum effectiveness. Once saturated, activated charcoal can be reactivated using heat, making it an economical, long-term solution.
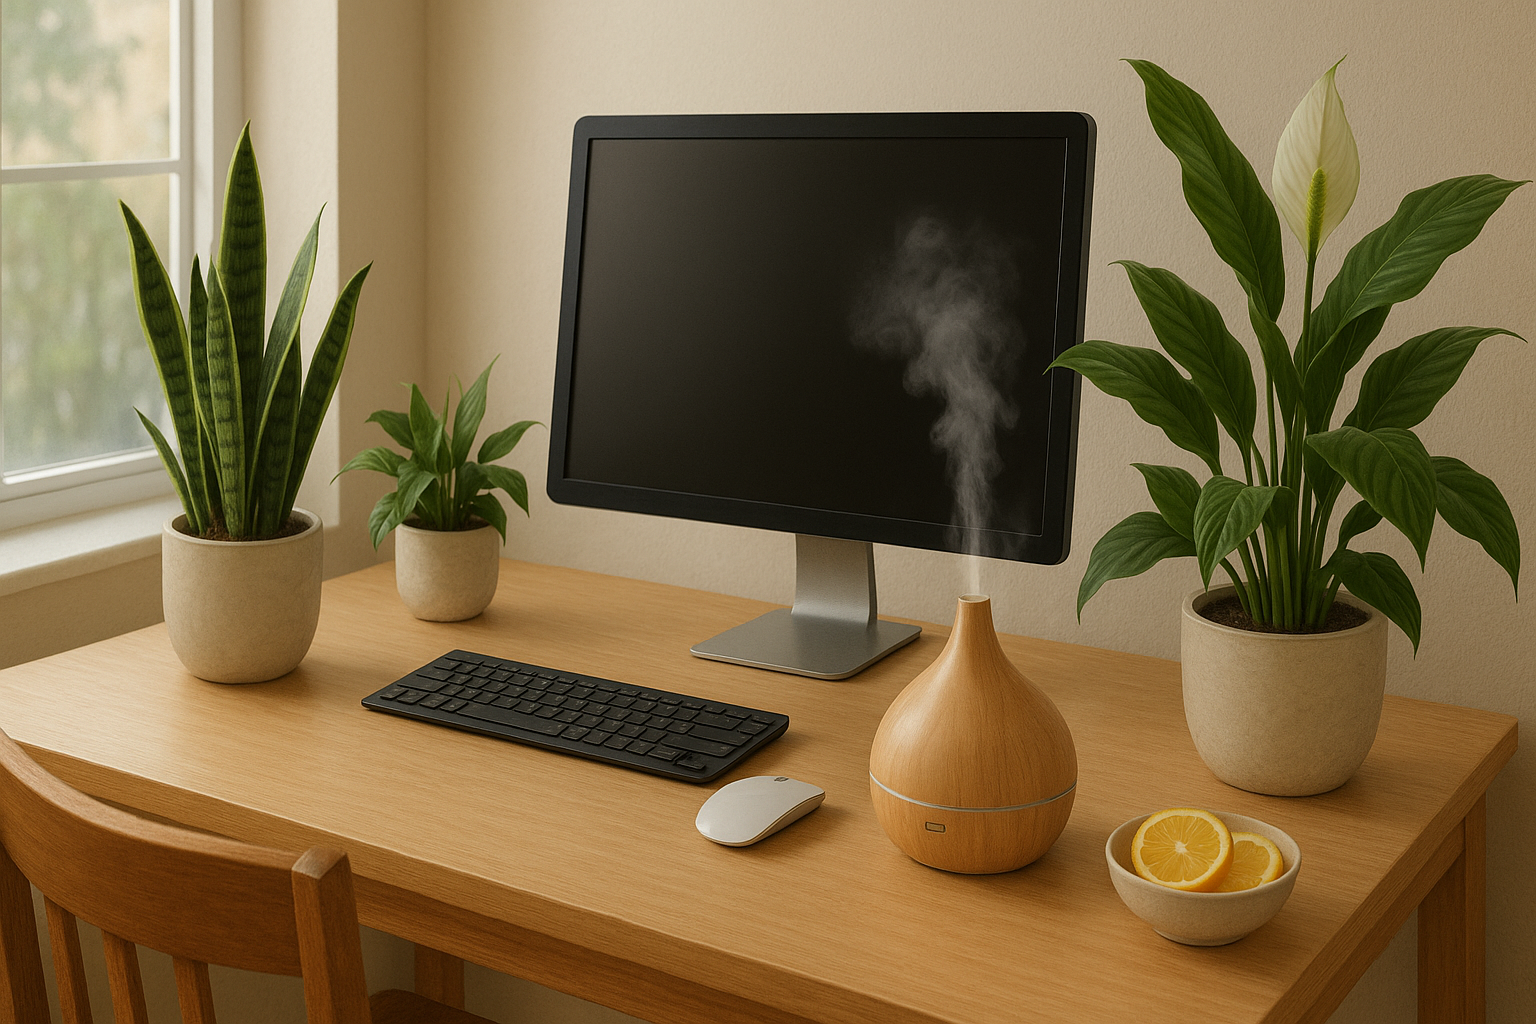
5. Use essential oil diffusers with citrus or lavender.
Diffusers come in various types, with ultrasonic models creating a cool mist of water and essential oil drops, while nebulizers disperse pure oil.
If you’re wondering how to make your home office smell better naturally, ultrasonic diffusers with adjustable settings offer a subtle, ongoing scent. If you prefer stronger fragrances, nebulizers can fill a small office or multiple rooms with scent. Many models include convenient features like automatic shut-off timers and mood lighting.
Popular essential oils for office use include lavender for calm, peppermint for energy, lemon for freshness, and eucalyptus for mental clarity. Mix several drops with water in a diffuser or place a few drops on cotton balls strategically around your workspace.
Best Scents for Focus and Productivity
Choosing the right scent for your workspace goes beyond personal preference; certain fragrances have been scientifically proven to enhance specific mental states. The aromas you select can dramatically influence your focus, energy levels, and overall productivity throughout your workday.
1. Lavender for calm and clarity
Lavender stands out as a remarkable scent for high-stress work environments. Often considered a sleep aid, this versatile aroma produces multiple benefits for office productivity. As noted by the Cleveland Clinic, research links lavender to reduced anxiety and depression. One study found that breathing in lavender essential oil for just 30 minutes helped improve anxiety, depression, and stress levels in participants.
What makes lavender particularly valuable is its dual ability to calm nerves while maintaining alertness. In one Japanese study, lavender helped reduce clerical errors by an impressive 80%, outperforming even lemon oil. Often considered the best scent for office environments, lavender creates the perfect balance of relaxation without drowsiness, ideal for deadline pressure or tasks requiring deep focus.
2. Peppermint to boost energy.
When afternoon fatigue hits, peppermint offers a powerful, non-caffeinated solution. This stimulating scent increases oxygen saturation and blood pressure, resulting in physiological arousal that enhances brain function.
Peppermint’s stimulating properties make it ideal when you need to maintain focus during monotonous tasks. It improves concentration and mental alertness while decreasing mental fatigue. Furthermore, studies show peppermint can boost exercise performance, making it perfect for staying energized during long workdays.
3. Citrus for a refreshing lift
Citrus scents deliver remarkable results for an instant mood boost and improved concentration. Lemon, orange, and grapefruit contain properties that immediately invigorate the space with energetic qualities.
As a form of aromatherapy for productivity, these bright aromas purify the air and create a clean, energizing atmosphere. Workplace studies show that productivity increased when the keyboard was introduced, and typing errors dropped by 54%.
4. Eucalyptus for mental clarity
Eucalyptus offers a unique benefit through its ability to clear mental fog and enhance focus. Its refreshing, somewhat medicinal aroma stimulates the mind and boosts cognitive function.
The invigorating properties of eucalyptus make it particularly effective when you need to remain alert and inspired. As one of the best essential oils for office space, eucalyptus helps relieve mental fatigue while promoting well-being. For study sessions or creative tasks, it offers the mental boost needed to stay productive through demanding work.
Clean First, Then Add Fragrance
Establishing a clean foundation is essential before adding fragrance to your home office. Regular maintenance eliminates odor sources instead of merely masking them. Your chosen scents will work more effectively by first addressing the root causes of bad smells.
1. Vacuum and dust regularly
Dust and debris accumulate surprisingly quickly in office spaces, becoming a significant source of stale odors. Workspace Resource highlights that studies show approximately 21,000 germs per square inch on office chairs, making frequent cleaning crucial for health and pleasant scents.
For optimal results, aim to vacuum your entire workspace weekly. Pay close attention to those easily overlooked areas beneath desks, around power strips, and along baseboards. Initially, this might seem time-consuming. Nonetheless, regular maintenance prevents odors from becoming embedded.
Fabrics and soft surfaces require special attention as they trap odors effectively. Research indicates that vacuuming these areas helps prevent the recycling of smells that occurs when trapped odors get sucked up and blown back out as exhaust.
2. Wipe surfaces with natural cleaners.
Chemical cleaners often contribute to poor air quality through harsh fumes. Instead, opt for naturally derived, non-toxic cleaning products that protect your family’s health and the environment.
A simple solution of lukewarm water with a few drops of dish soap works effectively for most surfaces. For stubborn stains or persistent smells, rubbing alcohol can be used as a spot treatment, though always test an inconspicuous area first.
Despite their effectiveness, non-toxic cleaners don’t require sacrificing cleaning power. Many natural products now remove bacteria, leaving pleasant scents derived from essential oils rather than artificial fragrances.
3. Clean your office chair and fabrics.
Your office chair receives hours of contact daily, yet often goes uncleaned for months. Regular chair maintenance improves both hygiene and the office smell. Research demonstrates that a clean chair can positively impact productivity levels.
For fabric chairs, vacuum thoroughly first. Subsequently, any cleaning solution should be tested on an inconspicuous area. For persistent odors, sprinkle baking soda over fabric surfaces, leave overnight, and vacuum the next morning.
For leather, vinyl, or mesh chairs, a mixture of lukewarm water and mild soap with a microfiber cloth works perfectly. Always follow by drying hard surfaces completely to prevent mildew growth.
4. Use a dehumidifier if needed.
High humidity creates ideal mold and mildew growth conditions, the primary contributors to musty office odors. According to The New York Times, any humidity level above 60% should be addressed.
A dehumidifier effectively reduces moisture levels, eliminating that unpleasant damp smell often found in basement offices or during humid seasons. Set your dehumidifier to maintain relative humidity between 30-50% for best results.
Besides improving air quality, dehumidifiers can help protect documents, electronics, and furniture from moisture damage. They work particularly well in enclosed spaces where ventilation is limited.
Best Air Fresheners for Small Offices (That Aren’t Overpowering)
In a small office, even a “mild” air freshener can feel like an attack on your nose. You want clean, refreshing air, not an overwhelming cloud of fake citrus. Finding that perfect balance means choosing products specifically designed for smaller spaces and sensitive noses.
1. Low-VOC Plug-in and Spray Options (Sensitive-Friendly)
VOCs (Volatile Organic Compounds) are chemicals that easily evaporate at room temperature and can cause headaches, irritation, and even long-term health issues for sensitive individuals. Low-VOC air fresheners contain fewer irritating chemicals, making them ideal for shared office spaces.
(i) Febreze Small Spaces Air Freshener and Odor Eliminator
Febreze Small Spaces is a compact, continuous air freshener ideal for bathrooms, offices, and other small areas up to 100 sq ft. It uses Febreze’s OdorClear technology to eliminate odors rather than mask them, making it a strong contender for the best air freshener for small office use.
Price: Typically ranges from $3-6 per unit, with multi-pack multi-packs offering better value (usually around $10-15 for a 3-pack).
Key Features:
- OdorClear Technology eliminates odors at the molecular level rather than simply masking them with fragrance.
- Adjustable intensity settings allow you to customize the scent strength for your specific space size and preferences.
- Continuous freshening for up to 45 days per unit, eliminating the need for frequent replacements
- Compact design (about 3 inches tall) makes it discreet and suitable for placement on shelves or countertops.
Pros:
- Effective at neutralizing odors, not just covering them
- Long-lasting compared to sprays
- No batteries or plugs required
- Adjustable intensity
Cons:
- Some users find even the lowest setting too strong
- Cannot be turned off once activated
- Contains synthetic fragrances that may bother sensitive individuals
- Plastic packaging creates waste with each replacement
Customer Feedback
Most users appreciate the long-lasting freshness and effectiveness at eliminating bathroom and pet odors. Some customers with sensitivities report headaches or respiratory irritation. A common review theme is that the product works best in truly small spaces, becoming overwhelming in confined areas with poor ventilation.
(ii) Grow Fragrance Air + Fabric Freshener (Citrus Cedar)
Grow Fragrance Air + Fabric Freshener is a 100% plant-based spray made with essential oils instead of synthetic chemicals. The Citrus Cedar blend offers a refreshing, natural aroma that many consider the best scent for office environments, working equally well as an air freshener or fabric spray for offices and homes.
Price: Typically ranges from $10-14 per 5-oz bottle, with subscription options available for around $9-11 per bottle.
Key Features:
- 100% plant-based formula derived entirely from essential oils and other natural ingredients, making it safer for people, pets, and the planet
- Multi-surface design effectively freshens air and fabrics without leaving residue or stains on upholstery.
- Citrus Cedar combines bright orange and grapefruit notes with warm cedar for a gender-neutral, sophisticated fragrance.
- Certified MADE SAFE®, indicating the product contains no known toxic chemicals or ingredients harmful to human health
Pros:
- Truly non-toxic formula with transparent ingredient list
- Pleasant, natural scent that isn’t overwhelming
- Works on fabrics and in the air
- No phthalates, parabens, or synthetic fragrances
Cons:
- More expensive than conventional air fresheners
- Scent doesn’t last as long as synthetic alternatives
- Limited availability (primarily online)
- Requires more frequent application than plug-in options
Customer Feedback
Customers particularly appreciate the natural ingredients; the scent doesn’t trigger headaches or allergic reactions. Many reviewers mention they can finally use air fresheners again after years of sensitivity to conventional brands. Some note the higher price point but feel the quality and safety justify it. A common observation is that the scent is subtle and fades more quickly than chemical-based products.
2. Natural & Electric Diffusers (Gentle and Consistent)
Electric diffusers offer a simple solution if you’re wondering how to make your home office smell better. They come in two main varieties: ultrasonic (which uses water and vibration to create a fine mist) and nebulizing (which disperses pure essential oil without water). Ultrasonic diffusers are generally better for office environments as they’re more subtle and cost-effective.
(i) InnoGear Ultrasonic Diffuser (160ml)
The InnoGear 160ml Ultrasonic Diffuser is a compact essential oil diffuser that uses ultrasonic technology to create a cool mist. This whisper-quiet device doubles as a humidifier and optional night light with adjustable mist output, perfect for small offices.
Price: Typically ranges from $15-20 for the basic model, with occasional sales bringing it down to $12-14.
Key Features:
- Multiple mist modes, including continuous and intermittent settings, allowing up to 6 hours of operation before needing a refill
- Whisper-quiet operation (less than 35dB) makes it ideal for office environments without disturbing colleagues or phone calls.
- The auto shut-off safety feature immediately turns the unit off when water is depleted, preventing damage to the device.
- 7-color LED light function with bright and dim options that can be used independently from the diffusing function
Pros:
- Very affordable entry-level diffuser
- Compact size fits well on desks (approximately 3.9 x 5.5 inches)
- Simple one-button operation
- Effectively distributes scent in spaces up to 100 square feet
Cons:
- Smaller water capacity means more frequent refills than larger models
- Plastic construction may not be as durable as more premium options
- Light leakage from buttons can be bothersome in dark environments
- Some users report inconsistent mist output after several months of use
Customer Feedback
When searching for the best air freshener for a small office, many users praise the diffuser for its excellent value, quiet operation, and effectiveness in small spaces like offices and bedrooms. The intermittent setting is particularly appreciated, as it’s perfect for workspaces where a continuous scent might become overwhelming. Some customers mention needing to replace the unit after 6-12 months of regular use, but most feel the price point makes this acceptable. A common tip from reviewers is to use distilled water to prevent mineral buildup and extend the device’s lifespan.
(ii) URPOWER Essential Oil Diffuser (300ml)
The URPOWER 300ml Essential Oil Diffuser is a mid-sized ultrasonic diffuser with a modern wood grain design. With its larger water capacity, this diffuser provides longer running times, ideal for shared office spaces, while offering multiple mist and light settings.
Price: Typically ranges from $23-30, with occasional promotions bringing it down to $20-22.
Key Features:
- A larger 300ml water tank allows for continuous operation for up to 8 hours or intermittent misting for up to 10 hours between refills.
- Four timer settings (1hr, 3hr, 6hr, and continuous) provide flexibility for different office schedules and environments.
- Seven color-changing LED light options with bright or dim modes that can function independently as a night light.
- Whisper-quiet operation produces less than 30dB of noise, making it unobtrusive in quiet office settings.
Pros:
- Attractive wood grain design blends well with most office décor
- Larger capacity means fewer refills throughout the workday
- Effective coverage for spaces up to 215 square feet
- Auto shut-off safety feature when water runs out
Cons:
- Slightly larger footprint (approximately 6.5 x 6.5 inches) requires more desk space
- Some users report difficulty with the lid alignment for proper operation
- Light cannot be completely disabled on some models while the diffuser is running
- May produce more mist than needed in very small spaces, even on the lowest setting
Customer Feedback
When looking for the best scent for the office, users frequently praise the diffuser’s design aesthetics and appreciate the longer run time compared to smaller models. Office users value the timer functions that allow them to set it and forget it during their workday. Several reviewers mention the ease of cleaning as a significant advantage. Common criticisms include inconsistency in unit quality control and occasional issues with the automated shut-off feature. Most customers agree that the diffuser works best with high-quality essential oils and distilled water to prevent clogging.
3. Drawer Sachets & Passive Fresheners
When considering how to make your home office smell better, passive options offer the ultimate in subtle freshening. These options require no spraying, plugging in, or refilling, making them perfect for maintaining consistent freshness without any effort. Place them around your workspace for a hassle-free and continuous scent.
(i) Eucalyptus Blooms Lavender Sachets
Overview: Eucalyptus Blooms Lavender Sachets are small fabric pouches filled with dried lavender flowers for natural and subtle fragrance. These passive fresheners bring a gentle, calming scent to drawers, closets, and small office spaces without electricity or chemicals.
Price: Typically ranges from $12-18 for a pack of 12 sachets, with larger quantities offering better value (around $20-25 for 20 sachets).
Key Features:
- 100% natural dried lavender flowers harvested at peak bloom provide authentic aromatherapy benefits without artificial fragrances or fillers
- Double-stitched cotton sachets with decorative trim prevent lavender dust while allowing the calming scent to permeate enclosed spaces.
- Reusable design allows sachets to be gently squeezed to refresh scent, extending their effective lifespan to 3-4 months.
- Versatile application for desks, drawers, gym bags, and car interiors makes them perfect for maintaining freshness across multiple environments.
Pros:
- Completely natural and chemical-free
- Subtle scent that won’t overwhelm sensitive individuals
- No batteries, electricity, or maintenance required
- An attractive design that doesn’t need to be hidden
Cons:
- Scent gradually fades over time and can’t be adjusted
- May not be strong enough for significant odor problems
- Natural variation means some sachets may be more fragrant than others
- Not effective for larger open spaces
Customer Feedback
Customers particularly appreciate these sachets’ genuine lavender scent that doesn’t smell artificial or chemical. Office workers mention placing them in desk drawers to combat food odors and stale air. Many reviews highlight the sachets’ effectiveness in small, enclosed spaces like file cabinets and supply closets. Some users suggest occasionally placing sachets in direct sunlight to help revive the scent. A common praise is that these sachets provide aromatherapy benefits without triggering headaches or allergies like synthetic fresheners often do.
(ii) Moso Natural Air Purifying Bag
The Moso Natural Air Purifying Bag contains activated bamboo charcoal that naturally absorbs odors, excess moisture, and harmful pollutants. This chemical-free, fragrance-free solution continuously purifies air in small spaces without adding any scents to the environment.
Price: Typically ranges from $9-12 for a 200g bag, with multi-packs available for around $25-30 for three bags. Larger sizes (500g) cost approximately $15-20 each.
Key Features:
- 100% natural bamboo charcoal absorbs odors and pollutants rather than masking them, making it ideal for fragrance-sensitive environments
- Reactivates easily when placed in direct sunlight for 1-2 hours monthly, providing up to two years of continuous air purification
- Moisture-absorbing properties help prevent mold, mildew, and musty odors in humid office environments or after water damage.
- Fragrance-free design eliminates odors without introducing new scents, perfect for shared workspaces with diverse sensitivities.
Pros:
- Genuinely eliminates odors instead of masking them
- Long-lasting (up to 2 years) with proper maintenance
- Completely fragrance-free and chemical-free
- Environmentally friendly and sustainable bamboo source
Cons:
- Takes 1-3 days to notice full effectiveness when first deployed
- Requires monthly recharging in sunlight to maintain efficacy
- Less immediate impact than scented products
- May need multiple bags for larger spaces (one 200g bag covers approximately 90 sq ft)
Customer Feedback
Consistently praise these bags for eliminating persistent odors without adding fragrance. Office workers particularly appreciate their unobtrusive nature and the fact that they don’t trigger headaches or respiratory issues. Many reviewers express surprise at how well they work despite being skeptical initially. The most common criticism is forgetting to recharge them monthly, which reduces effectiveness over time. Long-term customers mention that the bags become less effective after 1-2 years, regardless of recharging, confirming the manufacturer’s stated lifespan. People frequently recommend these for offices where traditional air fresheners would be too intrusive.
How to Make Your Home Office Smell Better: Easy Solutions for a Fresh Workspace
How to make your home office smell better naturally starts with addressing the root causes of odor. Good airflow, proper humidity, and a consistent cleaning routine go a long way in preventing smells from building up. Regularly opening windows and using natural cleaners can eliminate stale air and keep your workspace fresh and breathable.
Nature offers powerful solutions. Houseplants like snake plants and peace lilies purify the air while adding visual appeal. Essential oils, lavender for calm, peppermint for energy, and citrus for clarity, can boost your focus without harsh chemicals. Activated charcoal bags and baking soda quietly absorb odors for low-maintenance options, while low-VOC air fresheners provide subtle, consistent fragrance.
You don’t need to overhaul your entire routine; start small. Open a window, place a sachet in your drawer, or try a natural diffuser today. These quick tweaks make a big impact. Got a favorite office scent? Drop it in the comments, we’d love to hear it!