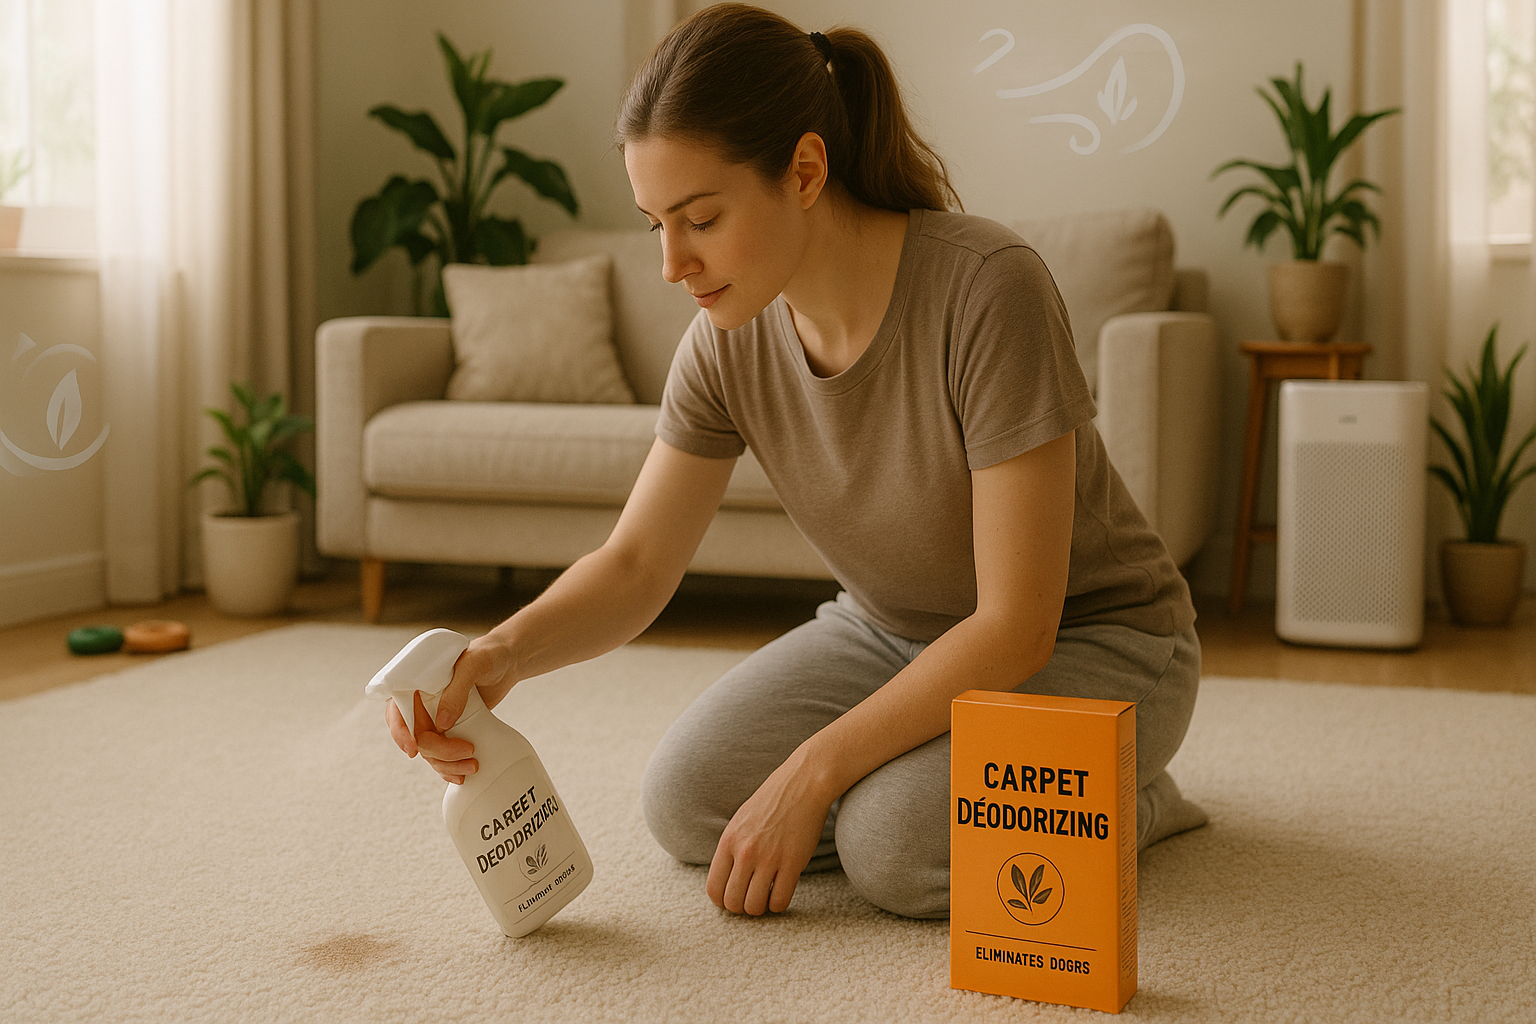
Finding the best carpet deodorizer for your home can make the difference between living with persistent odors and enjoying fresh, clean-smelling floors. Whether you’re battling pet accidents, smoke smells, or general mustiness, the right product can effectively neutralize these unpleasant scents rather than just masking them.
Depending on your needs, carpet deodorizer powder and spray offer different benefits. Powders like Arm & Hammer are budget-friendly at around $3 for 42 ounces and excel at neutralizing odors throughout carpets. At the same time, sprays work better for targeting specific stains and problem areas.
Natural options such as baking soda mixtures or vinegar solutions also provide effective alternatives for health-conscious households, especially those with children and pets. In this comprehensive guide, you’ll discover which type works best for different situations and how to choose the right product to keep your carpets smelling fresh longer.
Powder vs. Spray: What’s the Difference?
When tackling carpet odors, understanding the fundamental differences between the best carpet deodorizer powder and spray can help you choose the right solution. These two formats work through different mechanisms and excel in various situations.
1. How each type works
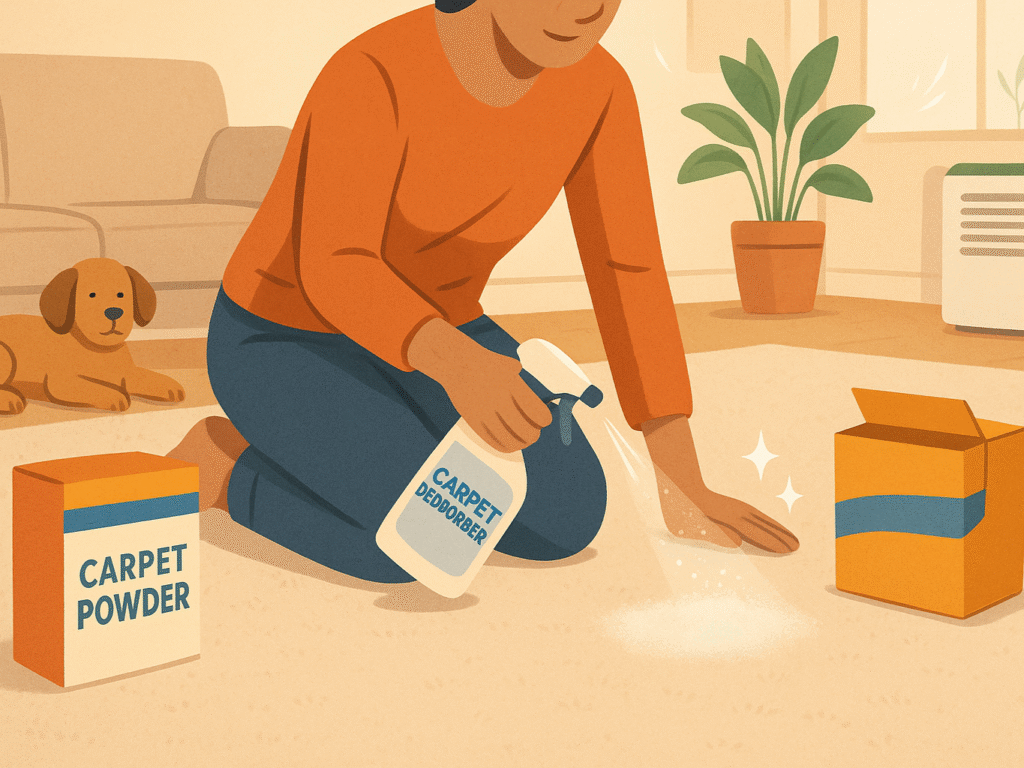
(i) Carpet deodorizer powder
operates through absorption and neutralization. The powder particles, typically made from baking soda or similar compounds, physically capture odor molecules when sprinkled onto carpets. Once applied, allow the powder to sit for 15-30 minutes before vacuuming. During this time, the powder’s absorbent properties draw out moisture and trap odors within its particles.
(ii) Carpet deodorizer spray
In contrast, works through liquid dispersion and chemical neutralization. These products typically contain odor-neutralizing agents that chemically bond with or break down odor molecules. The spray format allows active ingredients to penetrate carpet fibers and padding, reaching odors that powders might miss. Most sprays require drying time after application, but don’t need to be vacuumed away.
2. When to use powder vs. spray
(i) Choose powder deodorizers when:
Powder carpet deodorizers are ideal for freshening up large carpeted spaces and tackling general mustiness or stale odors. They work well after addressing dry pet accidents. They are perfect for combining odor removal with light surface cleaning. Powders are also a great option if you prefer a deodorizer that can be completely vacuumed away, leaving no residue behind.
(ii) Opt for spray deodorizers when:
Spray carpet deodorizers are best for targeting specific stains or recent spills, especially from pets or liquids. They penetrate deeper into carpet padding to combat tough odors and are suitable for delicate materials. Sprays also offer quick application without needing to vacuum afterward.
The decision often depends on the source and extent of the odor. Powders excel at whole-room refreshing, whereas sprays offer precision for problem spots.
3. Pros and cons of each method
(i) Powder Deodorizers
Advantages:
- Physically removes odors when vacuumed up
- Generally safe for most carpet types
- Often more economical for large areas
- Easy to see where the product has been applied
- Typically contains fewer harsh chemicals
Disadvantages:
- Requires vacuuming after application
- May leave residue in carpet fibers over time
- Less effective for deep-set or severe odors
- Can be messy during application
- May not penetrate the carpet padding
(ii) Spray Deodorizers
Advantages:
- Penetrates deeper into the carpet fibers and padding
- Better for targeting specific problem areas
- No vacuuming required in most cases
- Often contains enzymes for breaking down organic odors
- More effective for liquid-based odor sources
Disadvantages:
- May overwet carpets if overused
- Higher risk of adverse reactions with certain carpet materials
- Usually, it is more expensive per square foot of coverage
- Can’t easily see where the product has been applied
- Often contains more synthetic chemicals
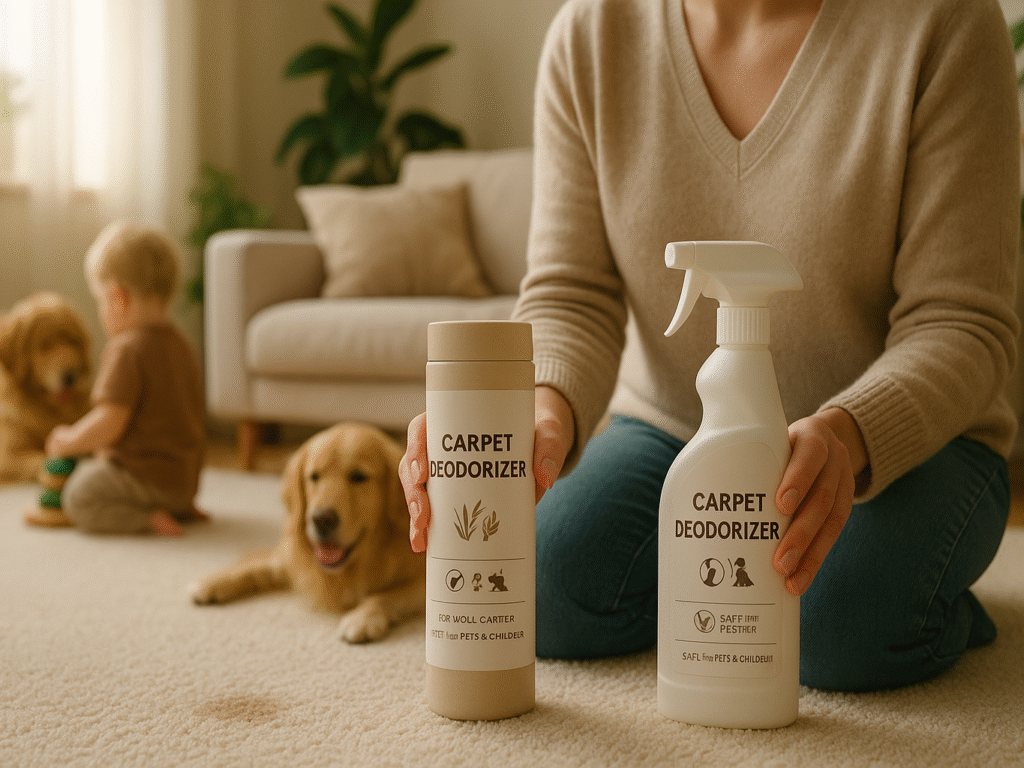
Furthermore, households with children or pets should consider safety factors. Powder products might create dust that could irritate respiratory systems, yet they’re completely removed through vacuuming. Conversely, spray products leave chemicals in the carpet, but avoid the dusty application process.
Both formats can be equally effective when matched appropriately to your specific odor issues. The best carpet deodorizer for your home depends on your particular situation, the source of odors, and your preferences regarding application methods.
Comparing Best Carpet Deodorizer Powder vs. Spray
Choosing between carpet deodorizer powder and spray ultimately depends on what type of odor problem you’re facing. Unlike air fresheners that mask smells, the best carpet deodorizers tackle odors at their source through different mechanisms.
1. Effectiveness for different odor types
Not all carpet odors respond equally to the same solution. According to Odor Control Network, powdered deodorizers are better for refreshing the entire carpet, especially when tackling general mustiness or lingering new smells. Spray deodorizers, however, shine in treating smaller areas where quick action is needed to prevent lingering or set-in odors.
For deeper odor issues like pet urine, enzymatic carpet deodorizer sprays are most effective. These solutions reach beyond surface layers, neutralizing odor-causing pheromones that attract pets to the same spot. Still, both powder and spray options have drawbacks. As Sloane’s Carpet Secret notes, they often sit on top and mask smells temporarily.
2. Ease of use and application
From an application standpoint, powders offer straightforward use. You “sprinkle the powder evenly over the dry carpet, allowing it to sit for a specified time per the manufacturer’s instructions, then vacuum”. This method works particularly well for whole-room freshening.
Conversely, spray deodorizers provide convenience for spot treatments. As Peace Frog Carpet Cleaning highlighted, sprays “don’t need to be vacuumed up, which makes them more convenient,” though “they may not be as effective on deep, stubborn smells”.
One significant drawback of powders involves potential residue. Jon-Don points out that “fine particles may get kicked up and float to other parts of your room,” while particles can clog filters or bags inside your vacuum, reducing your machine’s efficiency.
3. Safety for pets and kids
Safety concerns arise with powder and spray carpet deodorizer options, especially in homes with pets or children. Clean Works warns that some products, like powders and foam, can linger in carpet fibers, becoming airborne and irritating airways. Baking soda-based powders may also be abrasive, possibly wearing down carpet fibers over time.
Spray products pose their risks. They can leave sticky residues that trap dirt, making carpets look dingy faster. Proper ventilation after application is essential, especially for households with sensitive individuals. Clean Works advises letting rooms air out thoroughly before reentry. To reduce risks, always choose products labeled as pet-safe and avoid those with harmful essential oils.
Best Carpet Deodorizer Products Reviewed
After weighing the pros and cons of different deodorizer types, it’s time to explore specific products that consistently deliver outstanding results for various odor challenges.
1. Top-rated carpet deodorizer powders
(i) Arm & Hammer Carpet Odor Eliminator: Freshness That Lasts
Arm & Hammer Carpet Odor Eliminator is a powerful powdered deodorizer that refreshes carpets by neutralizing odors deep within fibers. It is ideal for homes with pets, smokers, or heavy foot traffic; it eliminates stubborn smells rather than just masking them, leaving carpets smelling clean and fresh for longer periods.
Key Features
- This carpet and rug refresher is thoughtfully infused with the power of Arm & Hammer baking soda, ensuring a deep and thorough absorption of even the most stubborn household odors, leaving your home smelling clean.
- Specifically formulated to be effective on various floor coverings, this product works wonders on large wall-to-wall carpets and smaller, decorative area rugs throughout your living spaces.
- Designed for ease of use, this carpet and rug deodorizer boasts a versatile formula fully compatible with most vacuum cleaner types, making your cleaning routine seamless and efficient.
- You can confidently use this product in homes with furry companions, as it is carefully crafted to be pet-friendly when used according to the provided directions, ensuring the safety and well-being of your beloved animals.
Benefits
It doesn’t just mask smells, it neutralizes them, giving your carpet a clean scent that lasts for days. It’s quick to apply, easy to vacuum, and works even on deeply embedded odors. Great for refreshing a room before guests arrive.
Who Should Use It
- Pet owners dealing with fur and accidents
- Families with kids and high carpet traffic
- Anyone wanting an easy, low-cost carpet refresh.
- People are sensitive to musty or stale indoor odors
Pros & Cons
Pros:
- Affordable and widely available
- Noticeable scent without being overpowering
- Quick and easy application
- Helps keep carpets smelling fresh longer
Cons:
- Can leave residue if over-applied
- Not suitable for wet messes or deep stains
Price & Value
Typically priced around $5–$7 per box, it’s one of the best carpet deodorizers. A single box can last several uses, offering great value for budget-conscious shoppers.
➡️ Buy Arm & Hammer Carpet Odor Eliminator on Amazon
(ii) Mahogany Coconut Dream Carpet Freshener Powder
Transform your living space with our Mahogany Coconut Dream Carpet Freshener Powder. This premium odor eliminator combines exotic mahogany and coconut fragrances. This powerful formula neutralizes stubborn odors while leaving behind a luxurious tropical scent that lasts for days.
Key Features
- Advanced odor-neutralizing technology eliminates pet odors, smoke, and musty smells rather than just masking them.
- Long-lasting Mahogany Coconut fragrance remains active for 72 hours after a single application.
- Safe for all carpet types, including wool, synthetic fibers, and delicate oriental rugs.
- Fine powder formula penetrates deep into fibers for thoroughly deodorizing carpets, upholstery, and pet areas.
Benefits
Our carpet freshener doesn’t just mask odors, it eliminates them at the molecular level while depositing our signature Mahogany Coconut Dream scent. The fine-grain formula works efficiently on multiple surfaces, making it versatile for whole-home freshening. It’s gentle enough for daily use yet powerful enough for tough odor problems.
Who Should Use It
- Pet owners dealing with litter box odors or accidents
- Households with carpeted areas that trap cooking or smoke odors
- People with allergies are seeking a scented alternative to chemical cleaners
- Anyone wanting to refresh upholstery, curtains, or car interiors
Pros and Cons
Pros:
- Eliminates rather than masks odors
- Exotic, luxurious scent
- Multi-surface application
- Pet-friendly formula
Cons:
- Requires thorough vacuuming after use
- May not completely remove very old, set-in stains
- Scent may be too strong for some sensitive individuals
Price and Value
At $19.99 for a 16-oz container (treating approximately 300 square feet), Mahogany Coconut Dream offers exceptional value compared to competing brands. The concentrated formula means less product is needed per application, making it economical for regular household use.
➡️ Buy Mahogany Coconut Dream Carpet Freshener Powder on Amazon
(iii) Hoover Pet Carpet and Room Refresher
Hoover Pet Carpet and Room Refresher delivers professional-grade odor elimination in a convenient 32-oz container. Infused with Mountain Breeze scent, this powerful formula tackles tough pet odors while refreshing carpets, rugs, and upholstery throughout your home, leaving spaces clean and inviting.
Key Features
- Specialized pet odor neutralizing technology removes stubborn animal smells from carpets, rugs, and furniture.
- Mountain Breeze fragrance provides a fresh, clean scent that lasts for days after application.
- Vacuum cleaner safe formula won’t damage or clog your cleaning equipment during removal.
- Versatile application makes it suitable for multiple surfaces, including carpets, area rugs, upholstery, and pet bedding.
Benefits
This premium refresher powder works double duty by eliminating odors at their source while infusing your home with a pleasant Mountain Breeze fragrance. The specialized formula is designed specifically for pet owners, targeting the unique molecular structure of pet odors for complete elimination rather than temporary masking.
Who Should Use It
- Pet owners dealing with stubborn animal odors
- Households with high-traffic carpeted areas
- Families want to refresh living rooms and lounging spaces
- Anyone seeking to eliminate odors from upholstery and soft furnishings
- People who prefer mountain-inspired fresh scents
Pros and Cons
Pros:
- Specifically formulated for tough pet odors
- Large 32 oz size offers excellent coverage.
- Safe for use around pets when used as directed
- Works on multiple fabric surfaces
Cons:
- Requires complete vacuuming after treatment
- Mountain scent may not appeal to everyone.
- May require multiple applications for severe odor issues
- Not recommended for use on leather or silk surfaces
Price and Value
At $14.99 for a generous 32-oz container, Hoover Pet Refresher offers outstanding value compared to specialized pet odor treatments. The large-capacity bottle treats 400-500 square feet, making it economical for whole-home refreshing.
➡️ Buy Hoover Pet Carpet and Room Refresher on Amazon
2. Best carpet deodorizer sprays
(i) Nature’s Miracle Stain And Odor Remover for Dogs
Nature’s Miracle Stain and Odor Remover is a powerful enzymatic solution for dog-related messes. This generous 1.33-gallon (170 fl oz) refill with AccuShot Sprayer compatibility tackles tough organic stains. It eliminates odors at their source, breaking down urine, feces, vomit, and drool.
Key Features
- Bio-enzymatic formula specifically targets and breaks down dog-related organic matter, including urine, feces, vomit, and drool.
- Compatible with the AccuShot Sprayer system for precise application and reduced product waste when treating targeted areas.
- Large 1.33-gallon (170 fl oz) size designed as an economical refill option for frequent use in homes with pets.
- Advanced odor control technology permanently eliminates odors rather than masking them, discouraging repeat marking in the same location.
Benefits
This specially formulated solution works through biological enzymatic action to completely break down the organic compounds causing stains and odors. The powerful yet safe formula eliminates visible messes and invisible odor sources that dogs can detect, helping prevent repeat accidents and marking behaviors that plague many pet owners.
Who Should Use It
- Dog owners dealing with housebreaking or senior dog accidents.
- Pet parents with puppies are still learning house training.
- Multi-dog households with occasional marking issues
- Pet foster homes and shelters manage multiple animals.
Pros and Cons
Pros:
- Enzymatic action permanently eliminates odors.
- Large economical refill size for homes with pets
- Safe when used as directed around pets and children
- Works on multiple surfaces, including carpet, hardwood, and upholstery
Cons:
- Requires thorough saturation for effectiveness
- May discolor some fabrics (test in an inconspicuous area first)
- Strong smell during initial application
- Needs time to dry completely for maximum effectiveness
Price and Value
At approximately $29.99 for 1.33 gallons (170 fl oz), this refill size offers excellent value for frequent users. The concentrated formula and AccuShot compatibility provide targeted application that reduces waste, making it 30-40% more economical than competing products for homes with multiple pets.
➡️ Buy Nature’s Miracle Stain And Odor Remover for Dogs on Amazon
(ii) Show Out Odor Control & Urine Smell Remover
Show Out Odor Control & Urine Smell Remover is a professional-strength concentrate that tackles the toughest animal odors. This powerful formula eliminates pet urine, feces, and body odors from multiple animals, including dogs, cats, and horses, while providing exceptional value by making 2.5 gallons of ready-to-use spray.
Key Features
- Concentrated formula that makes a substantial 2.5 gallons of ready-to-use odor eliminator spray for maximum coverage and value.
- Multi-species formula specifically designed to break down odors from dogs, cats, horses, and other animals in various environments.
- Enzymatic cleaning action that destroys odor molecules at their source rather than simply masking unpleasant smells.
- Versatile application suitable for homes, carpets, trailers, barns, kennels, and all washable surfaces where pet odors accumulate.
Benefits
This professional-grade concentrate works through powerful enzymatic action to permanently neutralize even the most stubborn odors. Its versatile formula is effective in residential and commercial settings, making it ideal for multi-pet households, farms, and animal facilities. The exceptional concentration level provides outstanding value while delivering consistent results.
Who Should Use It
- Horse owners managing barn and trailer odors.
- Multi-pet households dealing with various animal smells
- Professional groomers and pet care facilities
- Veterinary offices and animal shelters
Pros and Cons
Pros:
- Extremely economical concentrate making 2.5 gallons
- Works on multiple animal odors, including horses
- Safe for use on most surfaces when diluted properly
- Professional-strength formula for tough odors
Cons:
- Requires mixing and dilution before use
- May need multiple applications for severe odors
- Must be stored properly for maximum shelf life
- Not recommended for use on leather or suede
Price and Value
Priced at approximately $34.99 per concentrate bottle, Show Out delivers exceptional value by making 2.5 gallons of ready-to-use solution. It equates to roughly $0.11 per ounce compared to $0.25-0.40 for pre-mixed solutions, offering significant savings for farms, kennels, and multi-pet households.
➡️ Buy Show Out Odor Control & Urine Smell Remover on Amazon
(iii) Meguiar’s Carpet & Cloth Refresher Odor Eliminator Spray
Meguiar’s Carpet & Cloth Refresher Odor Eliminator Spray is a professional-grade automotive fabric treatment that permanently eliminates embedded odors from vehicle interiors. This 24-oz trigger spray bottle delivers targeted application to freshen carpets, upholstery, headliners, and fabric surfaces throughout your car.
Key Features
- Specialized automotive-grade formula designed specifically for the unique odors that develop in vehicle interiors and fabrics.
- Permanent odor elimination technology that destroys odor molecules rather than temporarily masking them with fragrance.
- Convenient 24 oz trigger spray bottle allows for precise application to targeted areas without over-saturation.
- Quick-drying formulation that refreshes fabrics without leaving dampness or residue that could promote mildew.
Benefits
This professional-quality spray permanently eliminates stubborn vehicle odors, including food spills, smoke, pet accidents, and general mustiness that becomes trapped in automotive fabrics. The specialized formula works at the molecular level to neutralize odors while refreshing the appearance and feel of interior fabrics without leaving sticky residue.
Who Should Use It
- Car enthusiasts want to maintain showroom-fresh interiors.
- Used car dealers are preparing vehicles for sale.
- Rideshare and taxi drivers are maintaining clean passenger environments.
- Parents dealing with food spills and kid-related odors in vehicles
Pros and Cons
Pros:
- Specifically formulated for automotive fabrics and conditions
- Part of the trusted Meguiar’s professional car care line
- Trigger spray allows for controlled application.
- Works on all fabric surfaces in vehicles
Cons:
- Not designed for leather or vinyl surfaces
- May require multiple applications for severe odors like smoke
- Premium price compared to general household fresheners
- Strong initial scent during the application process
Price and Value
At approximately $16.99 for a 24-oz bottle, Meguiar’s offers premium value for automotive-specific odor elimination. While priced higher than generic fresheners, its specialized formula delivers targeted results for vehicles, with one bottle typically providing 2-3 complete interior treatments.
➡️ Buy Meguiar’s Carpet & Cloth Refresher Odor Eliminator Spray on Amazon
How to Choose the Right Deodorizer for Your Needs
Selecting the Best carpet deodorizer involves considering several personal factors beyond choosing between powder and spray formats. Making the right choice ensures effective odor elimination while protecting your home environment.
1. Type of carpet and material
Your carpet’s composition directly impacts which deodorizing products you should use. As noted by Mac Carpet Care, it’s crucial to “consider the material of your carpet, such as wool, synthetic fibers, or delicate fabrics, to ensure the product is safe and effective for that specific material.” For instance, wool carpets require gentler products without harsh chemicals that might damage natural fibers. Aroma Luxe recommends checking manufacturer labels diligently, as “some carpet fresheners may contain ingredients that could potentially harm your vacuum cleaner.”
Before applying any product, perform a spot test in a hidden area. This precaution, highlighted by Odor Control Network, helps “ensure that your type of carpet is listed as appropriate to use the product on” and prevents potential damage to expensive flooring.
2. Sensitivity to fragrances or chemicals
Households with young children, pets, or individuals with respiratory conditions must prioritize safety. According to Grove Co., “many conventional deodorizing powders and sprays contain hazardous chemicals like bleach, ammonia, and chlorine” that may cause health issues with repeated exposure.
For sensitive environments, EnviroKlenz suggests products “consciously crafted using safe, yet highly effective earth minerals” that neutralize odors without introducing harsh chemicals. Good Natured Brand offers formulations with “simple, natural ingredients like baking soda, essential oils, and plant-derived deodorizers.”
3. Budget and frequency of use
Cost considerations should factor in the initial purchase price and how frequently you’ll need the product. Primarily, powder deodorizers tend to be more economical for regular use across large areas. Peace Frog Carpet Cleaning points out that DIY solutions offer excellent value: “for a budget-friendly option, making your own carpet deodorizer is simple and effective” using basic ingredients like baking soda.
You’ll need more frequent applications for areas with heavy foot traffic or pets. Consequently, investing in concentrated formulas that can be diluted may provide better long-term value despite higher upfront costs.
DIY and Natural Alternatives to Store-Bought Deodorizers
Creating your natural carpet deodorizers presents an alternative to commercial products that’s both cost-effective and environmentally friendly. Many homeowners prefer these solutions for their simplicity and lack of harsh chemicals.
1. Homemade carpet powder with baking soda
Baking soda forms the foundation of most DIY carpet deodorizer powders due to its natural odor-absorbing properties. Making your powder is remarkably straightforward: mix 1 cup of baking soda with 20-30 drops of essential oil (Source: Instructables.com) in a glass container, shake well, and let it sit overnight to allow the oils to permeate the baking soda.
For scent options, consider these essential oils based on your needs:
- Lavender is Calming and antibacterial
- Tea tree Antiseptic properties
- Citrus oils, Fresh, uplifting scents
- Peppermint refreshes and repels many insects
To use, sprinkle lightly over your carpet, sit for 15-20 minutes, and vacuum thoroughly. For particularly stubborn odors, you might extend the waiting time.
2. Natural spray using vinegar and oils
White vinegar offers an excellent base for those who prefer a spray application. According to Nikura, a DIY essential oil carpet freshener can be made by mixing equal parts distilled white vinegar and water in a spray bottle, then adding 20-30 drops of essential oil. They note that vinegar contains acetic acid that helps break down dirt and bacteria while naturally deodorizing carpets.”
Unlike powder alternatives, this spray doesn’t require vacuuming afterward. Mist over the carpet and allow it to air dry. As noted by multiple sources, the vinegar smell dissipates completely once dry, leaving only the pleasant essential oil scent behind.
3. When to avoid commercial products
Although DIY solutions work effectively for many situations, they have potential drawbacks. Baking soda, primarily featuring homemade powders, has microscopically abrasive properties that might gradually damage carpet fibers if used excessively.
Commercial products often contain chemicals that may impact indoor air quality. As highlighted by Grove Co., “many conventional deodorizing powders contain hazardous chemicals like bleach, ammonia, and chlorine” that could cause respiratory issues with repeated exposure.
For households with pets, exercise caution with essential oils. Cats are particularly sensitive to certain oils, and baking soda can be irritating if ingested. Always keep pets away from treated areas until completely vacuumed.
Ultimately, these natural alternatives provide effective options for those seeking to avoid commercial products without sacrificing freshness.
Tips to Keep Your Carpet Smelling Fresh Longer
Maintaining fresh-smelling carpets requires more than just occasional applications of even the best carpet deodorizer; it demands consistent preventive practices. These simple habits can dramatically extend the freshness between deep cleanings.
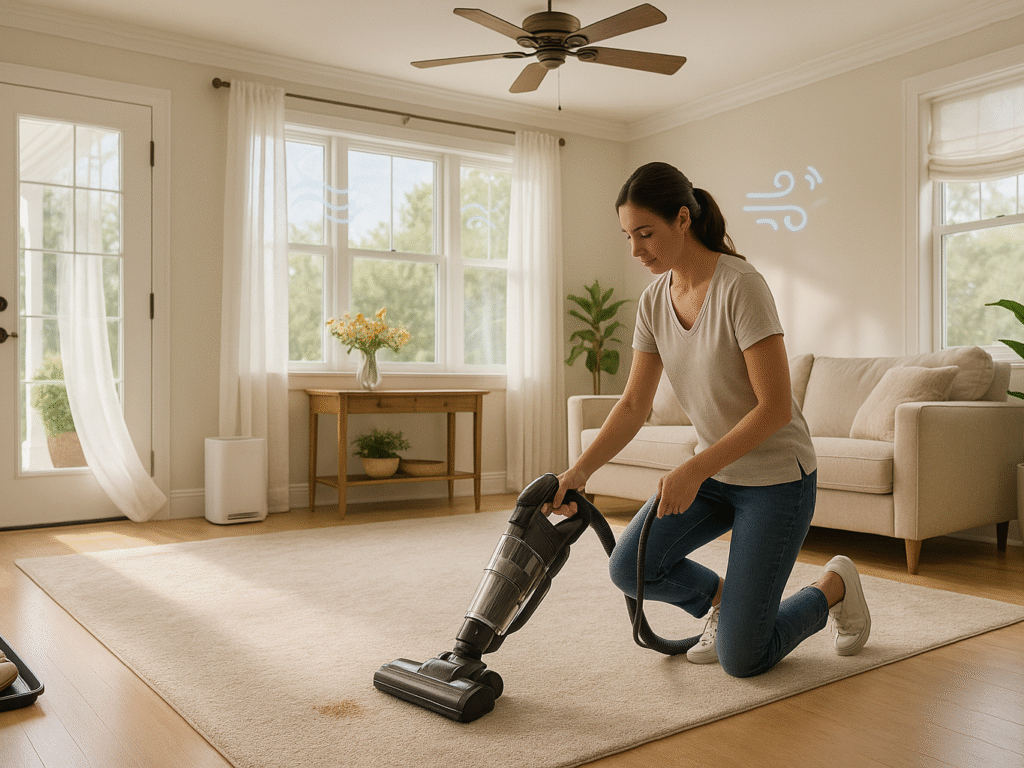
1. Vacuuming frequency and technique
Regular vacuuming serves as the foundation for odor-free carpets. According to the Carpet and Rug Institute, you should vacuum high-traffic areas twice weekly, with once weekly sufficient for less-used spaces. Surprisingly, most vacuums lose about 50% of their suction power once the bag or canister is just one-third full. For optimal performance:
- Empty your vacuum’s container when it reaches one-quarter to one-third capacity
- Clean brushes and bristles regularly to remove hair and debris
- Maintain or replace filters according to the manufacturer’s guidelines
- Use baking soda occasionally to neutralize lingering odors
Proper technique matters as much as frequency; vacuum slowly and methodically rather than rushing through the task.
2. Humidity control and ventilation
Excess moisture creates the perfect environment for odor-causing mold and mildew. To combat this, maintain indoor humidity between 30-50% (Source: legacy flooring center). Initially, consider these approaches:
Use dehumidifiers in naturally damp areas like basements with carpeting. Proper air circulation remains equally important, employing fans and opening windows after activities that increase humidity, such as cooking or showering. Promptly address any spills by blotting with clean, dry cloths before applying carpet deodorizer spray to prevent moisture from penetrating deeper.
3. No-shoes policy and rug rotation
Implementing a no-shoes policy dramatically reduces dirt, bacteria, and allergens tracked onto carpets. As highlighted by Carpet One, “shoes carry dirt, bacteria, and allergens from grass, sidewalks, and public places straight into your home”. This simple change preserves carpet beauty while reducing cleaning frequency.
For area rugs, rotation proves essential. Primarily, rugs should be rotated 180 degrees every three months to distribute wear evenly and prevent uneven fading from sunlight. This quarterly routine significantly extends your carpet’s appearance and freshness. Moreover, regularly check that rugs are completely dry to prevent mold, mildew, and unpleasant odors, especially after cleaning or in humid environments.
Conclusion
Carpet deodorizer powder is excellent for treating large areas and general mustiness, with options like Arm & Hammer providing economical whole-room freshness. In contrast, the Best carpet deodorizer sprays specifically target specific problem spots. Both have unique benefits depending on the extent and location.
Instead of viewing them as alternatives, consider powders and sprays as complementary tools for home care. Your carpet type, fragrance sensitivity, and budget will guide your choice. Natural options like baking soda or vinegar offer effective, chemical-free solutions for health-conscious homes.
Preventive measures are crucial for keeping carpets fresh between treatments. Regular vacuuming, humidity control, a no-shoes policy, and rotating rugs extend the effectiveness of any deodorizer. Combining these habits with the right powder or spray creates a comprehensive approach to maintaining fresh-smelling carpets without harsh chemicals or expensive services.