You know that sinking feeling? You grab your favorite knife, ready to chop onions, and… nope. It’s duller than your aunt’s potato salad at Thanksgiving. Suddenly, you’re sawing at that onion like you’re cutting a tree trunk, eyes watering, arm burning, patience gone.
Maintaining the sharpness of kitchen knives is survival, not only a showy chef’s technique. Cooking becomes anarchy with a dull knife; it slips off tomatoes, breaks herbs instead of cutting them, and begs questions about why you even bother cooking at home. And those accidental slips? They’re the fastest way to trade dinner plans for a bandage.
So, what’s the trick? Learning how to sharpen kitchen knives properly. Not only sharp today; sharp next week, next month, next year. Like we are right now in your kitchen, there is a straightforward approach to achieve it and I will lead you through it. We have work to do; grab that pathetic butter-knife blade.
Your Knives Are Dull (And Yes, It’s Probably Your Fault)
Most people think knives just “get dull.” Like magic. One day they’re slicing tomatoes paper-thin, the next they’re turning that tomato into salsa pulp. But the truth is, dull knives don’t happen by accident, they happen because of mistakes. Mistakes we all make.
Here’s what’s secretly sabotaging your blades:
- Cutting on Hard Surfaces: Glass cutting boards? Granite countertops? Wood’s boring cousin, bamboo? All blade killers. Stick to softer wooden or plastic boards.
- Tossing Knives in a Drawer: That drawer? It’s a war zone. Blades bang against other utensils, losing their edge fast. Use a knife block, magnetic strip, or blade guard instead.
- Carelessly washing knives: under boiling hot water or scrubbing them with a harsh sponge might help. Nope. Always wash gently with warm water and mild soap, then dry promptly.
- Ignoring the Honing Rod: That metal rod you thought was just for fancy chefs? It’s essential. Honing doesn’t sharpen but keeps your knife aligned and in shape.
Little habits, big impact. Treat your knives right, and they’ll treat you better in the kitchen.
How to Keep Kitchen Knives Sharp

The trick isn’t just sharpening your knives, it’s about showing them some love every day. Small habits make a huge difference. Here’s how you can keep those blades razor-sharp for the long haul:
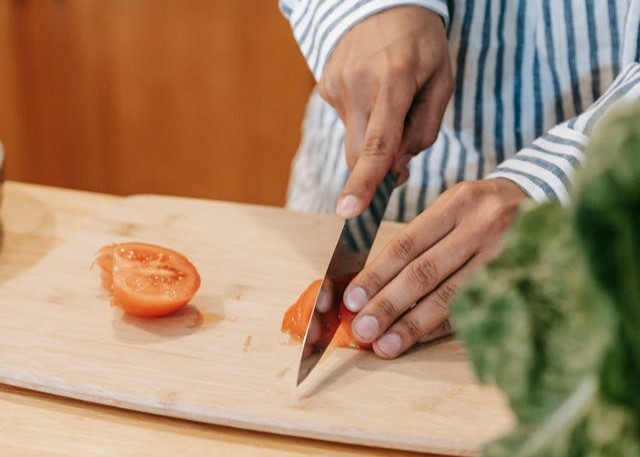
1. Use the Right Cutting Board
Your cutting board is where the magic happens… or where knives go to die. Choosing the right surface can extend your knife’s lifespan significantly.
(i) Best Choices
- Wooden Boards: Gentle on blades, durable, and self-healing (yes, wood fibers naturally close up after cuts).
- Plastic Boards: Affordable and easy to clean. They are great for meats since they’re dishwasher-safe.
(ii) Avoid These Knife Killers
- Glass Boards: Look fancy but wreck your knives fast. Every chop grinds your blade’s edge down.
- Marble & Granite: Pretty on your counter but brutal on your knives. Save these for rolling dough, not slicing veggies.
2. Hand Wash Only
Look, dishwashers are amazing, for plates, not knives.
(i) Dishwashers expose your knives to:
- Harsh Detergents that corrode the blade.
- High Heat that weakens the metal.
- Clanking Against Other Dishes that chips the edge.
Wash your knives by hand with warm water and mild soap. Dry them quickly with a soft cloth. No air-drying, that builds rust.
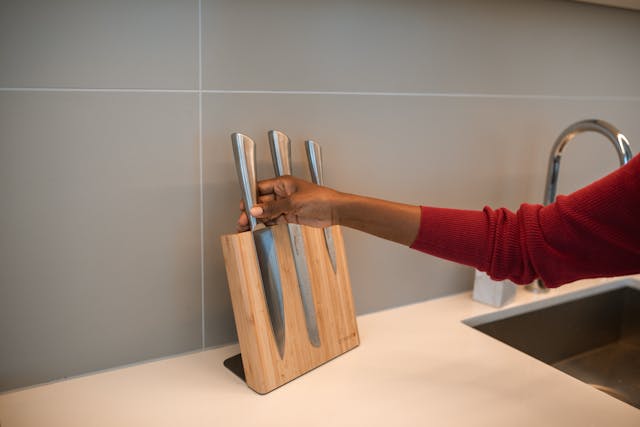
4. Store Them Properly
Your knife drawer? It’s a danger zone, sharp edges banging into utensils like a pinball machine. That’s why proper storage is key.
Best Storage Solutions:
- Magnetic Strips: Mounts on your wall, keep knives safe, and make you look like a pro chef.
- Knife Blocks: Classic choice. Just keep those slots clean.
- Blade Guards: Great if you’re short on space but still want to protect your knives.
Tossing knives in a drawer without protection. It’s like putting your phone screen down on gravel, scratches and damage are inevitable.
Choosing the Right Sharpener
Sharpening sounds scary. But it’s easier than you think. Let me break down three options:
Budget Choice: KitchenIQ Edge Grip 2-Stage Knife Sharpener ($5–$8)
If you’re on a tight budget but still want sharp knives, this little guy is a winner.
- Smart Design: The “V” edge grip lets you sharpen right on the countertop’s edge, with no slipping, no scratched counters.
- Compact & Handy: Tucks easily into a drawer, perfect for small kitchens.
- Beginner-Friendly: No guesswork, the preset sharpening angles handle that.
Mid-Range Hero: Wüthsof 2-Stage Hand-Held Sharpener ($20–$25)
If you’re ready to invest a little more for something solid and reliable, this is it.
- Two Stages for Precision: One stage is to sharpen dull blades, and another to polish them to perfection.
- Effortless Accuracy: The 34° pre-set angle ensures your knives stay sharp, even if you’re a beginner.
- Comfortable & Safe: The ergonomic handle fits nicely in your hand, and the non-slip base keeps everything stable.
Premium Beast: Chef’sChoice 15 Trizor Electric Knife Sharpener ($140–$160)
For those who want pro-level sharpness without the hassle.
- Razor-Sharp Results: Converts standard 20° knife edges into ultra-sharp 15° Trizor edges, perfect for precision cuts.
- Diamond Power: Uses 100% diamond abrasives to sharpen both straight and serrated blades with ease.
- Three-Stage System: Sharpens, hones, and polishes your knives, all in one sleek device.
How to Sharpen Japanese Kitchen Knives
Now, Japanese knives? They’re a different story. Those sleek, razor-sharp edges need extra care.
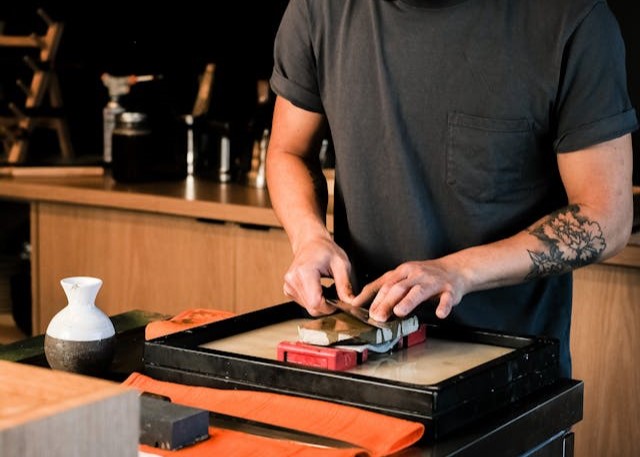
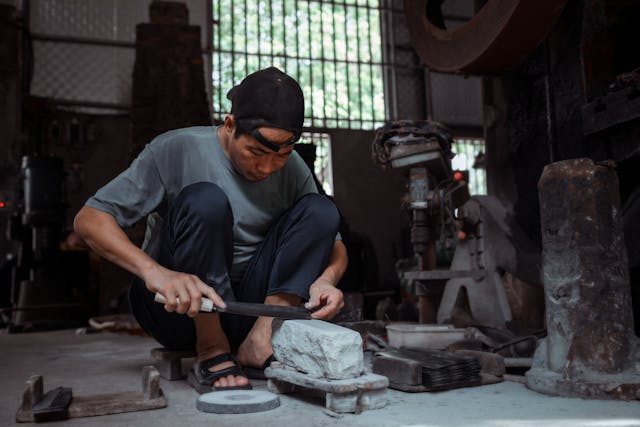
1. Use a Whetstone (Not a Gadget)
- Japanese knives are delicate. Electric sharpeners or pull-through gadgets can damage their fine edges. A whetstone is your best bet.
- Soak the whetstone for 10-15 minutes before starting. A properly soaked stone ensures smoother sharpening.
2. Get the Right Angle
- Japanese knives are typically sharpened at 15 degrees. This angle maintains their sharpness without weakening the blade.
- To visualize 15 degrees, place your knife at a 90-degree angle to the stone, then tilt it halfway to 45 degrees. Finally, tilt it halfway again, that’s your 15-degree sweet spot.
3. Go Slow and Steady
Rushing leads to mistakes. Gentle, deliberate strokes work best. Push the knife forward on the stone with light pressure, then pull back gently. Repeat about 10-15 times per side.
4. Start with a Coarse Grit, Finish with a Fine Grit
- Use a 1000-grit stone to repair and sharpen the edge.
- For polishing, switch to a 3000-6000 grit stone. This refines the blade and gives it that signature razor-sharp finish.
5. Keep It Wet
- While sharpening, regularly splash water on the stone. This keeps the surface smooth and prevents overheating.
- After sharpening, gently run the knife through a sheet of paper. A well-sharpened Japanese knife should glide through effortlessly.
How to Store Sharp Kitchen Knives
Storing your knives properly can make or break their lifespan.
- Magnetic strips keep knives visible and handy.
- Knife blocks are great, but only if they’re clean. Dusty blocks breed bacteria.
- Blade guards are perfect for drawer storage. No clanging, no damage.
Final Thoughts: How to sharpen kitchen knives
To keep your kitchen knives sharp, consistency is key. Regular sharpening, proper storage, and careful cleaning are essential. Use the right cutting boards, like wood or plastic to prevent dulling. Hand wash your knives instead of tossing them in the dishwasher. For those wondering how to keep kitchen knives sharp, tools like the KitchenIQ sharpener or Chef’sChoice Trizor offer excellent results. If you’re learning how to sharpen Japanese kitchen knives, a whetstone is your best bet for precision. Follow these steps, and you’ll enjoy sharp knives that make cooking easier, safe,r and far more enjoyable.