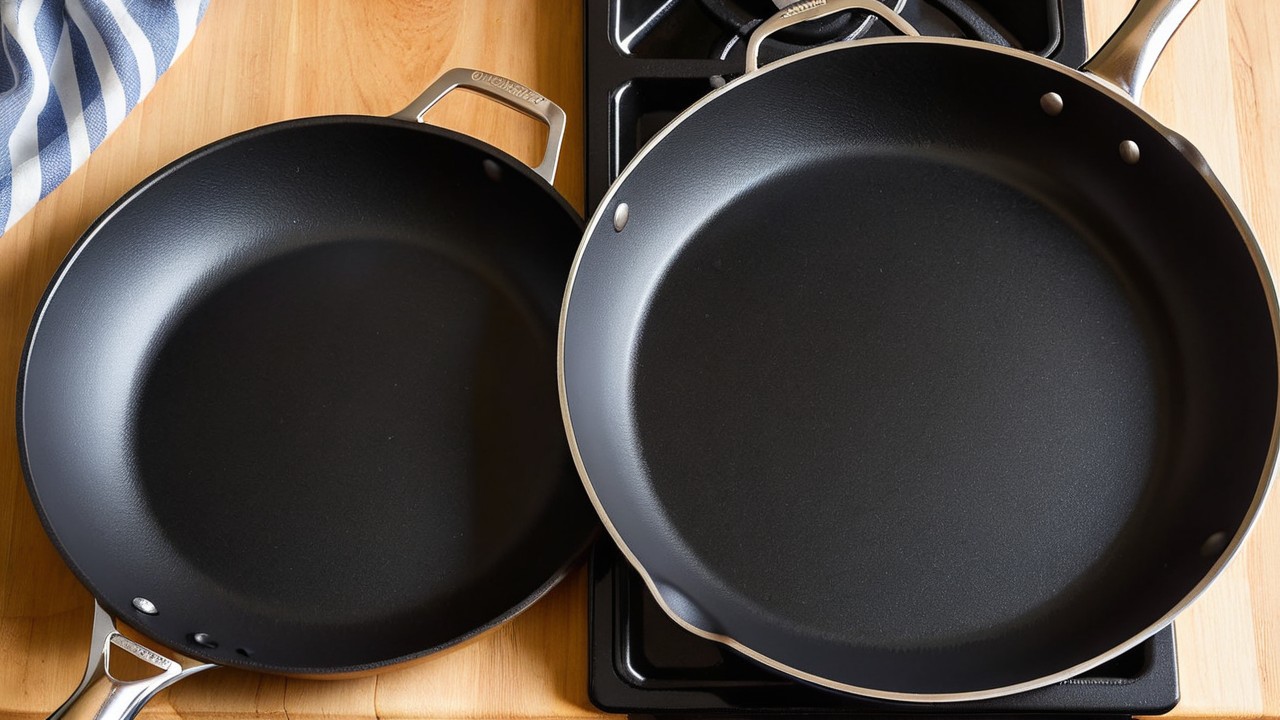
Alright, let’s talk about non-stick pans. You finally got one. Maybe it’s a budget-friendly pan. Maybe it’s a fancy, high-end set that made your wallet cry. Either way, you’re holding it like a newborn baby, wondering, how do I not mess this up?
Because let’s be real, ruining a non-stick pan is easier than burning toast. One wrong move, too much heat, metal utensils, bad cleaning habits, and suddenly, your “non-stick” pan is sticking worse than gum on a sidewalk.
But don’t worry, I got you. We’re about to go over how to care for non-stick pans the right way, without stress, without confusion, and definitely without turning your pan into a useless, peeling disaster. Grab a coffee. Let’s do this.
How I Ruined My Non-Stick Pan (So You Don’t Have To)
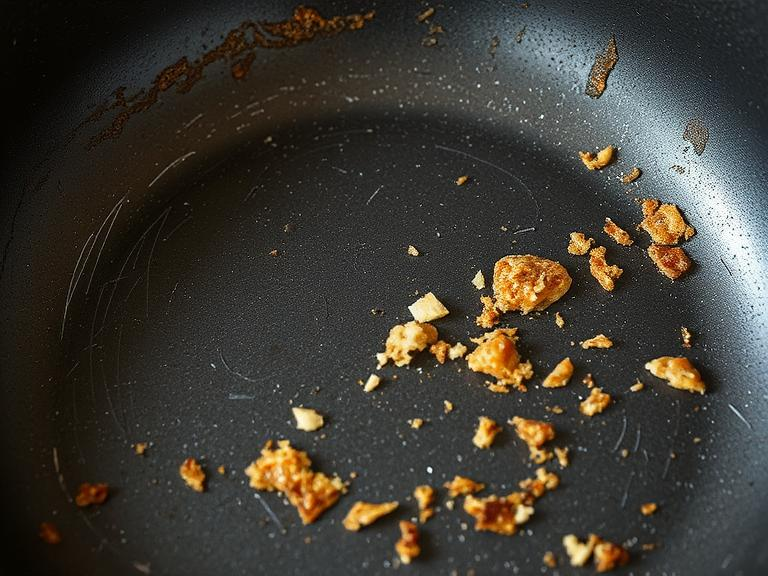
Alright, before we continue, let me give you a little backstory. I’m the kind of person who thinks they’re great at cooking… until reality proves otherwise. And nothing humbled me faster than my first-ever non-stick pan disaster.
I had just bought a fancy non-stick pan, one of those sleek, expensive ones that promise effortless cooking. Naturally, I treated it like an indestructible superhero. First, I tossed it in the dishwasher (strike one). Then, I cranked the heat up to full blast for a steak (strike two). Finally, I scraped away at it with a metal spatula like I was in a cooking showdown (strike three, pan’s dead).
Within weeks, my non-stick pan had turned into an extra-stick pan. Eggs clung to it like they had abandonment issues. Pancakes? More like pan-glued disasters. That’s when I realized I had zero idea how to care for non-stick pans properly.
If I had known about cleaning non stick pans with vinegar, maybe I could’ve saved it. If I had tried cleaning a non-stick pan with salt, maybe it wouldn’t have ended up in the trash. But nope, I learned the hard way.
Now, I treat my non-stick pan like a VIP—low heat, no metal, and definitely no cooking sprays. Trust me, replacing pans every few months? Not cheap.
So take it from me: Love your non-stick pan, and it’ll love you back. Treat it like cast iron and you’ll be left with a sticky, peeling mess, plus an unnecessary shopping trip.
First Things First: How to Wash a Non-Stick Pan for the First Time
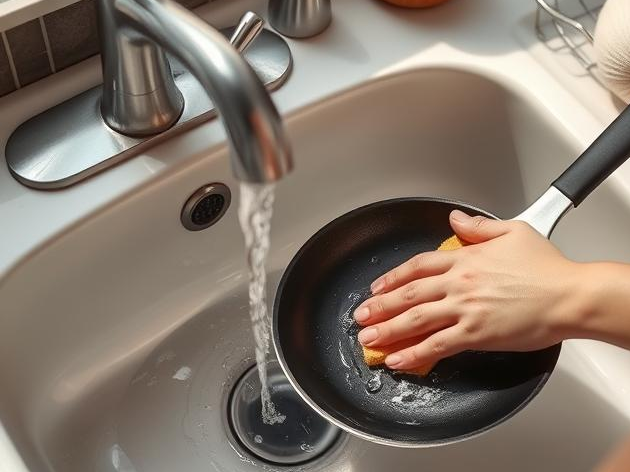
So, you just got your pan. Maybe it still smells a little factory-fresh, or maybe you just want to be extra careful. First wash matters.
- Use warm water—not hot like lava, just warm.
- A gentle sponge. No metal scrubbers unless you want a pan that sticks worse than your last relationship.
- A drop of mild dish soap. Not a gallon. Just a drop.
- Rinse. Dry immediately. None of that “let it air dry” nonsense.
Boom. You’re off to a great start.
The Golden Rules of How to Care for Non-Stick Pans
Now that we’ve survived the first wash, let’s keep that pan happy. Because non-stick pans are like houseplants. Neglect them, and they’ll betray you when you need them most.
Use the Right Utensils
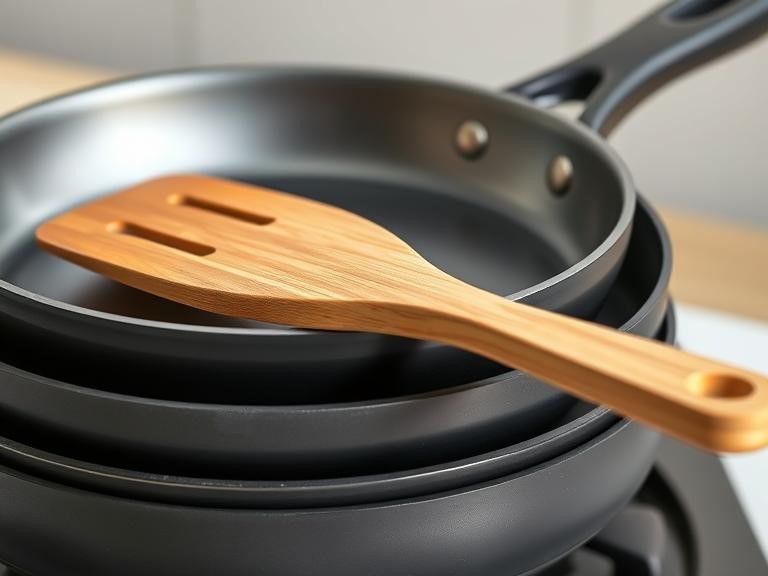
Look, I know metal spatulas feel fancy, but they’re your pan’s worst enemy. Stick with silicone or wooden utensils. Your pan will thank you.
(a) Budget Pick: OXO Good Grips Silicone Spatula (~$7–$9)
- The ultimate multitasker: stir, mix, scrape, and more without scratching your precious non-stick pan.
- Long handle, comfy grip: sturdy nylon core with a soft, non-slip grip for stress-free cooking.
- Heat-resistant & BPA-free: because melted spatulas are not part of the recipe.
- Dishwasher safe: toss it in, forget about it, and move on with your life.
(b) Normal Pick: GreenPan Ceramic Non-Stick Frypan (~$25–$30)
- Diamond-tough & metal utensil safe: because your pan deserves the best bling for durability and easy cooking.
- 100% toxin-free: no PFAS, PFOA, lead, or cadmium, just pure, healthy non-stick magic.
- Heavy-duty aluminum: heats up fast, cooks evenly, and won’t let you down.
- Oven safe up to 600°F: because sometimes, stovetop cooking just isn’t enough.
(c) Premium Pick: T-fal Ultimate Hard Anodized Non-Stick Cookware Set (~$100–$120)
- Built to last: hard anodized aluminum heats perfectly, resists scratches, and won’t react to acidic foods.
- Smart heat control: T-fal’s heat mastery system ensures even cooking with a patented Thermo-Spot that turns red when preheated.
- Effortless non-stick cooking: scratch-resistant, titanium-reinforced coating keeps food sliding and cleanup easy.
- Designed for comfort: riveted red silicone handles, vented glass lids, and a complete cookware set ready for any meal.
Heat Levels Matter
Non-stick pans are not made for high heat. You’re not searing a steak in a cast iron here. Keep it medium or lower. Too much heat = non-stick death.
Did you know that a study found overheating non-stick pans above 500°F can break down the coating? So, unless you want chemical fumes in your food, keep that heat in check.
No Cooking Sprays, Please
You think cooking spray is your friend? Think again. It builds up into a sticky, impossible-to-remove layer. If you must, use a drop of oil and spread it with a paper towel. Your pan will last longer.
Cleaning Non-Stick Pans with Vinegar: The Secret Sauce
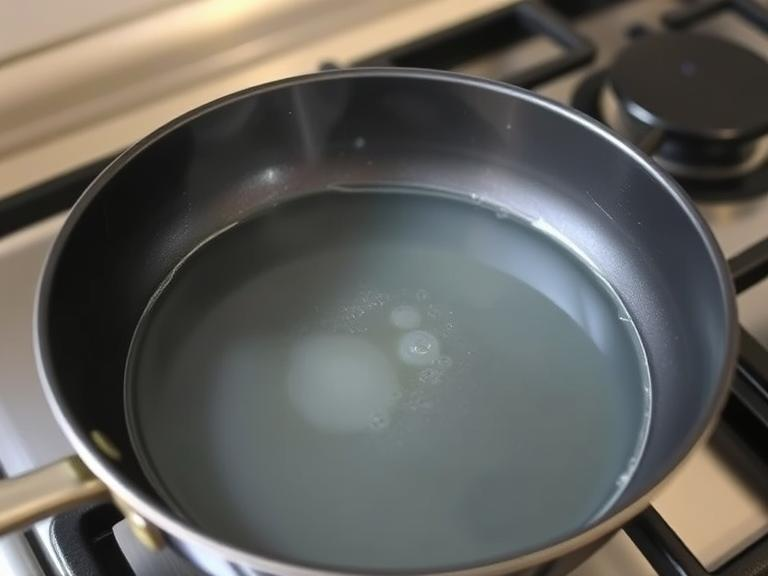
So you ignored my advice. You cooked on high heat, used metal utensils, and now your pan has burnt residue. Don’t panic. Grab some vinegar.
- Fill the pan with equal parts water and white vinegar.
- Simmer for 5–10 minutes.
- Remove from heat, let it cool, and wipe clean with a soft sponge.
Vinegar is like a superhero for your pan. A study by the National Sanitation Foundation found that vinegar kills 99.9% of bacteria and helps break down stubborn stains. Not bad for a kitchen staple, right?
How to Clean a Non-Stick Pan with Salt: The Magic Trick
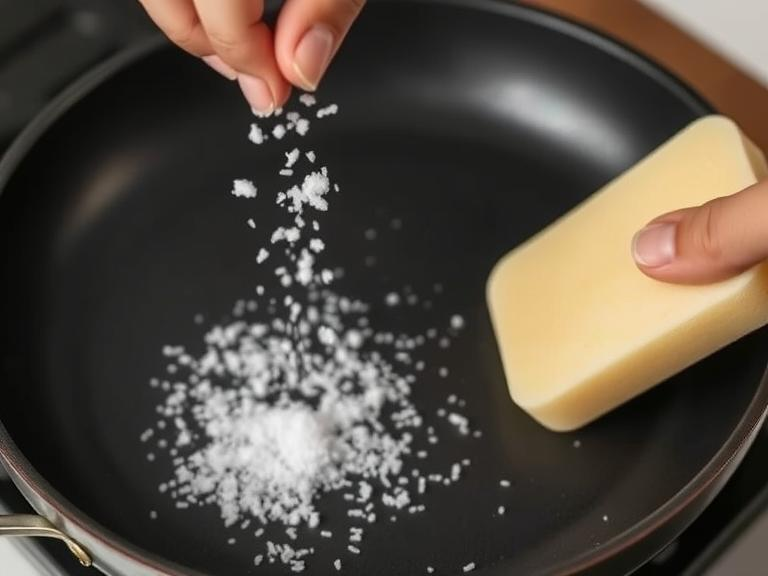
Salt isn’t just for flavor; it’s also a gentle scrubber. If your pan has stubborn residue:
- Sprinkle coarse salt (not table salt, go big or go home).
- Use a soft sponge or paper towel to scrub gently.
- Rinse with warm water.
It works like an exfoliation treatment for your pan. Bonus: No chemicals!
Storage: Don’t Just Toss It in a Cabinet
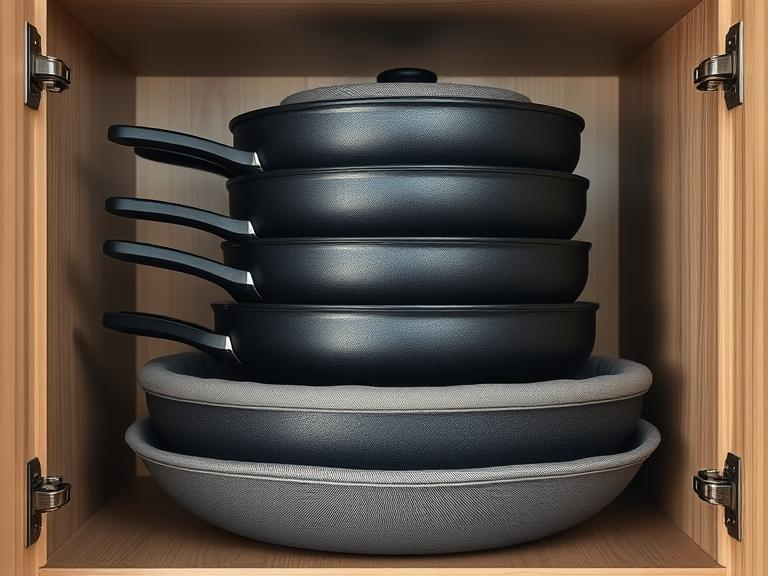
Stacking non-stick pans without protection? That’s like throwing your phone in a bag full of keys, scratches are inevitable. Non-stick coatings are tough, but they’re not invincible. Treat them right, and they’ll last way longer. Here’s how to store them properly:
- Use pan protectors: Soft fabric pan protectors or even simple kitchen towels can prevent scratches when stacking.
- Store pans separately: If you have the space, keep them in a single layer instead of stacking. Less pressure, fewer scratches.
- Hang them up: If your kitchen allows, hanging pans is a great way to avoid damage and keep them easily accessible.
- Never store with metal utensils: A loose spatula or spoon rattling around in the pan? That’s a scratch waiting to happen.
A little extra care goes a long way. Be kind to your pans, and they’ll return the favor.
The Non-Stick Pan Lifespan: How Long Will It Last?
Even with perfect care, non-stick pans don’t last forever.
- Budget pans: 1–2 years
- Mid-range pans: 3–4 years
- Premium pans: 5+ years (with proper care)
A survey found that over 60% of home cooks replace non-stick pans within three years—often due to improper care. But now that won’t be you, right?
Final Thoughts: Keep That Pan Happy
Alright, let’s wrap this up. How to wash non stick pan first time? Easy, warm water, mild soap, and a soft sponge. How to care for non-stick pans? Keep the heat low, avoid metal utensils, and skip the cooking sprays. Cleaning non stick pans with vinegar? Just simmer vinegar and water for a deep clean when things get messy. How to clean non stick pan with salt? A little coarse salt and gentle scrubbing do wonders. Taking care of your non-stick pan isn’t rocket science, but neglect it, and you’ll be stuck with a peeling, useless mess. Treat it right, and it’ll stay slick, smooth, and ready to cook up delicious meals for years. Now, go forth and cook, without ruining your pan!

